
0 photo
It is difficult to imagine a country house or a cottage where there will be no summer kitchen. It is in such a kitchen that they gather ...
Which resin is better to use to fill the surface of the table? To make the epoxy resin tabletop, made by yourself, look like a true work of art, it is worth considering some important nuances.
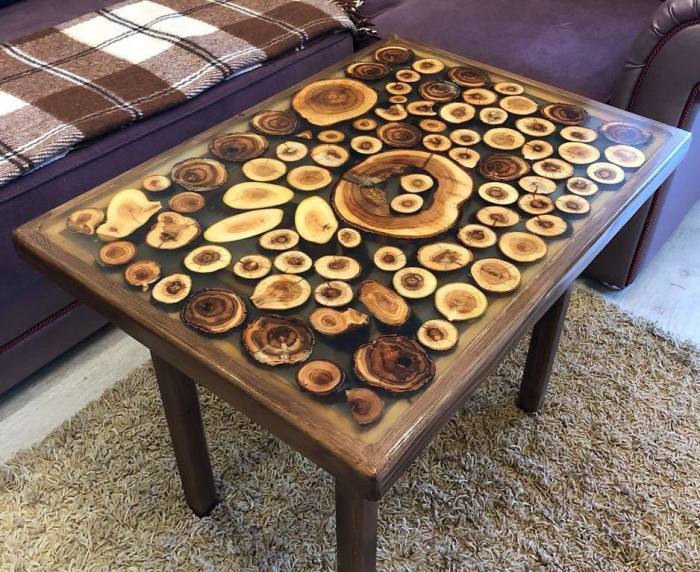
Table design with epoxy.
Content
Intended for the top board of the kitchen set epoxy fill - two-component, including resin and hardener. When solidified, the substance does not become smaller in volume, cracks do not appear, it perfectly masks minor irregularities. The material is resistant to moisture, there are no scratches on it, however, it becomes fusible under the influence of high temperatures.
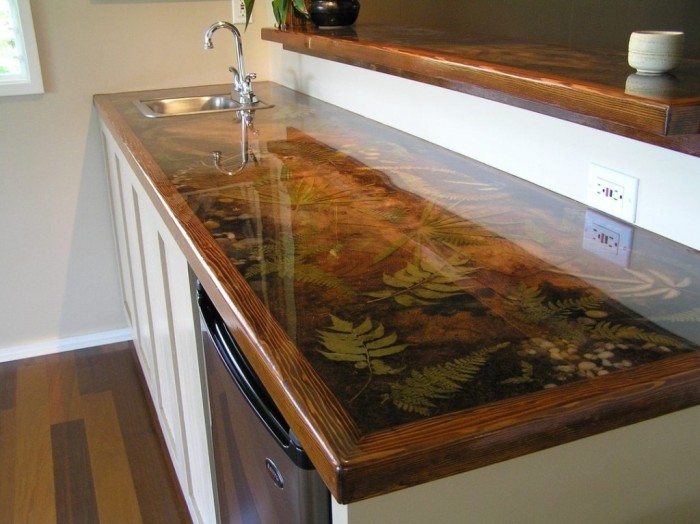
A table with an epoxy worktop has high moisture resistance.
Advantages of Epoxy:
The epoxy-filled table is resistant to external damage.
An epoxy-coated worktop is not susceptible to aggressive cleaning agents or moisture.
Cons epoxy:
NOTE! To eradicate the last defect is not difficult. Warming up white flakes will help warm the table top to +60.
When filling the table with resin, you must carefully perform all the steps for an effective result.
Epoxy worktops come in the following variations:
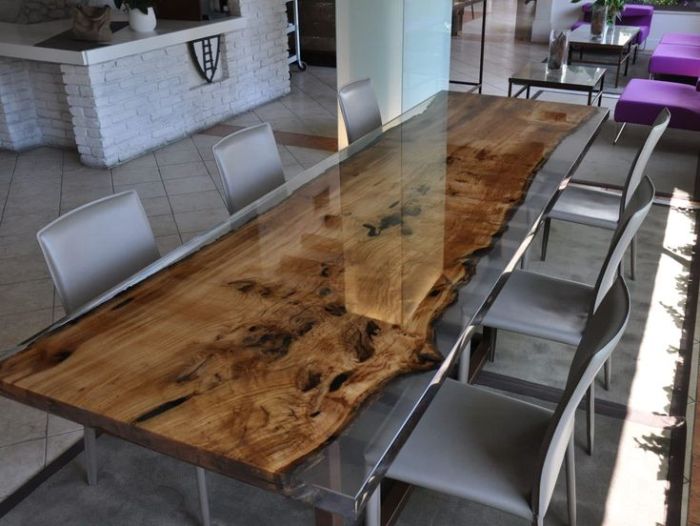
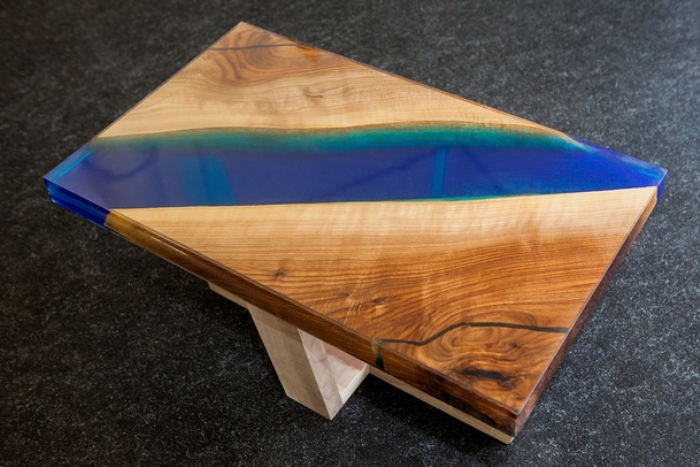
Countertop with a combination of epoxy and wood.
The resin for pouring the table top must be transparent and have a sufficient life span, otherwise there is a risk to see firsthand how the “resin is boiling” or spend filling it in layers for a very long time.
Resins, which are called base resins, are not suitable at all in this situation, since they are thicker: air bubbles cannot exit.Also, base resins are more fragile and colorless not always. Moreover, hardeners used with such resins will give the mixture is not long-term. This threatens with boiling of the mixture, and deformation of the table during rapid hardening.
Base resins are not quite suitable for filling the table.
The epoxy is chosen based on what tasks you need to solve. That is, do you need the elasticity of the product or a convex lens, etc.
Material must:
When choosing a resin, pay attention to the transparency of the material.
To do this, remember the volume formula and multiply the desired length and width of the table by the thickness of the fill. For example: 210 * 15 * 4 (respectively) = 12,600 cm3 or 12.6 kg of pouring material. It is worth considering: the density of the resin is greater than the density of water K = 1.1. Therefore, the final result of the calculation will look like this: 12600 * 1.1 = 13860 kg of resin.
IMPORTANT! Carefully read the instructions for the purchased resin kit !!! This will help to avoid possible unpleasant surprises during the work.
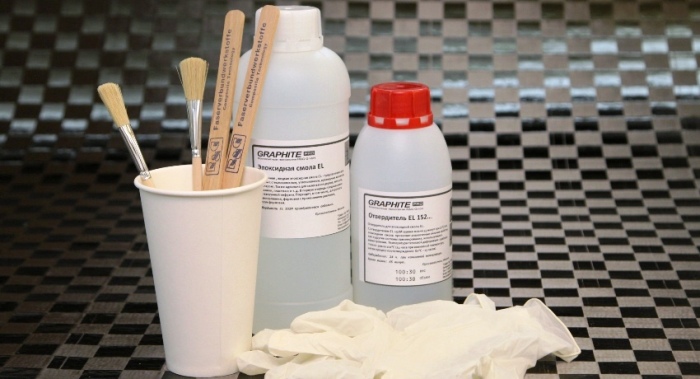
Before you start filling the table, you need to prepare all the necessary elements.
Prepare the form or assemble the formwork. Make sure the frame / mold is tight. Because even through the smallest crack the entire future surface of the table may leak out. The cracks are sealed with a special sealant, paraffin, thermo-glue, and also plasticine.
Now you should treat the frame / form with a release agent. Then - level it!
If resin is to be tinted, the addition of a hardener to the resin must precede the addition of dye.
Stir thoroughly until smooth. In order for the pigment to disperse faster, the resin is heated to 40 ° C (in a water bath or placed near a radiator).
We mix the components, following all the instructions. Mix along the edges of the walls and in the middle.
IMPORTANT! If the mixture turns out to be heterogeneous, it will ruin your product!
Now, a thin layer of resin is poured onto the bottom of the mold and decoration elements are laid out.
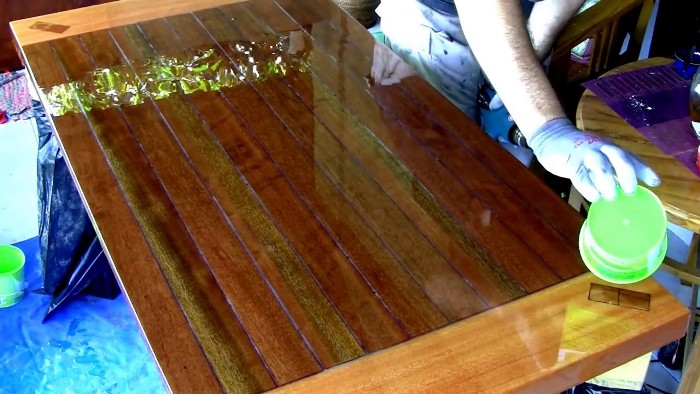
Pour the mixture into the mold. It can be poured once, if the thickness of the poured is not more than 5 cm.
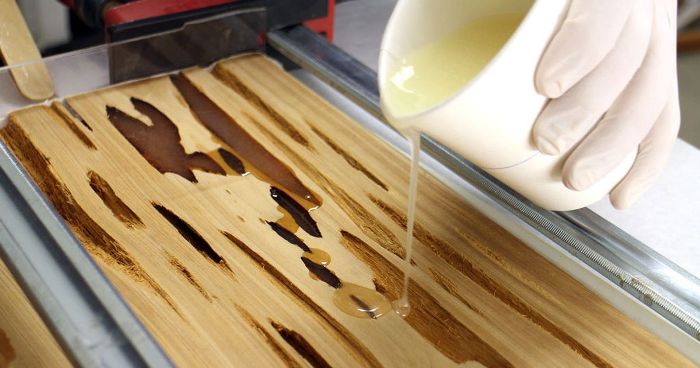
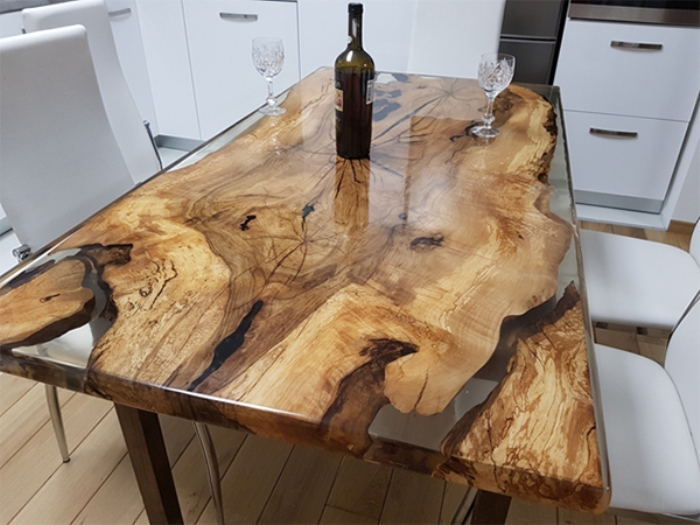
Filling a wooden countertop with epoxy.
If a table surface with a thickness of 6 cm or more is cast, the filling is done in two layers, in 2 stages. While one layer hardens, it should take from one to two days.
ATTENTION! The resin is poured into a single point, in a thin stream. Pouring can be done with the inclined stick lowered into the mold.
When the tabletop is made of epoxy resin, it is mounted on the frame. So that it is not required to make holes in the flooded surface to establish the legs, these locations are planned in advance and strengthened with small pieces of pipes of the required diameter. When the resin hardens, the pipes are pulled out, and the legs of the product are put in their place.
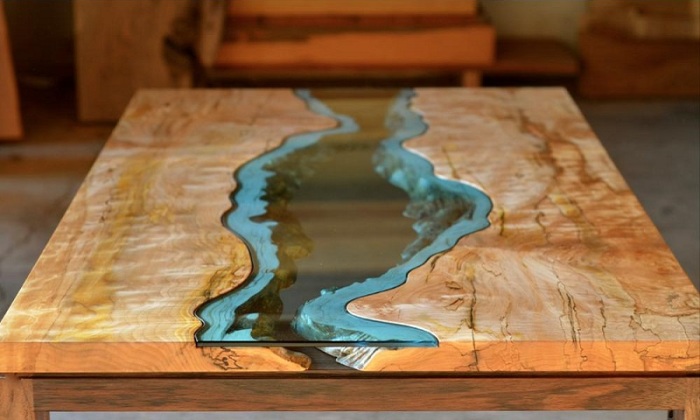
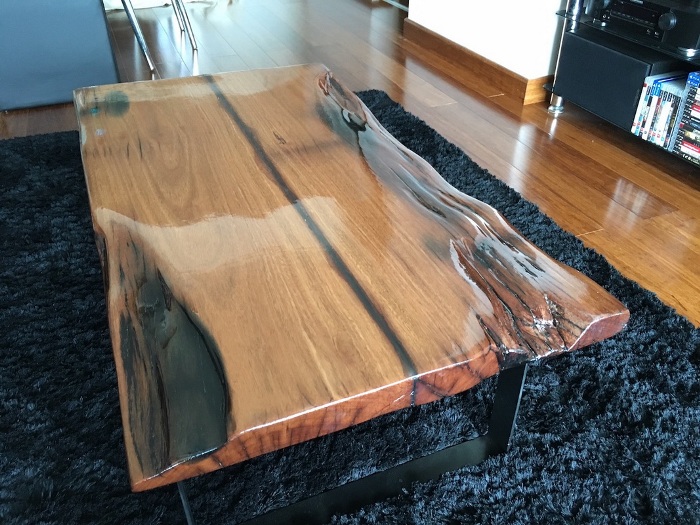
Original table design with transparent epoxy.
So that over time, the epoxy does not turn yellow when exposed to heat and the sun, buy a product with a UV filter in its composition.
Basic, structural pitches are inappropriate, because they are thicker: this will not allow “to expel” all air bubbles.
When deciding which epoxy to choose for pouring countertops, we suggest paying attention to the following brands:
It is most suitable in the manufacture of thin layers, especially when a sufficient amount of hardener is added. Among other things, this brand implies excellent colors that allow you to give any shade to the material.
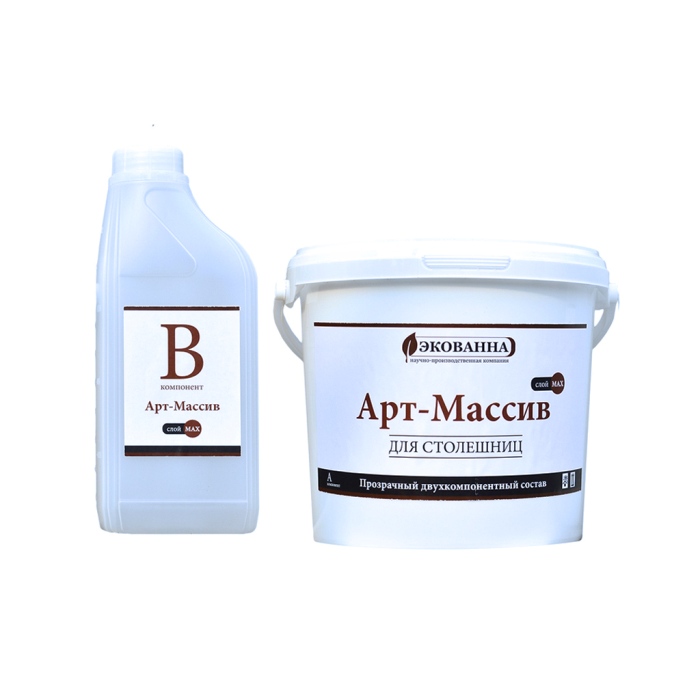
Epoxy Art Eco.
Suitable for the manufacture of a transparent cover for a coffee table or desk, in case the pouring layer is not more than 3 mm.Such an epoxy is especially transparent and is capable of leveling itself.
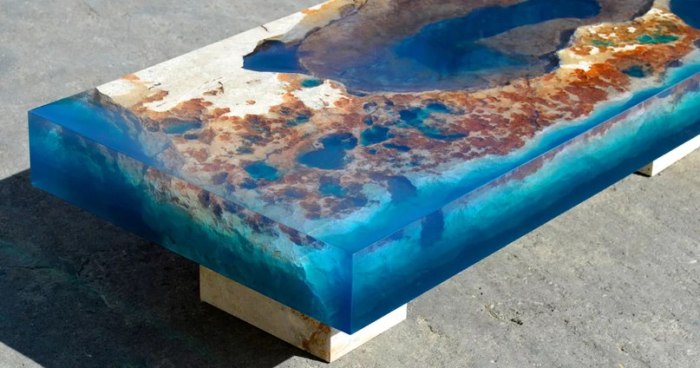
Transparent resin, its distinguishing feature is fluidity. This is ideal when creating small layers, as well as when working with various fillers (grass, wood fragments, coins, etc.).
The resin is characterized by low viscosity and demonstrates the maximum combination of advantages, it is very common and in demand. It has an acceptable cost.
Suitable in the course of activities with complex fillers, it is the best and most demanded material for the manufacture of the top board for the table. Therefore, if this important part of the kitchen is set where the sun falls, for the manufacture of countertops, it is worth paying attention to this option.
Over time, it does not turn yellow at all under the influence of heat and direct rays of the sun.
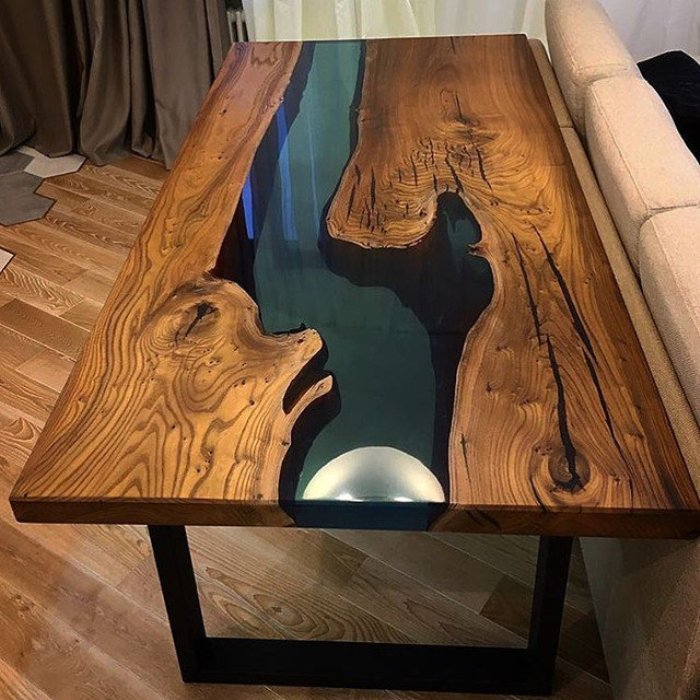
Epoxy table in interior design.
Even a person who is not at all experienced in the art of carpentry is quite capable of making the surface of an epoxy resin table with his own hands.
Following the instructions, you can easily fill the table with epoxy resin without any problems.
The main thing is to clearly follow the instructions for making the fill, follow the procedure, as well as safety rules.


Thank!
In the near future we will publish information.