0 photo
For many centuries, decorative textiles have been used to decorate windows practically ...
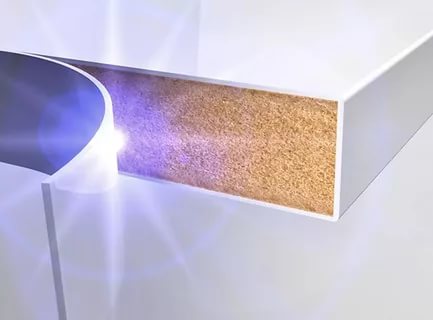
If it was decided to independently make furniture from materials such as chipboard or MDF, you will need to take care of protecting the end parts. This is necessary so that the product looks more aesthetically pleasing and lasts longer. A special edge is used to protect the side surfaces. In this material we will talk about what kinds of it are, how best to stick it with your own hands and other important nuances of how to glue the edge to the countertop.
If it was decided to independently make furniture from materials such as chipboard or MDF, you will need to take care of protecting the end parts.
Content
To perform high-quality gluing of the material to the countertop, many nuances must be taken into account, since this process has its own characteristics. Proper preparation will help to avoid errors in the process of cutting and will allow you to get a high-quality result, which, firstly, will perfectly cope with its functions, and secondly, please the eye with an aesthetic appearance. Next, we will deal with what an edge is, why and where it is needed, as well as other important features.
To perform high-quality gluing of the material to the countertop, many nuances must be taken into account, since this process has its own characteristics.
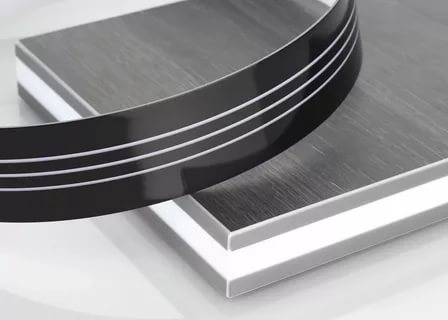
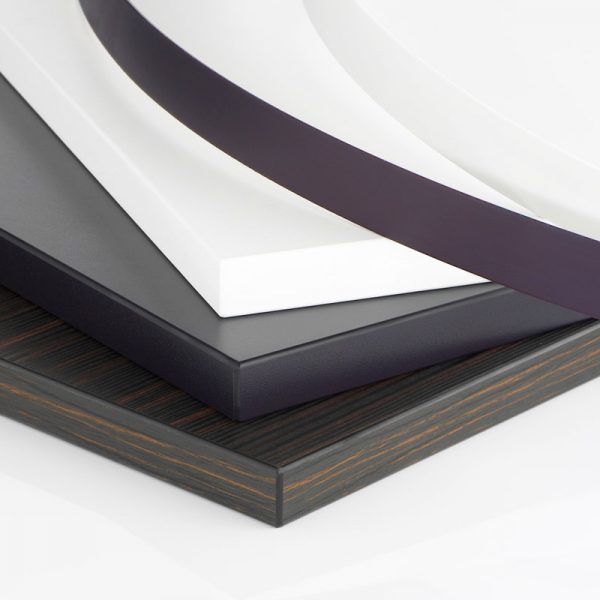
A furniture edge is a strip of melamine, polyvinyl chloride, ABS plastic or other material that acts as a decor and a way to protect the product. if the furniture is made of cheap materials, then you can’t do without such an addition, otherwise it will not be possible to avoid the effects of formaldehyde resins on the health of households, as well as protect the furniture material from moisture. If an edge has been glued, then the service life of the product is also increased.
A furniture edge is a strip of melamine, polyvinyl chloride, ABS plastic or other material that acts as a decor and a way to protect the product.
Many believe that this element is necessary exclusively for beauty and a more accurate appearance. In reality, the edge, of course, performs a decorative function, but this is not its main purpose. The main task of the edge is to protect the furniture from moisture. The kitchen is a wet zone in the house, and therefore this aspect is especially important here, and to close the ends with the help of such a trick is a necessity. In addition, if the ends of the product are covered, then the release of formaldehyde from the particleboard material will not harm human health.
In reality, the edge, of course, performs a decorative function, but this is not its main purpose.
There is an alternative that can be used instead of adhesive edges - these are end plates. Their installation is a fairly simple process, but some elements in this case may look superfluous and damage the appearance of the product.
There is an alternative that can be used instead of adhesive edges - these are end plates.
As already mentioned earlier, edging is necessary not only to make the product look beautiful. In addition, it helps protect furniture from moisture, and households from exposure to chemical elements. Based on this, we can conclude that grooving is necessary:
There are several varieties of edges that can be used to make ends.
The most optimal option for homemade DIY. It already has an adhesive layer, making the process much easier. It is easy to glue such a material, but in its performance characteristics this option is inferior to other varieties of edges.
davThe most optimal option for homemade DIY.
PVC edgings are strips of polyvinyl film. Their direct purpose is to seal the ends on panels and countertops. An adhesive layer is not provided here, and sticking such material with your own hands will be difficult.
PVC edgings are strips of polyvinyl film.
But this kind of edge will be easy to glue on its own, because an adhesive layer is already provided here, which greatly simplifies the task. For this reason, this option is most popular in use.
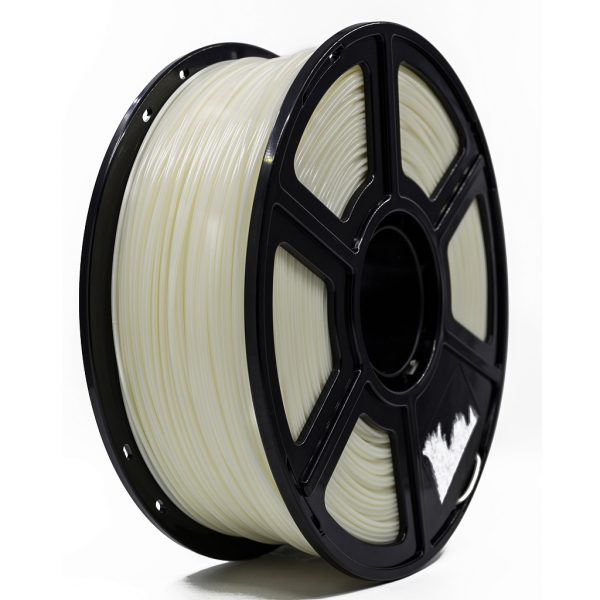
But this kind of edge will be easy to glue on its own, because an adhesive layer is already provided here, which greatly simplifies the task.
Veneer is not a popular material for furniture cutting. It is a section of wood that has been shaped into a ribbon and painted. More often, such an edge is used in furniture production and exclusively for the edging of veneered furniture products. To use such material, you need to have a lot of honed skills, knowledge about working with this material and experience. Such material is expensive. In general, there is not a single reason for using veneer for self-trimming at home. However, it is necessary to mean the existence of such a variety, so that by chance, unknowingly, not to acquire it.
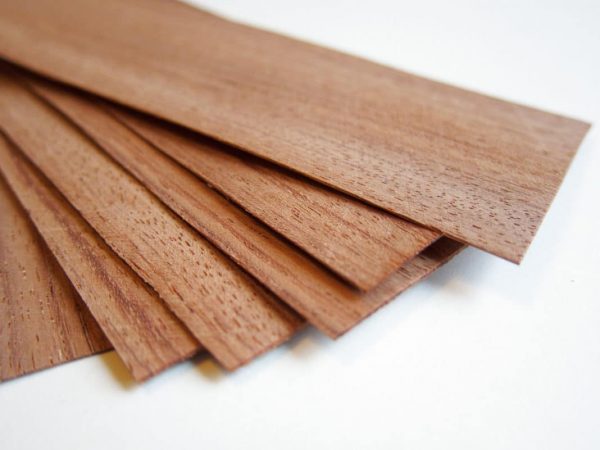
To use such material, you need to have a lot of honed skills, knowledge about working with this material and experience.
Such products are made of transparent acrylic. A drawing is applied on the wrong side. Due to the fact that there is a polymer layer on top, it creates the feeling of a three-dimensional pattern, which looks very impressive. For this reason, this variety is called 3D edge. At home, you should not use such material. This is too complicated from the point of view of the technological process, and there is absolutely no reason to use such material. As a rule, it is used in professional furniture production if it is planned to make furniture with unusual design solutions.
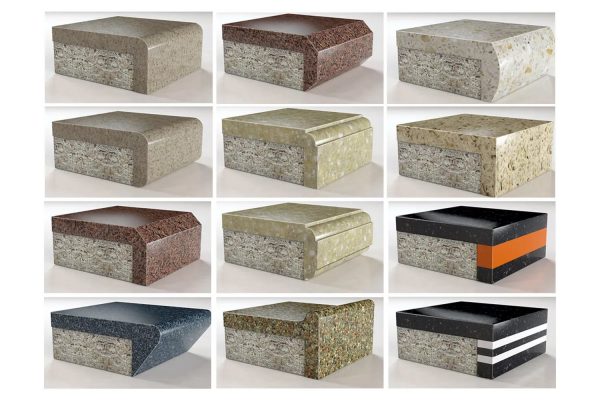
Due to the fact that there is a polymer layer on top, it creates the feeling of a three-dimensional pattern, which looks very impressive.
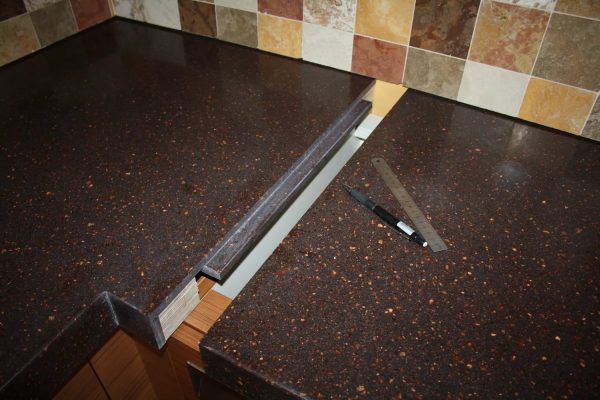
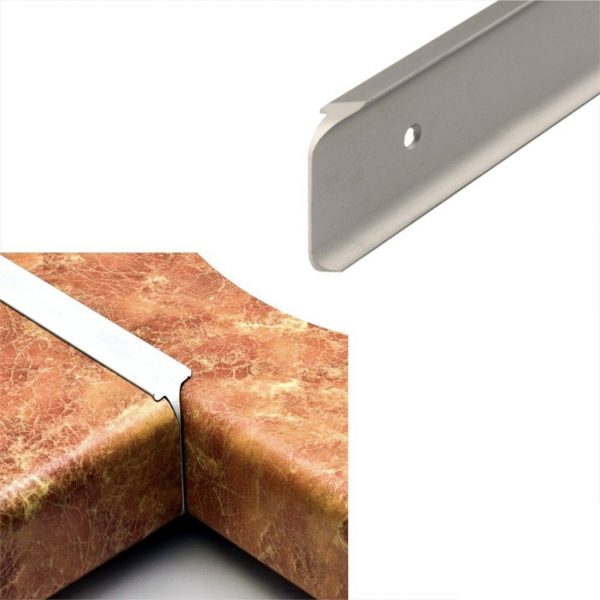
Profiles are mortise. In this case, the T-profile is inserted into the milled groove at the end of the chipboard.When it was difficult to find a special machine for PVC edges, and there were a lot of milling machines in the workshops, this option was especially popular. Today, he faded into the background.
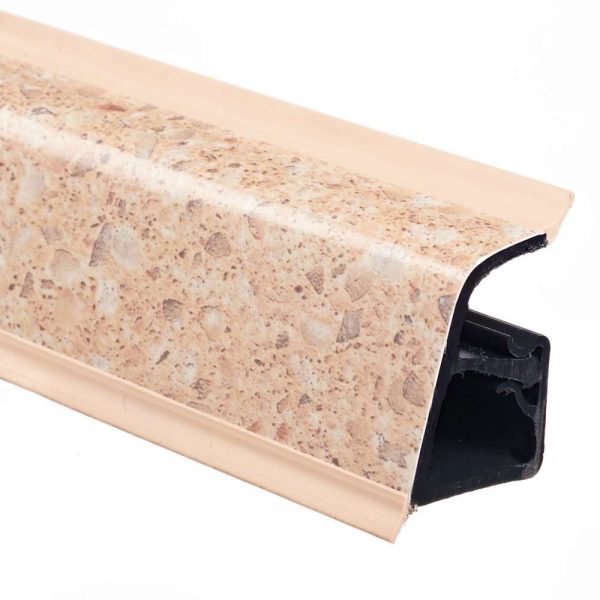
Profiles are mortise. In this case, the T-profile is inserted into the milled groove at the end of the chipboard.
Also, the profile can be overhead. This option is convenient, because for its use special devices are not needed and it is quite possible to use it at home. As a rule, such a P-profile is quite simple to put on the end and stick with liquid nails. However, there is a drawback - a few millimeters of the edges will protrude, and dirt and dust particles will clog under them.
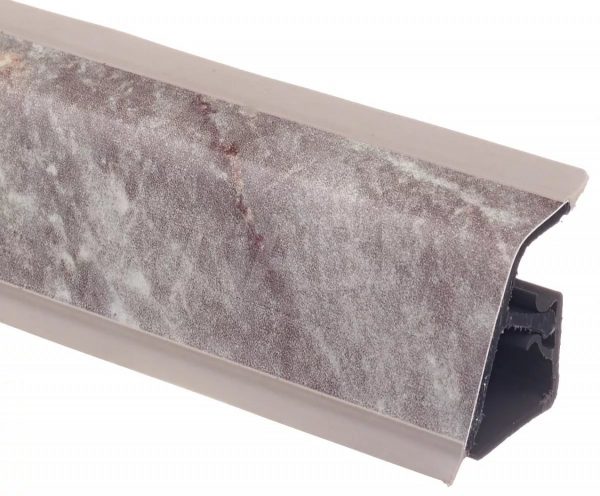
Also, the profile can be overhead. This option is convenient, because for its use special devices are not needed and it is quite possible to use it at home.
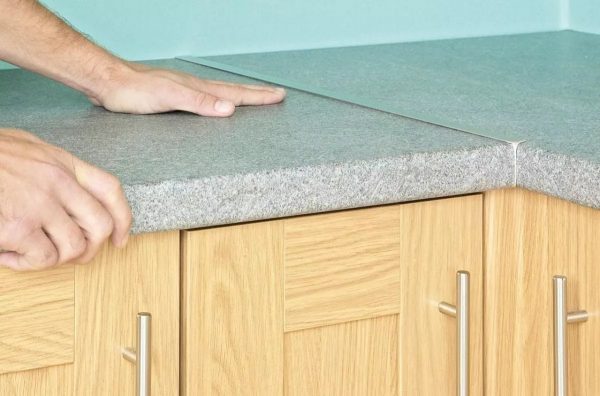
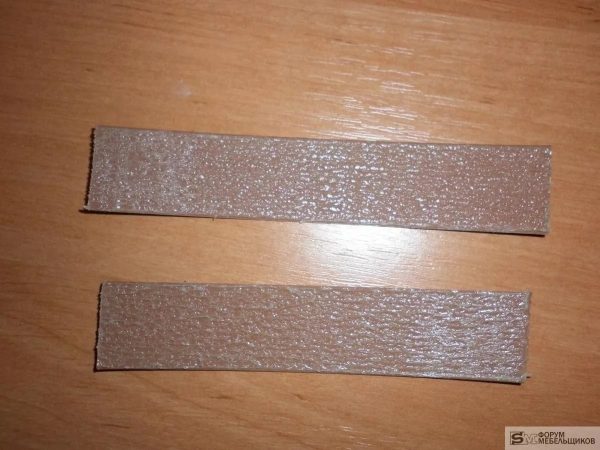
First of all, it is important to pay attention to whether the countertops are cut off with high quality. This directly affects edging. The fact is that it will not be able to hide irregularities, but it will stay well only on a perfectly executed cut.
The whole subsequent process will be divided into small stages.
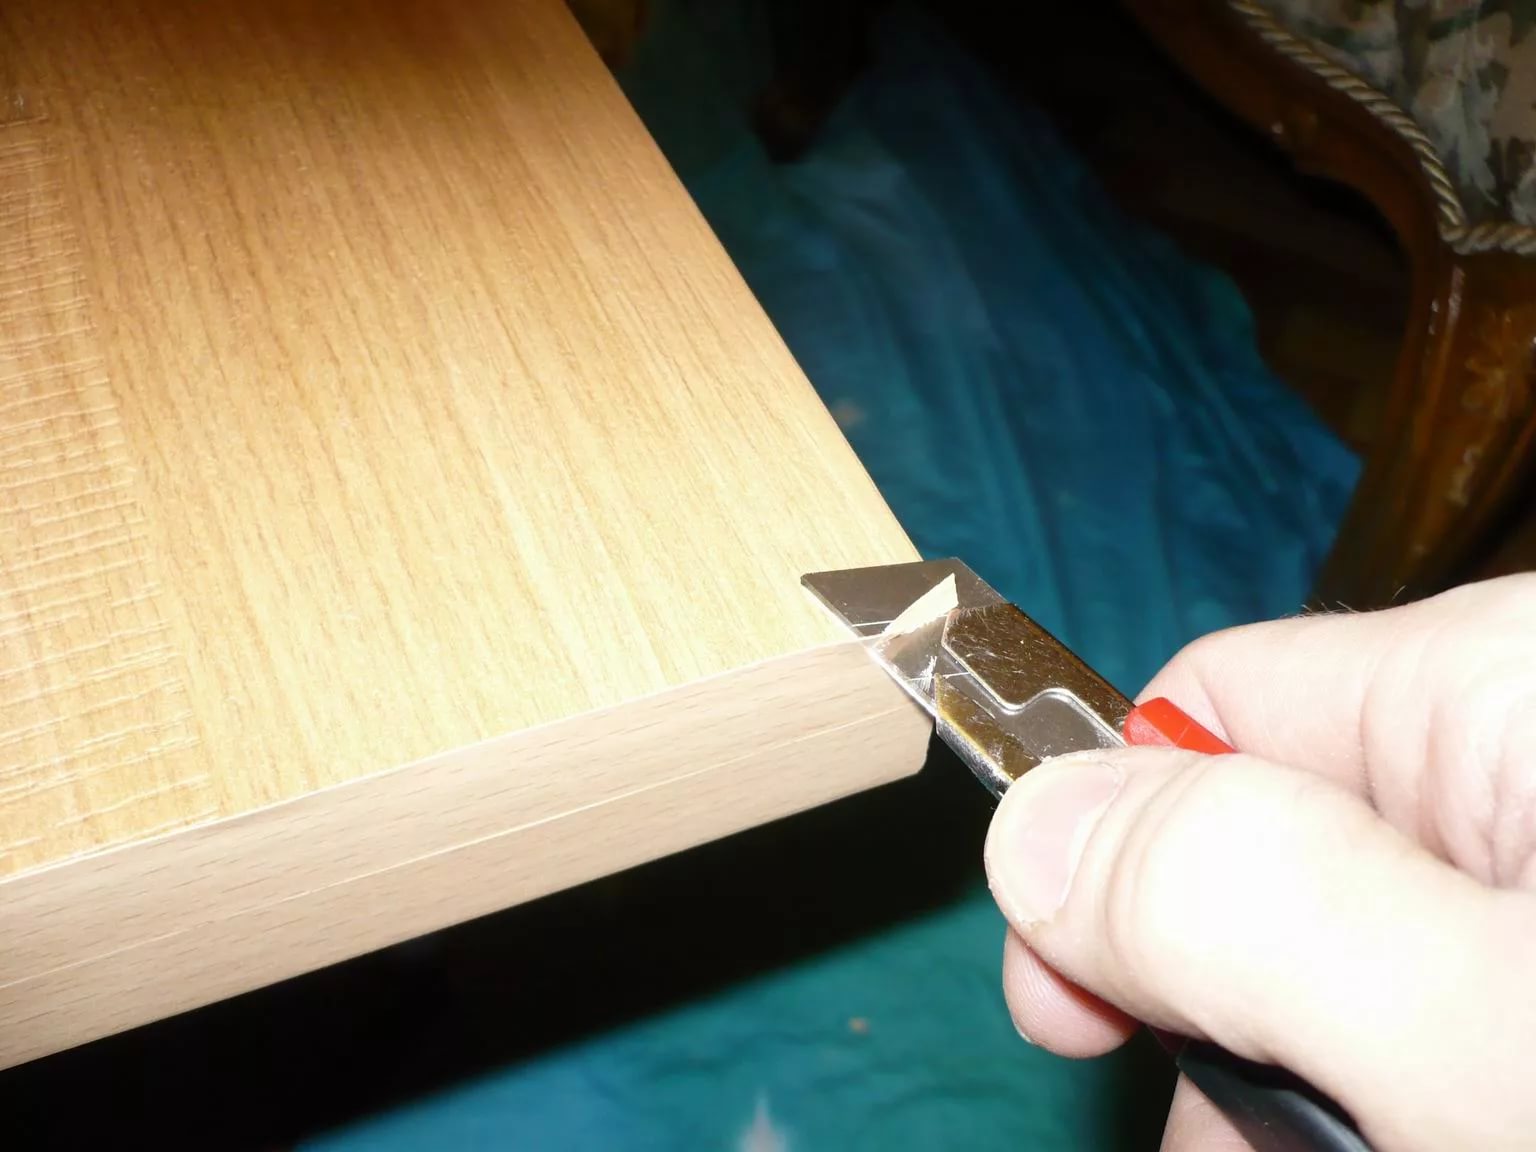
Important!
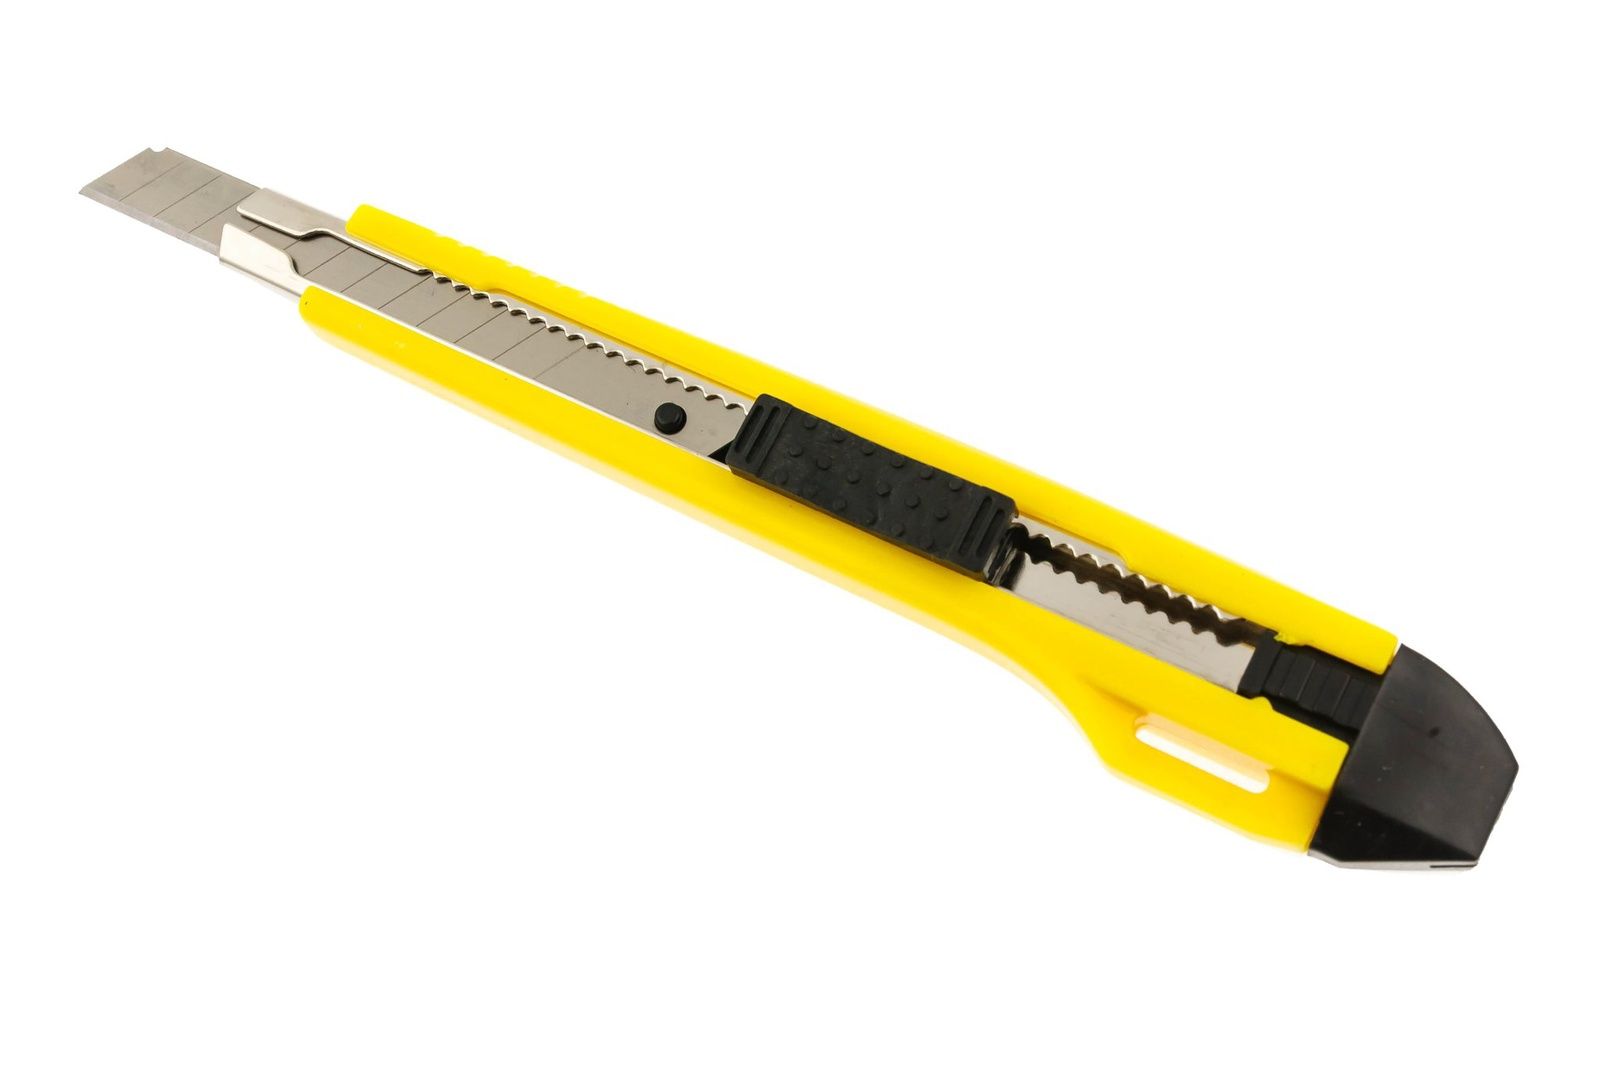
So that the cut is not made at an angle, the knife blade must be held parallel to the surface of the countertop.
Additional Information!
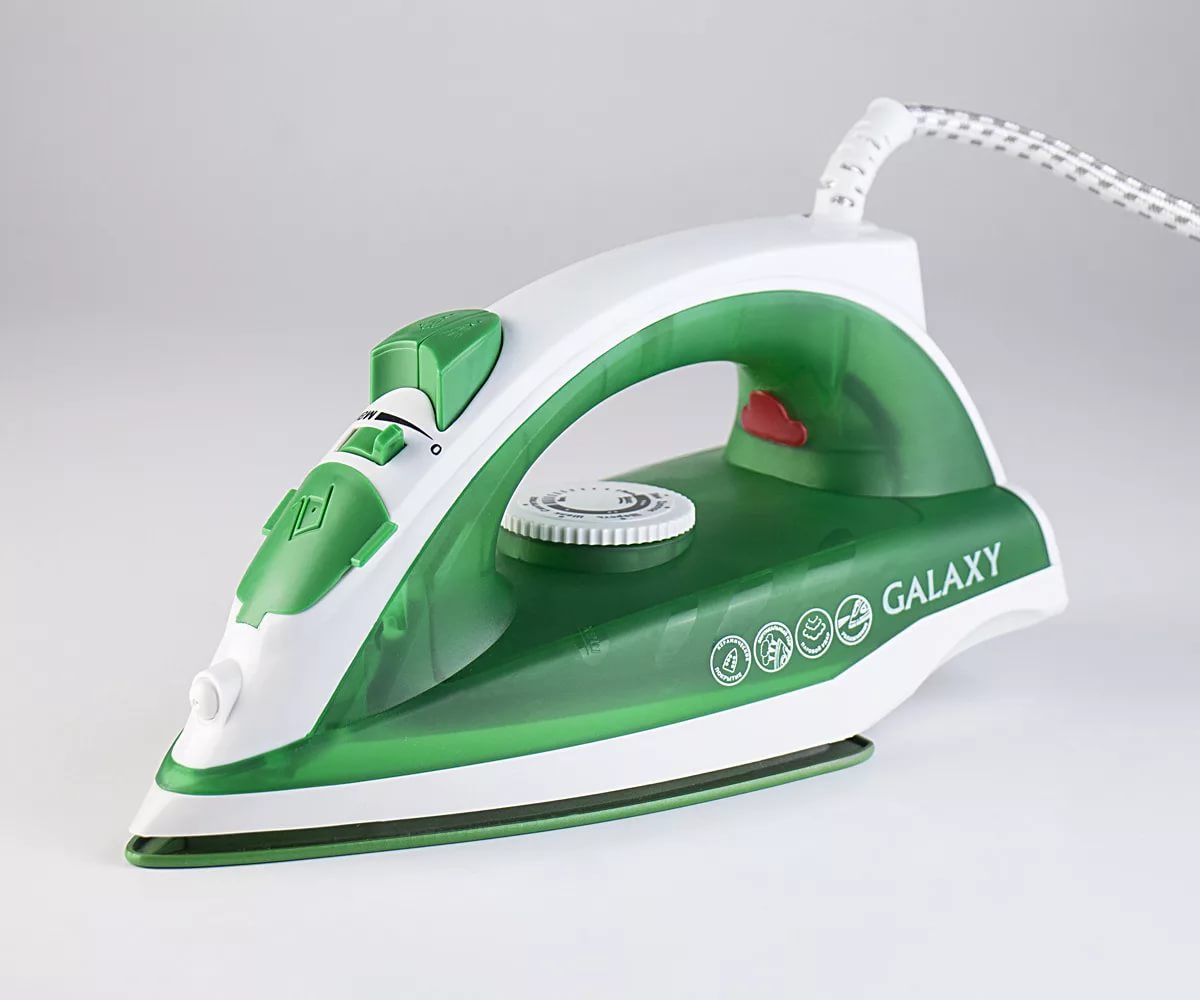
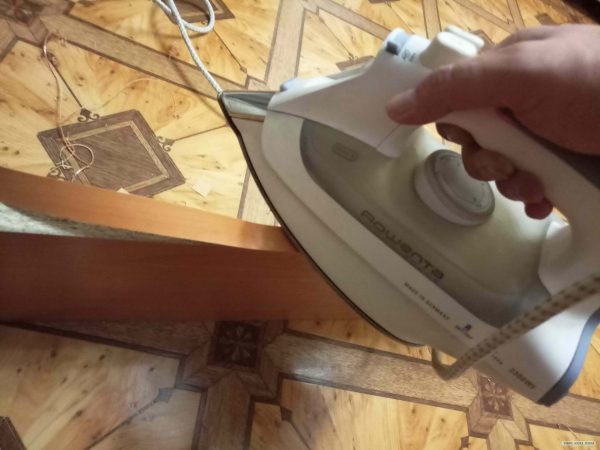
Instead of an iron, you can use a building hair dryer. In this case, you will also need to prepare a hard wallpaper roller. During heating of the material, it will need to be pressed with a roller to the end of the countertop.
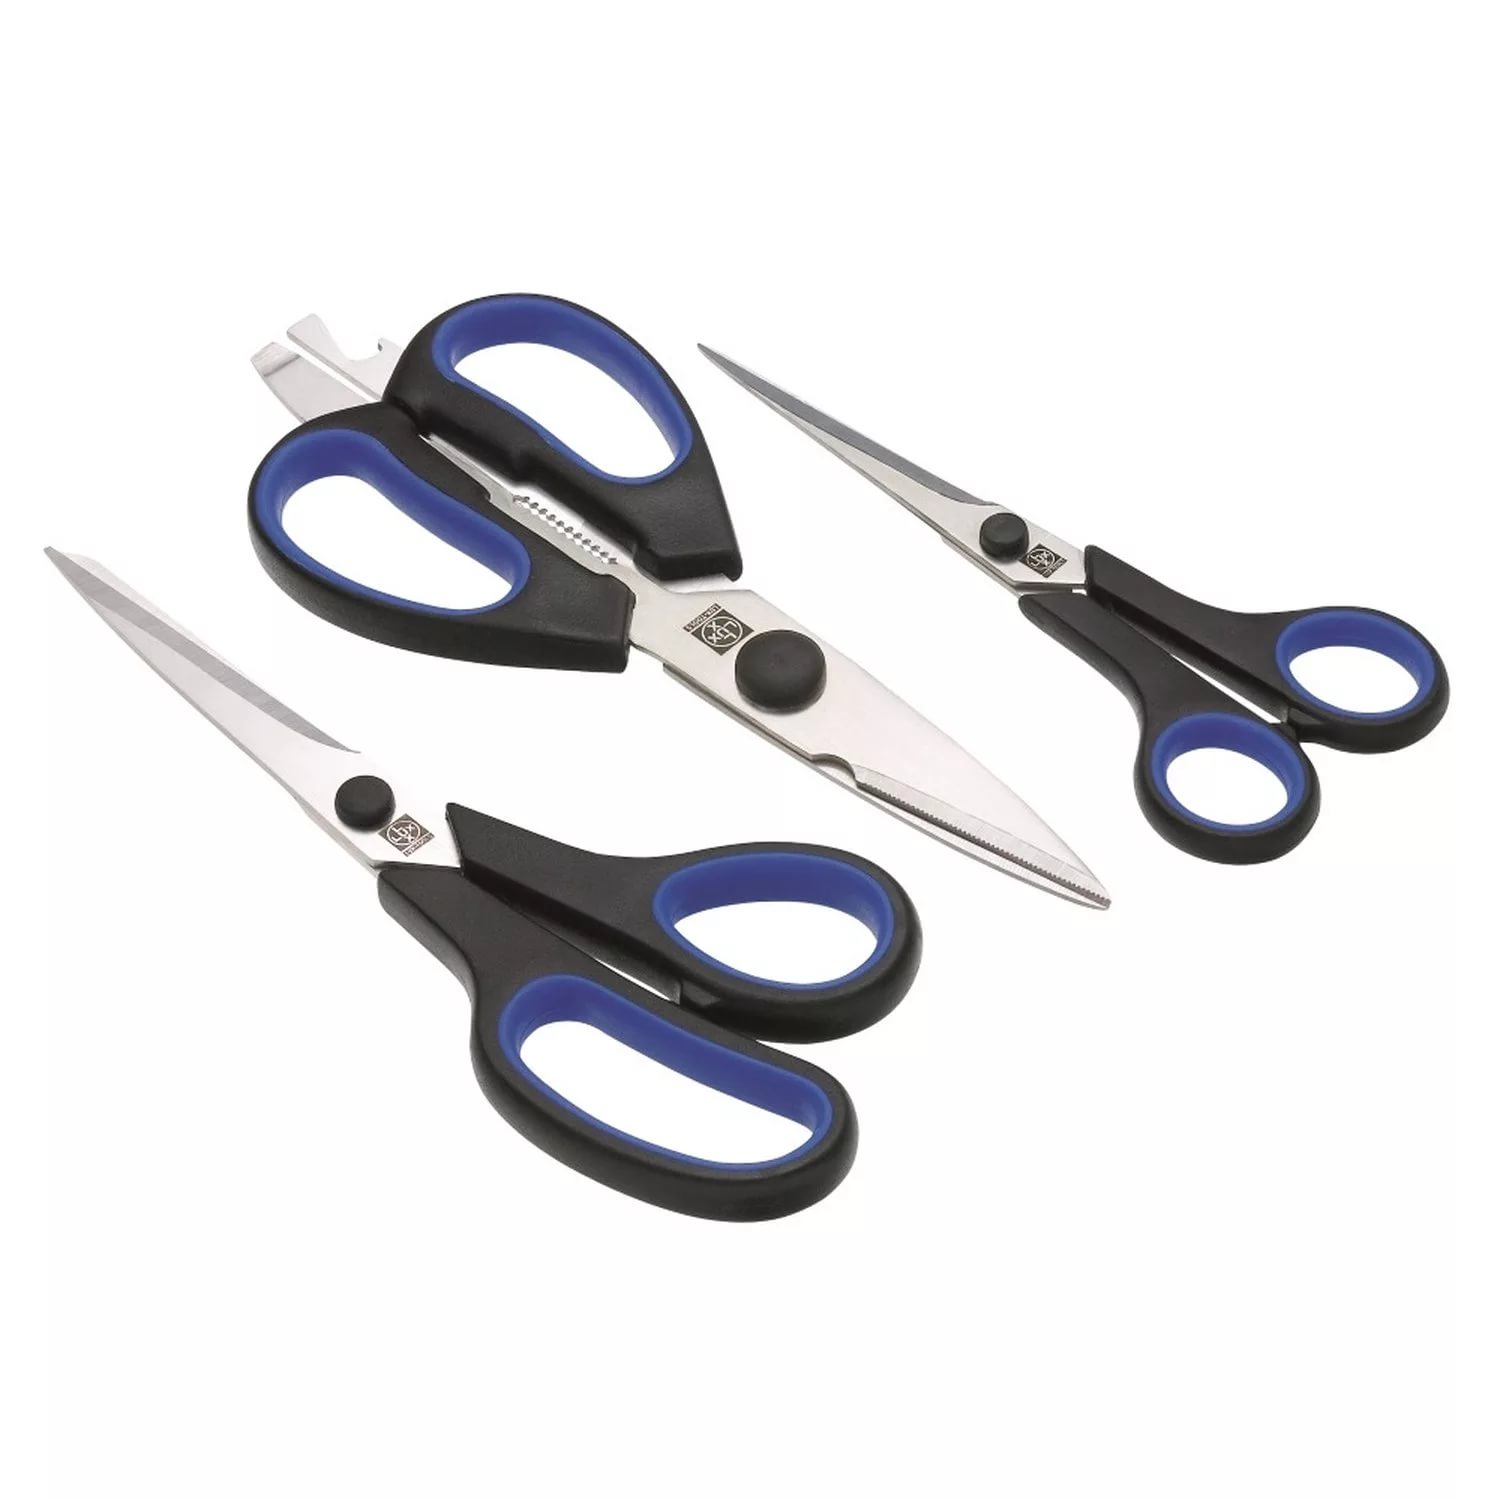
To independently make the worktop edge, you need to prepare all the necessary tools:
As the material you need to prepare:

Modern furniture manufacturers use hot melt adhesives. This type of glue has long established itself and has virtually no equal in quality characteristics. However, there is one significant drawback in their use - it is necessary to have special equipment that is capable of gluing with high speed and good quality. For those who plan to make furniture professionally, it makes sense to purchase such equipment. If you are just an amateur and do not plan to make furniture, then this option is definitely not suitable.
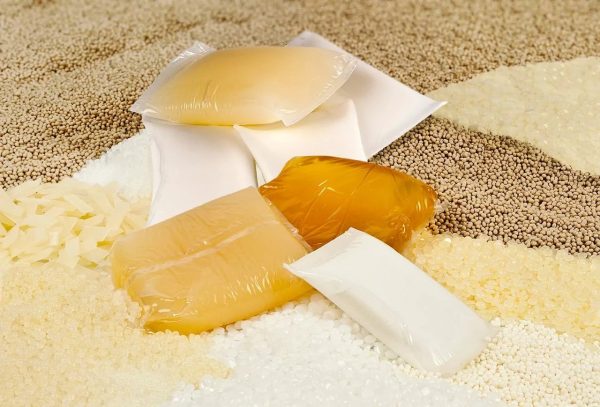
Modern furniture manufacturers use hot melt adhesives.
At home, the use of PVC glue is common. He copes with the task of gluing paper materials to any other.It is important to consider that such glue is not friendly with moisture, so it should not be used for kitchen furniture.
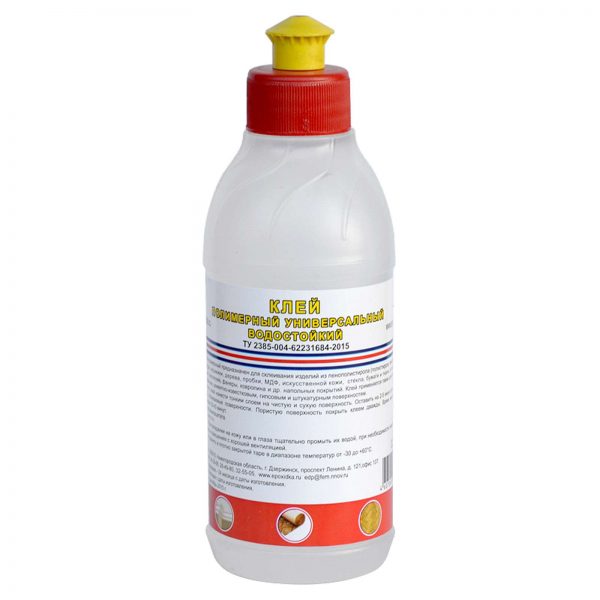
But universal adhesives not only reliably adhere materials to each other, but are not afraid of moisture. It will take 3-4 hours to dry, after which the product will be ready for use. Such glue is inexpensive, besides it is available - it is in almost every store, and is safe.
Professionals who plan to use hot melt adhesives can pay attention to Kleiberit brand products.
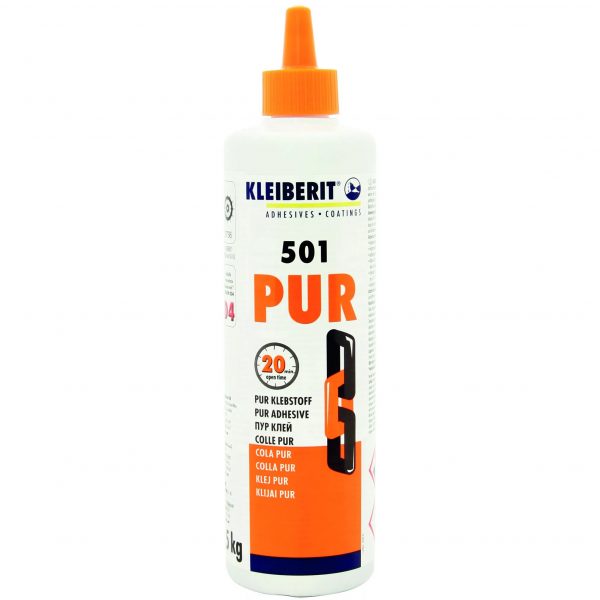
Professionals who plan to use hot melt adhesives can pay attention to Kleiberit brand products
Sometimes it happens that the edges with the adhesive layer are not available or for some other reason it is not possible to purchase it. In this situation, you can use an alternative - an edge without an adhesive layer. True, glue will still have to be bought separately.
In such a situation, you can use an alternative - an edge without an adhesive layer.
Additional Information!
Feel free to purchase glue from brands such as Moment or Lux 88. You definitely shouldn’t buy 88 Luxe glue, especially if the edge is made of PVC.
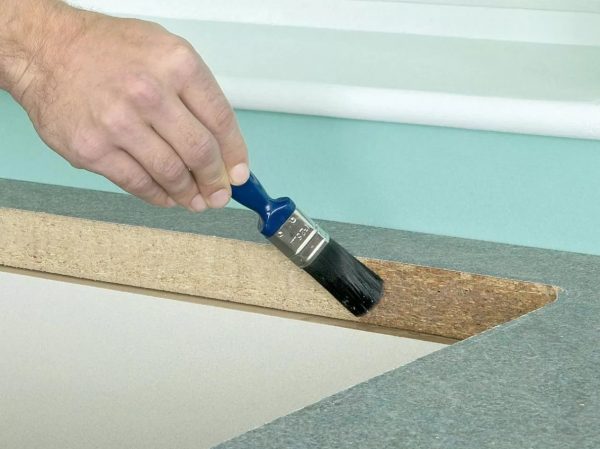
Glue is best applied both there and there - on the edge and on the end of the countertop. It is necessary to carry out pressing with the help of a rigid roller. If excess glue is visible, they must be removed immediately, and
Using a damp cloth. After the glue has completely dried, the edge can be carefully trimmed.
Glue is best applied both there and there - on the edge and on the end of the countertop. It is necessary to carry out pressing with the help of a rigid roller.
You can do the worktop stitching with your own hands, the main thing is to follow the instructions and take into account all the important nuances. To consolidate everything that was written in this article, we can summarize and in a generalized form once again recall all the recommendations of specialists.
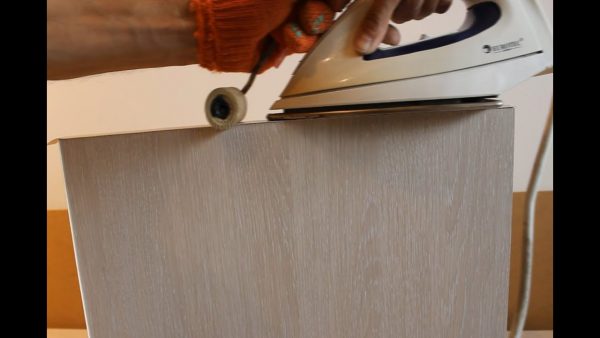
1. The edge may have glue on the inner surface, and may be sold without it. The list of necessary tools and materials and the progress of work will depend on this. If there is already an adhesive layer, then using an iron in a low-temperature mode (this mode may also be called “synthetics”) or a building hair dryer and a hard roller, we impose an edge on the end face, which was previously cleaned of dust and small crumbs. Be sure to ensure that the entire surface of the slice is covered with an edge.
Be sure to ensure that the entire surface of the slice is covered with an edge.
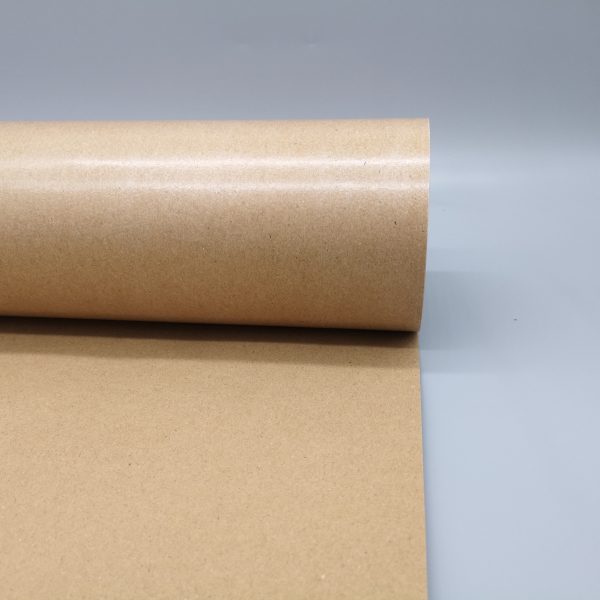
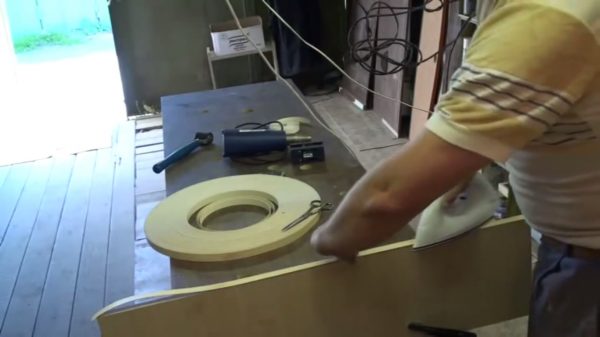
2. After we have made sure that the edge lies evenly and covers the entire surface, we begin to heat it (if an iron is used, then the material should be covered with a light cloth or one layer of newspaper). The material must be smoothed and flattened, exactly until it has completely cooled down.
The material must be smoothed and flattened, exactly until it has completely cooled down.
3. If you could not find a specialized adhesive, you can use universal. For its high-quality “fight” the surface should be especially clean.
If you could not find a specialized adhesive, you can use universal.
4. Adhesive can be applied to both surfaces that connect to each other. It is necessary to firmly press the edge to the end so that the glue glues the two materials well. To smooth the surface, you can use a rag or roller.
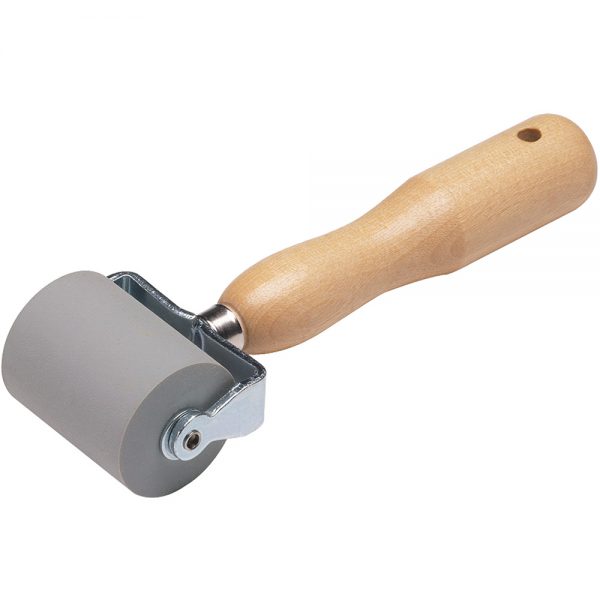
To smooth the surface, you can use a rag or roller.
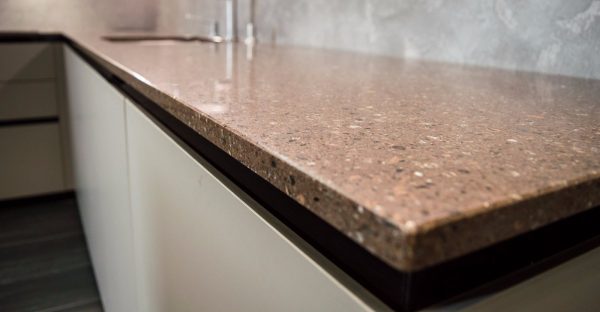
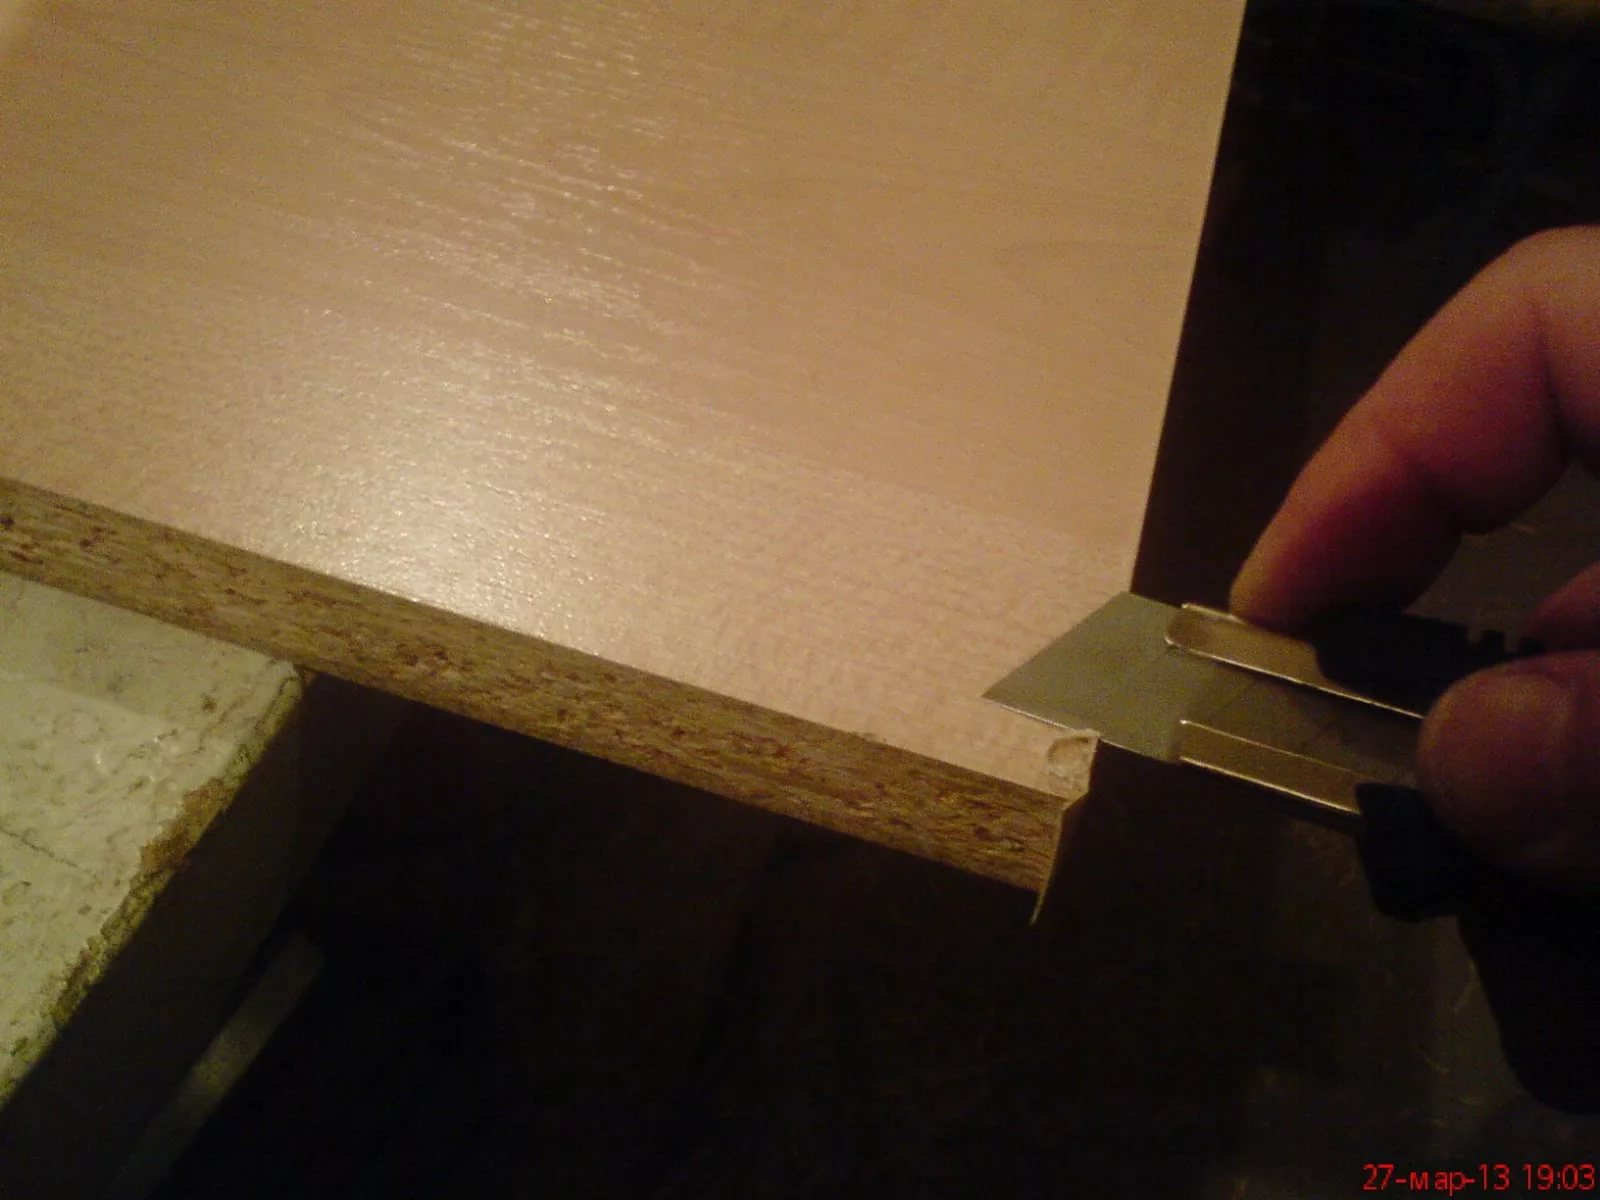
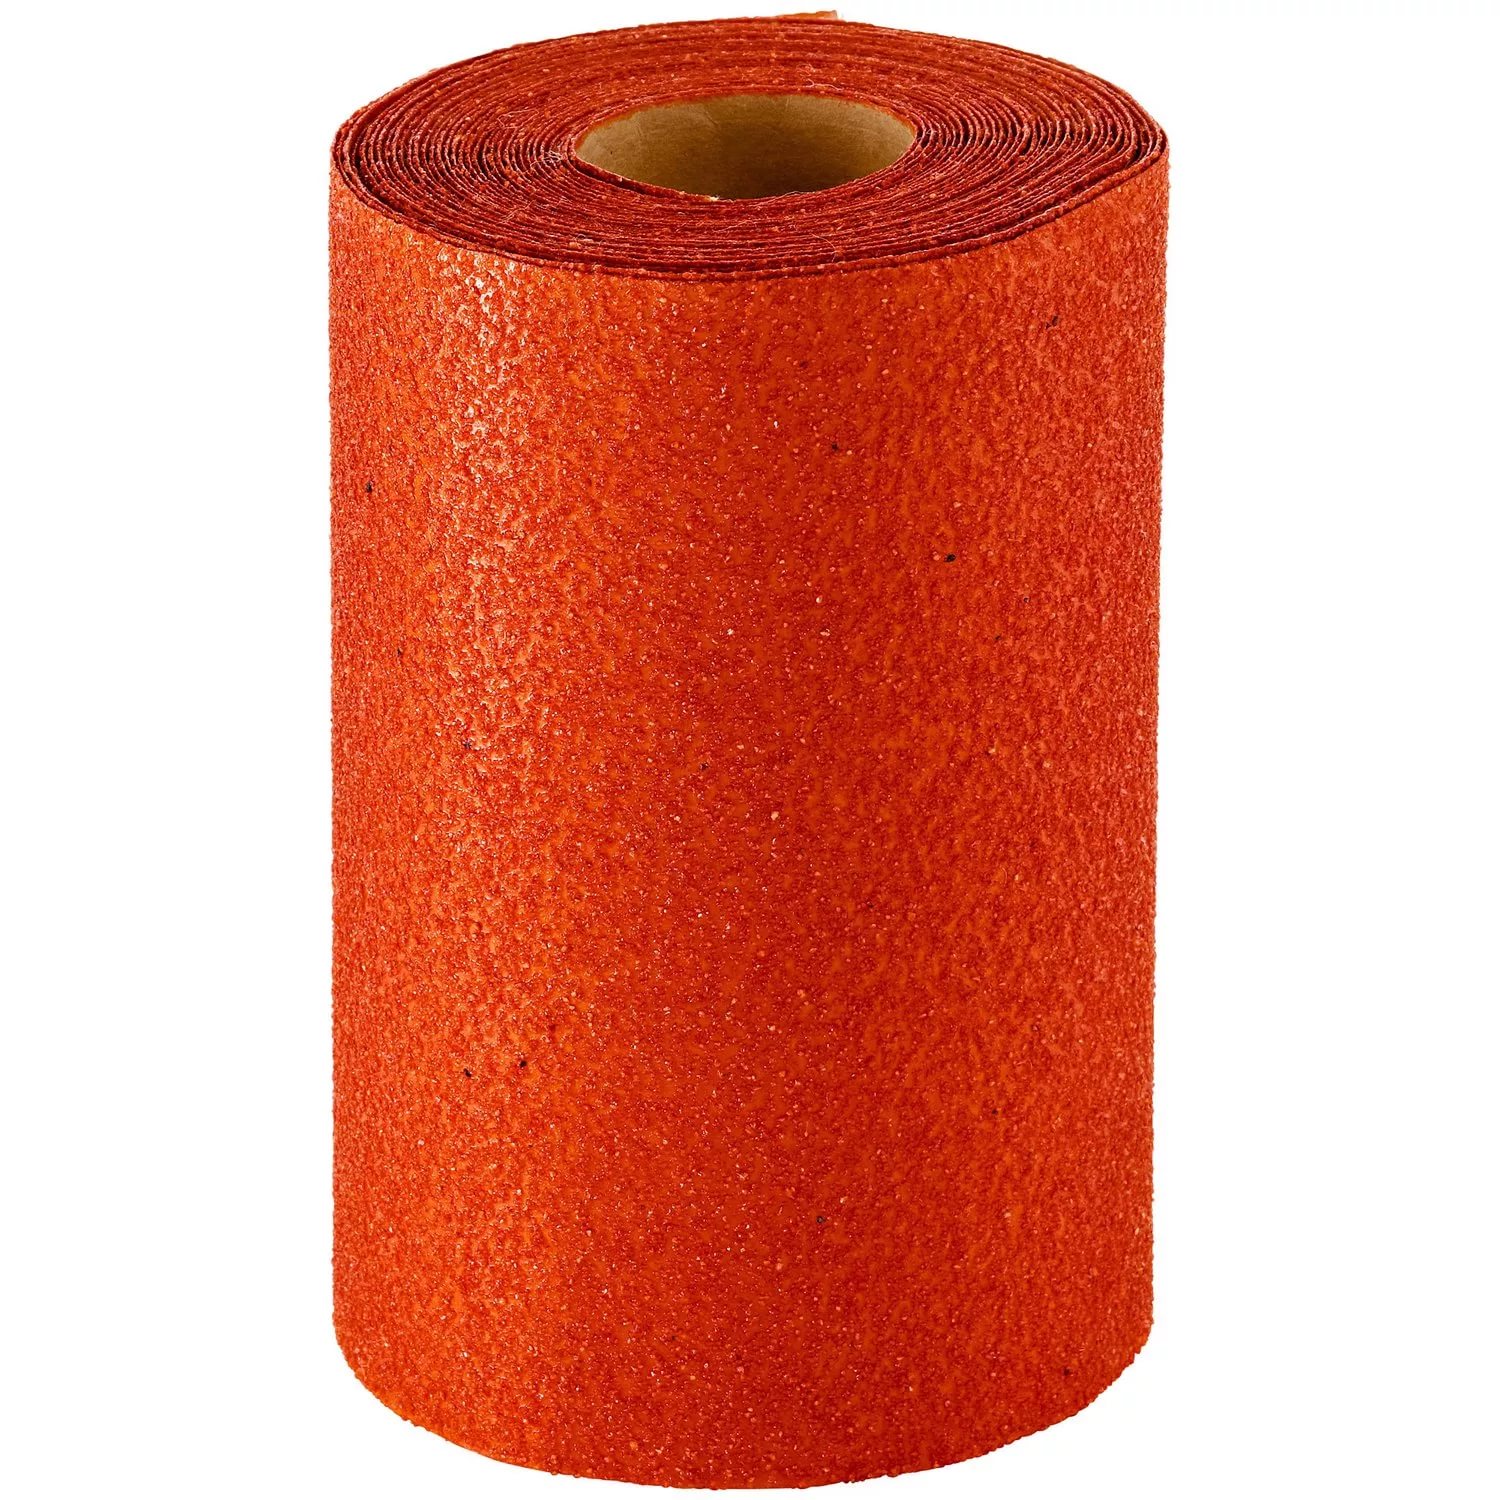
5. After the adhesive has set, the protruding parts can be cut or chipped. Chipped places can be treated with sandpaper.
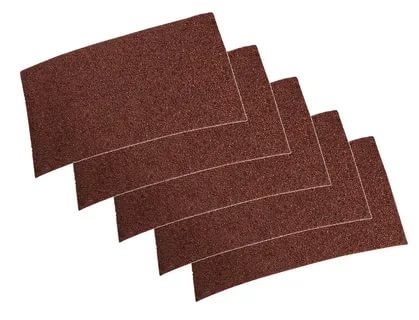
Chipped places can be treated with sandpaper.
Do-it-yourself crumbling of the countertop is a fairly simple process, but even here it is important to know certain rules and features. This article examined how you can glue the edge to the countertop at home, therefore, after reading the materials in this article, you can safely get down to business.
Do-it-yourself crumbling of the countertop is a fairly simple process, but even here it is important to know certain rules and features.


Thank!
In the near future we will publish information.