64 photos
Beautiful blinds can decorate the room. But, it is not necessary to buy them and pay for the installation. It’s quite ...
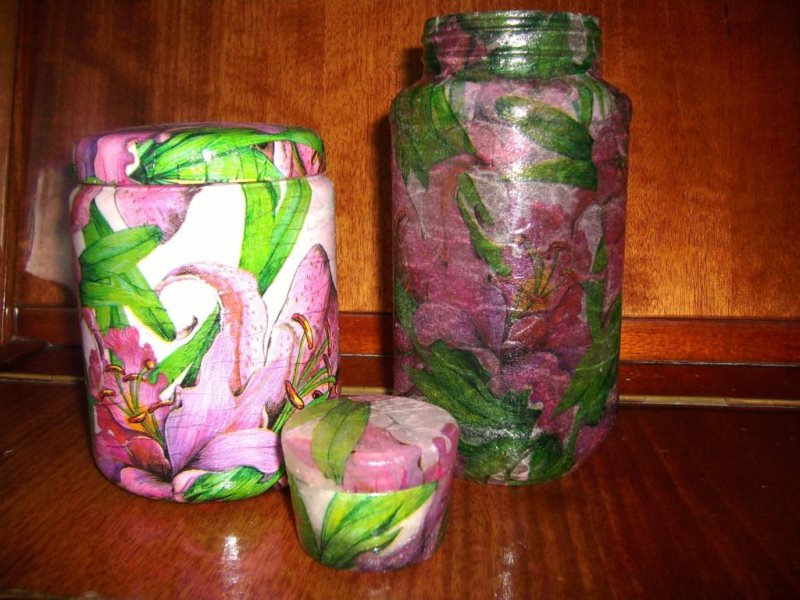
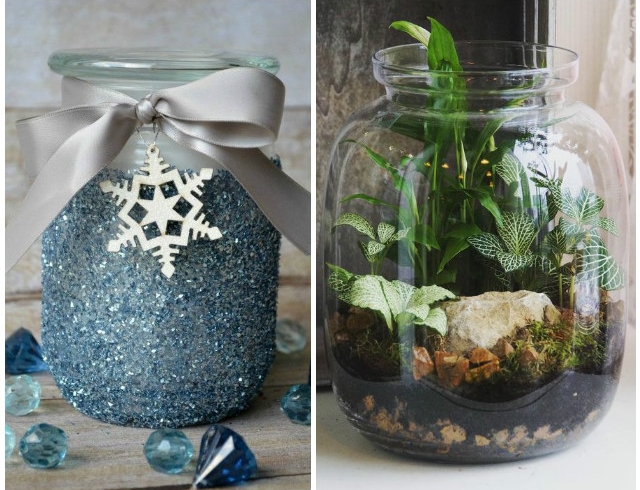
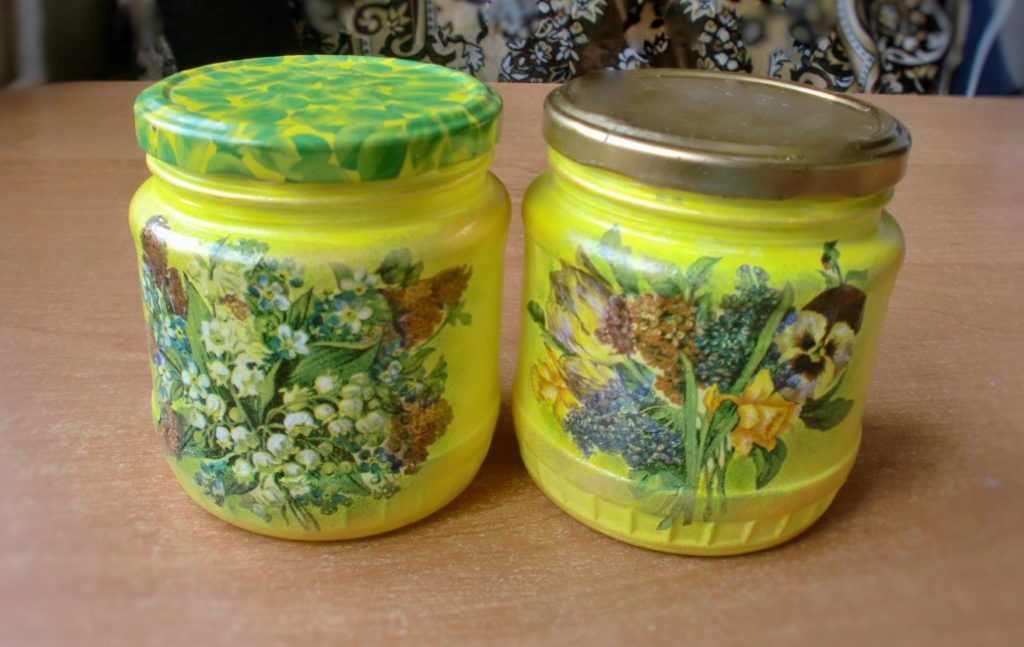
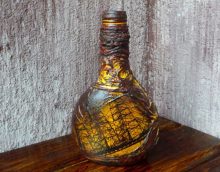
Do-it-yourself home décor is gaining in popularity. They add special charm and comfort to the room. Using various techniques, skilled needlewomen decorate bottles, flower pots, make beautiful books and kitchen shelves, walls and even ceilings. We suggest starting small and decorating the glass jar with your own hands.
DIY jewelry is not only unusual in appearance, but also contains a piece of soul that gives a special atmosphere to the home interior
Content
Before you start decorating, you need to consider several important points that affect the further course of actions:
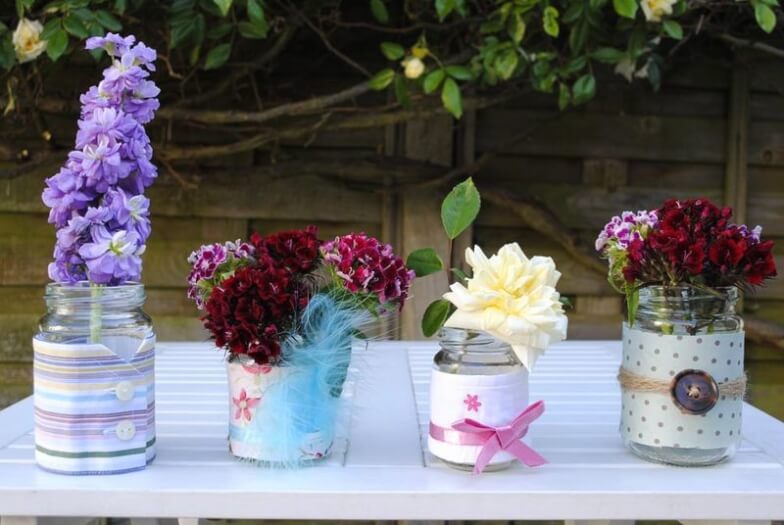
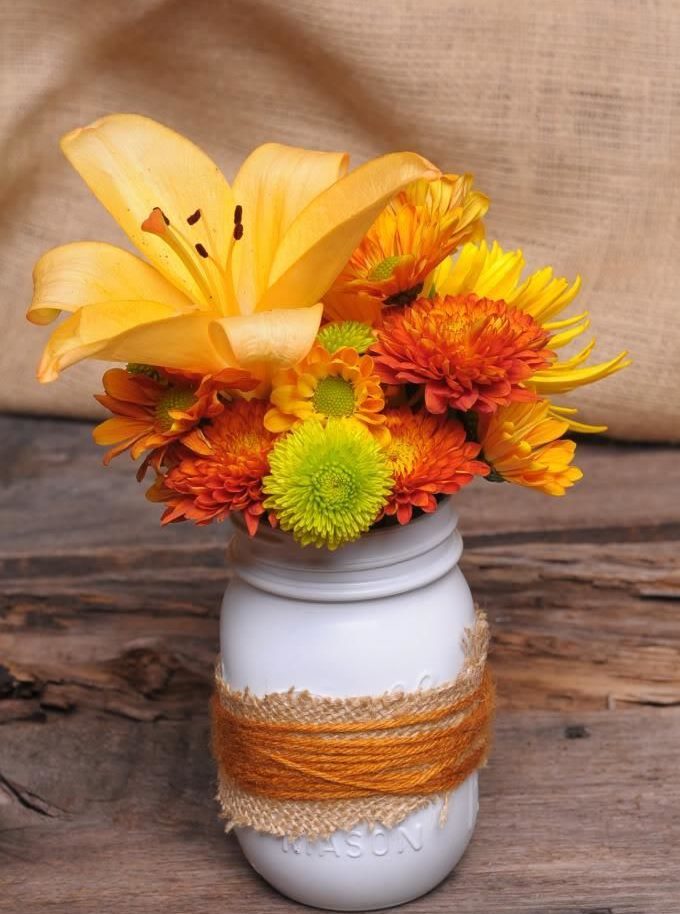
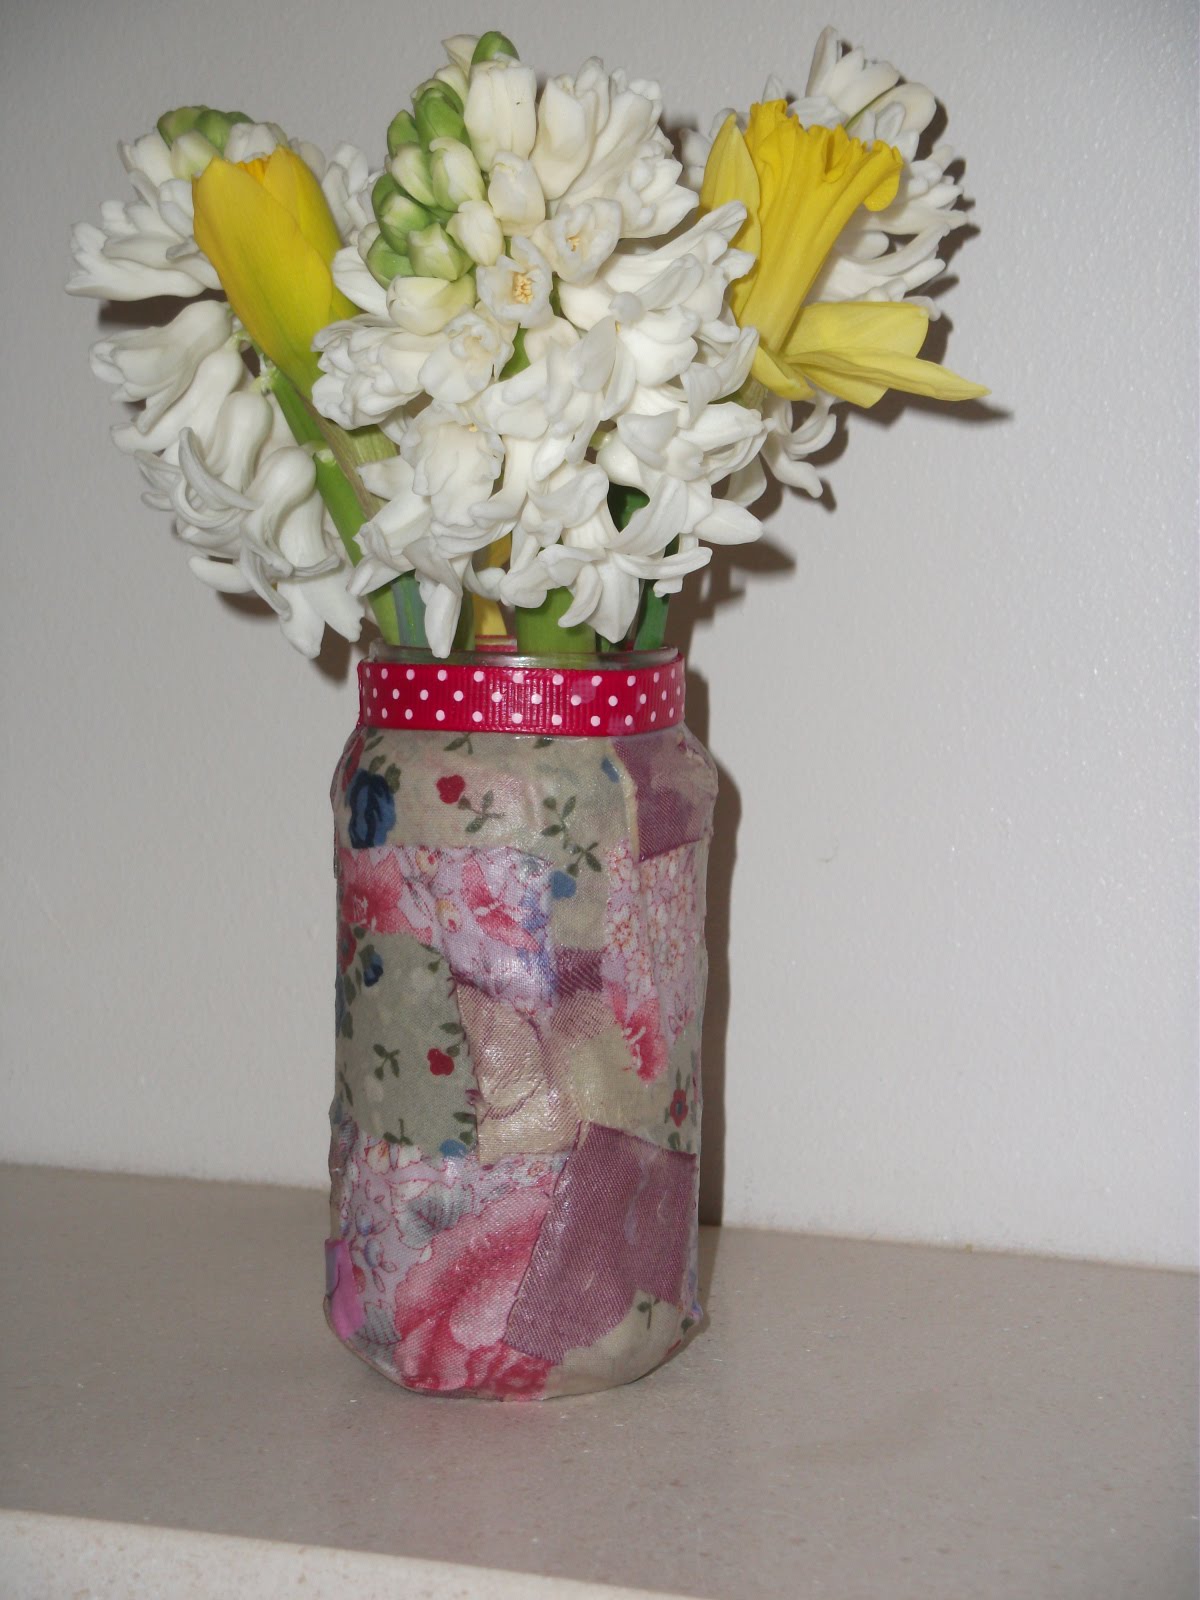
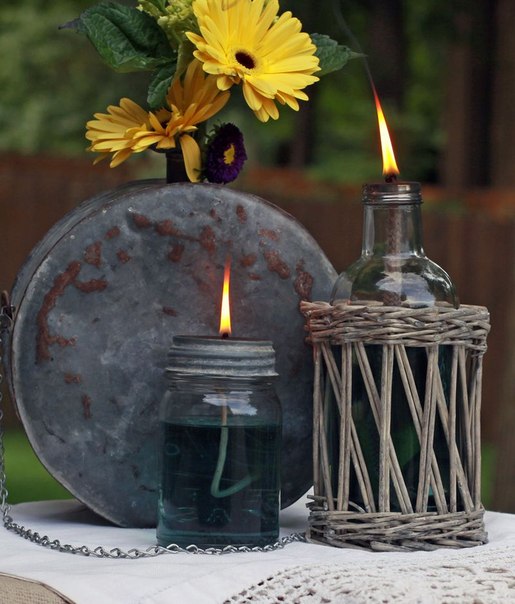
Small vases for fresh flowers
Now you can safely take a glass jar, acquire the necessary materials for decoration and begin decorating. But first you need to decide what materials we need based on the selected technique.
There are many ways to decorate a glass jar with your own hands. Remember all your skills, and we will help you choose the right technique:
| Material | Equipment |
| Paper | Quilling, applique, collage |
| Paint | Watercolor painting, spray graffiti |
| Natural materials | Mistaken weaving by the vine |
| Thread | Yarnbombing, patchwork, felting |
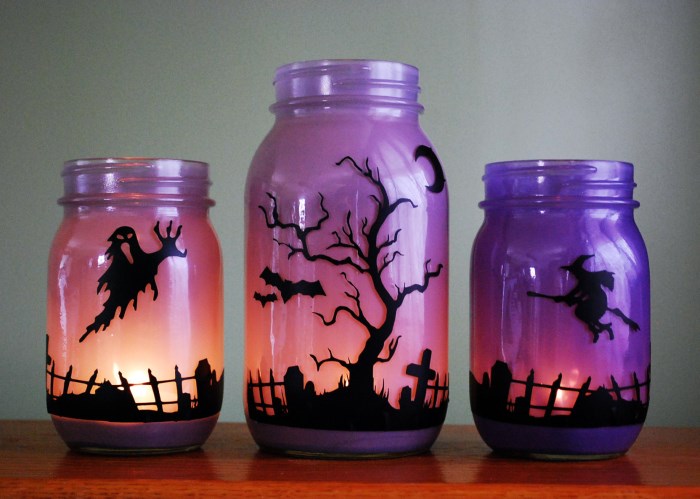
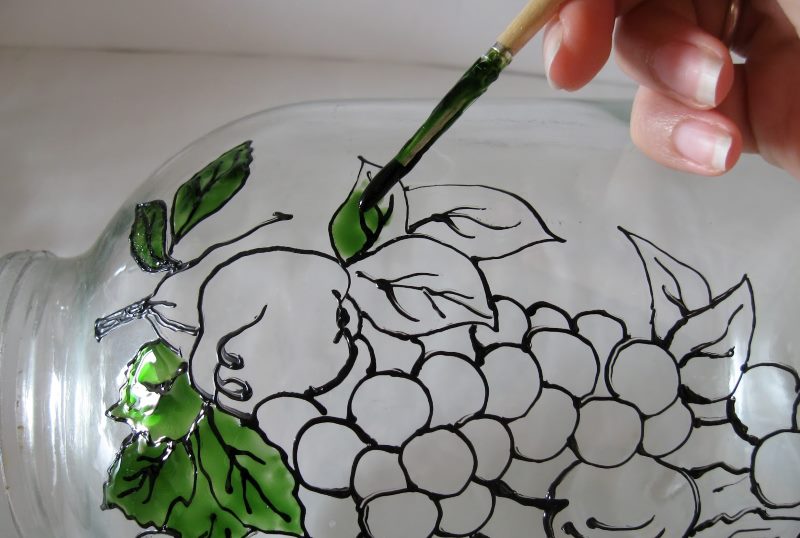
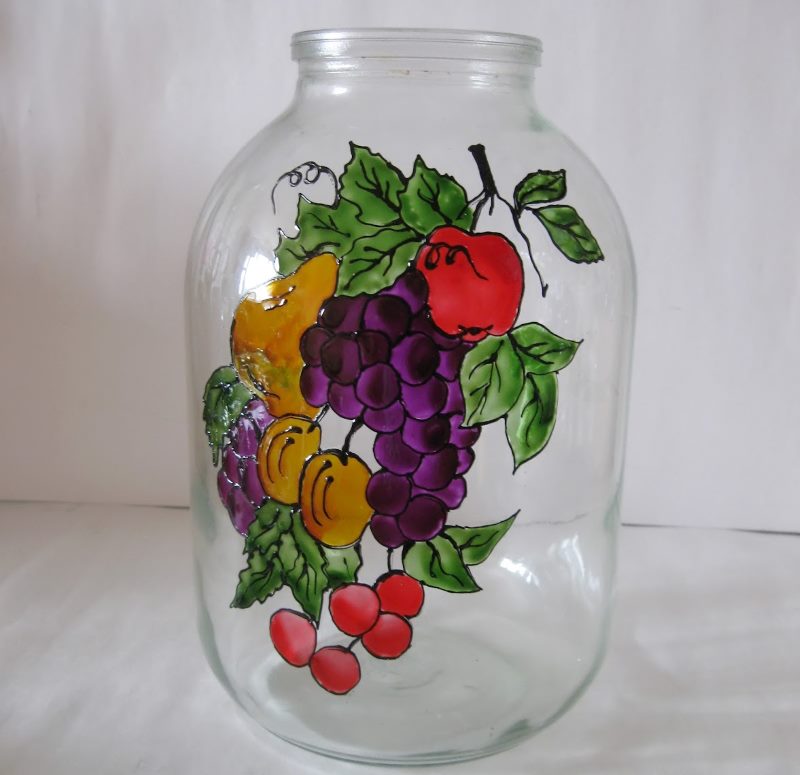
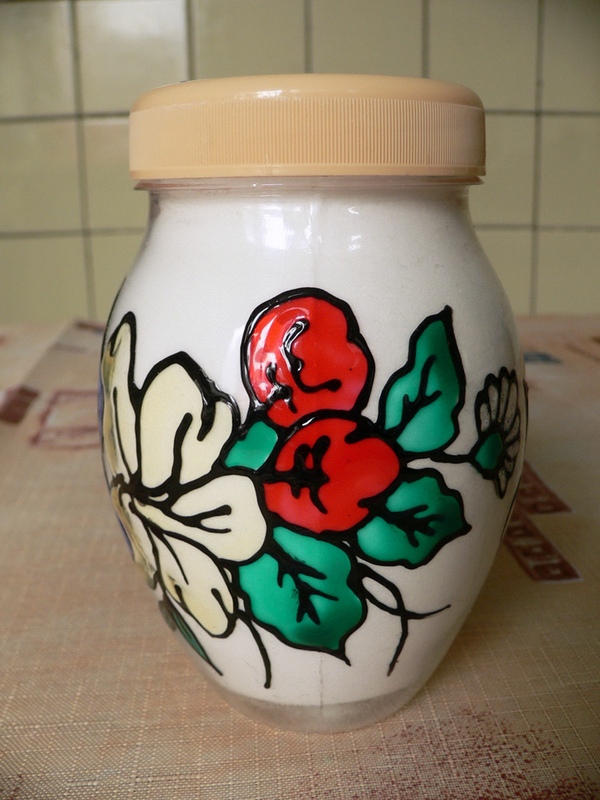
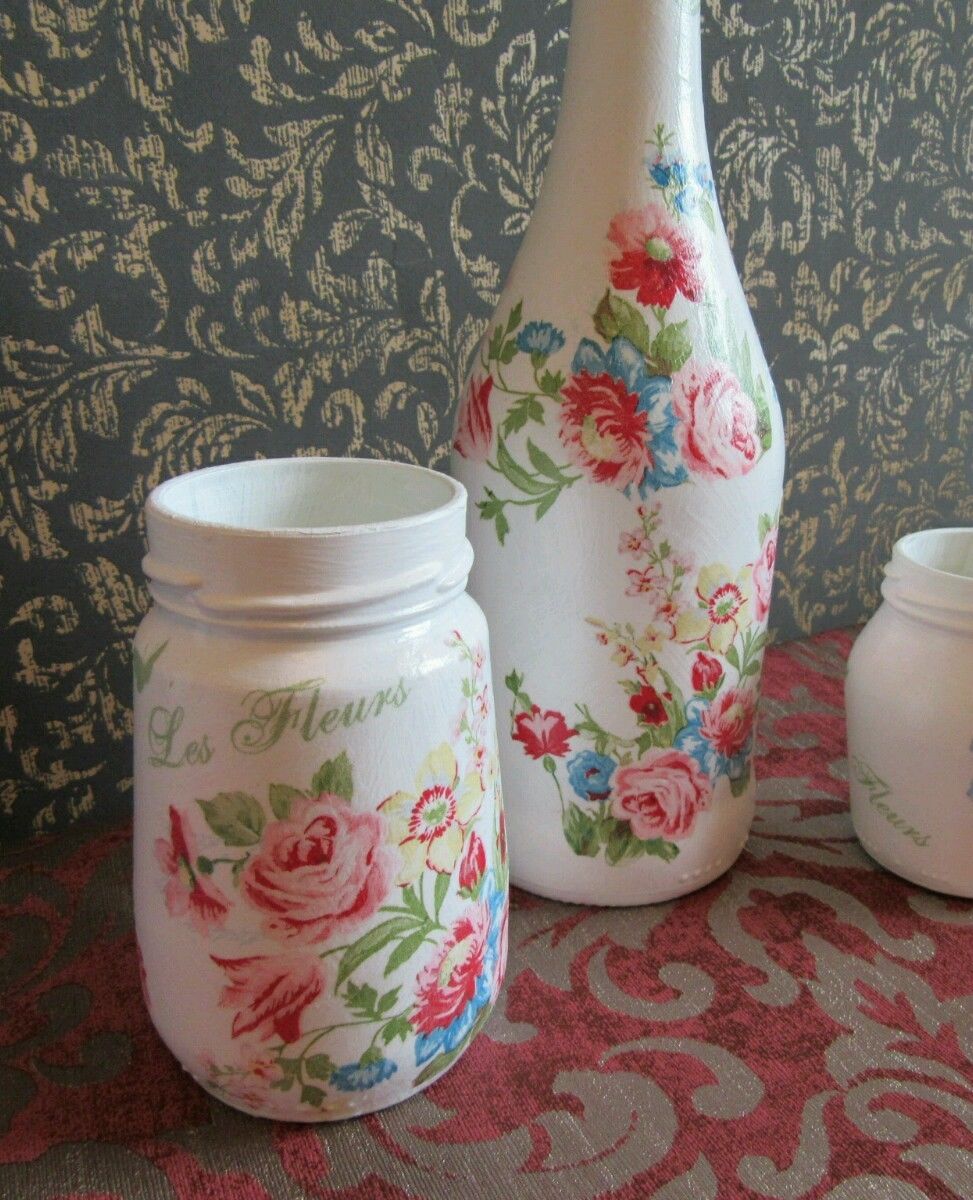
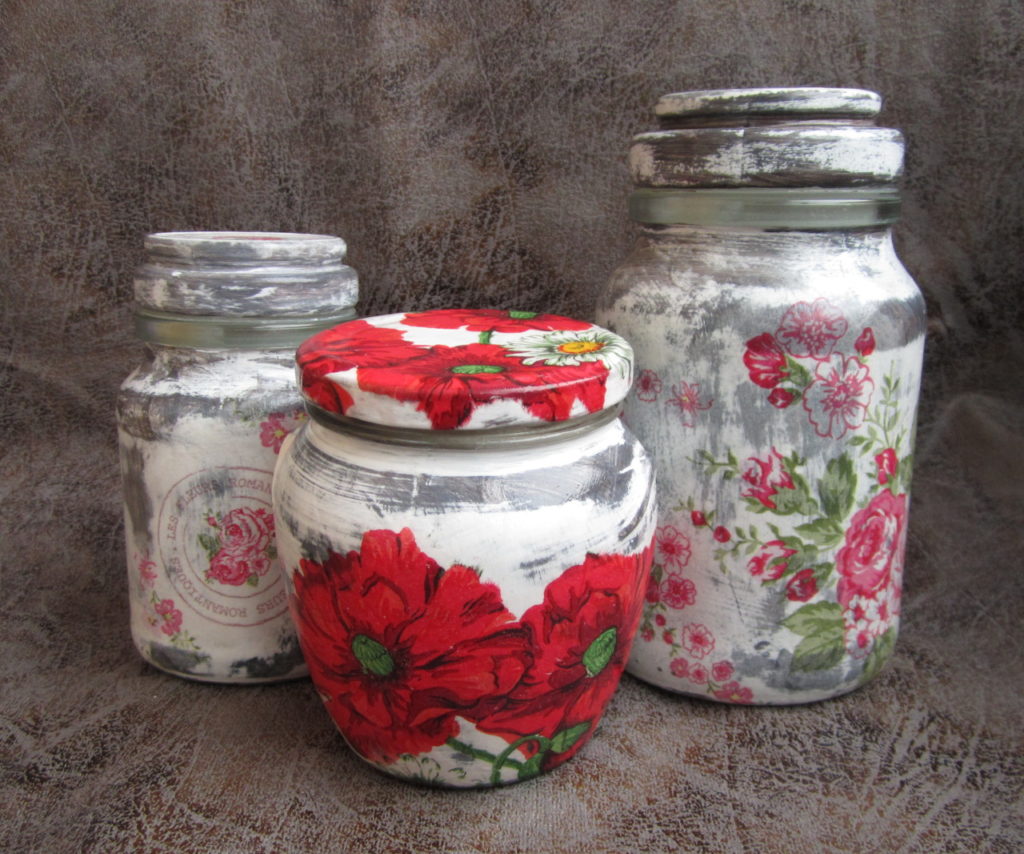
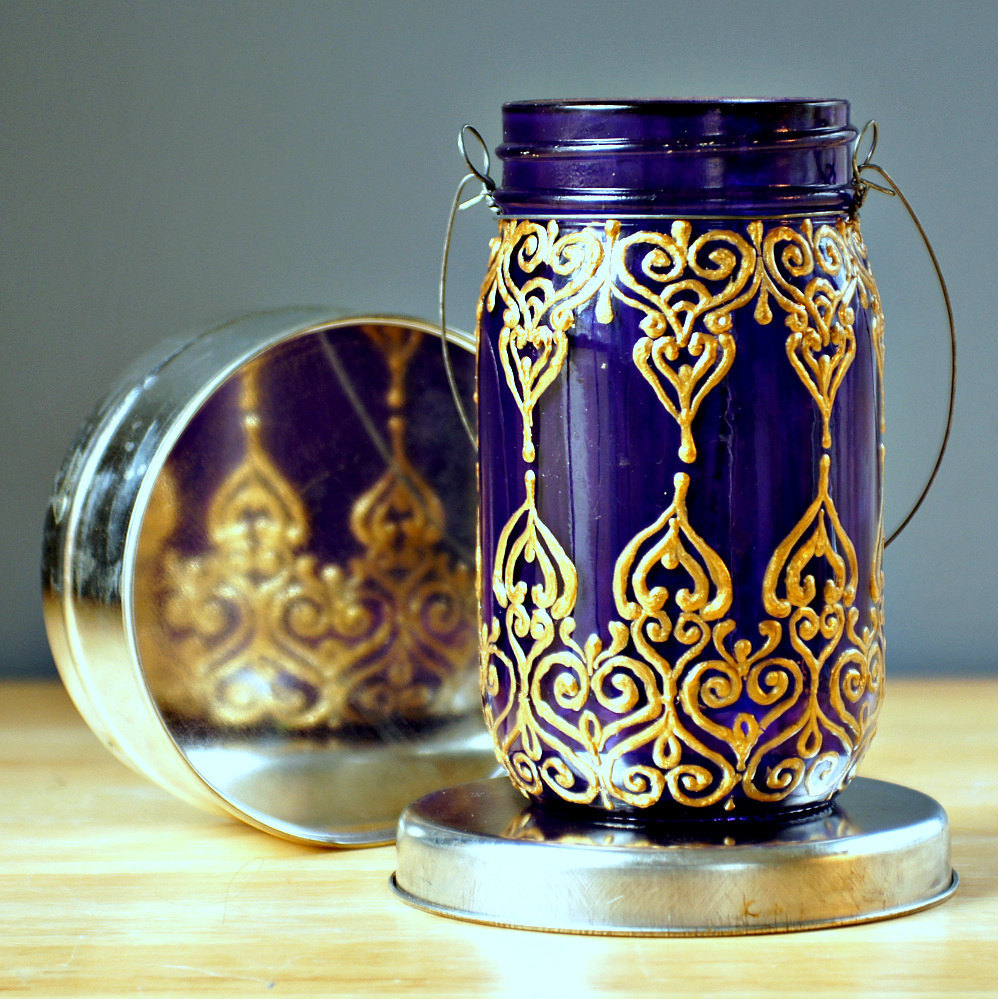
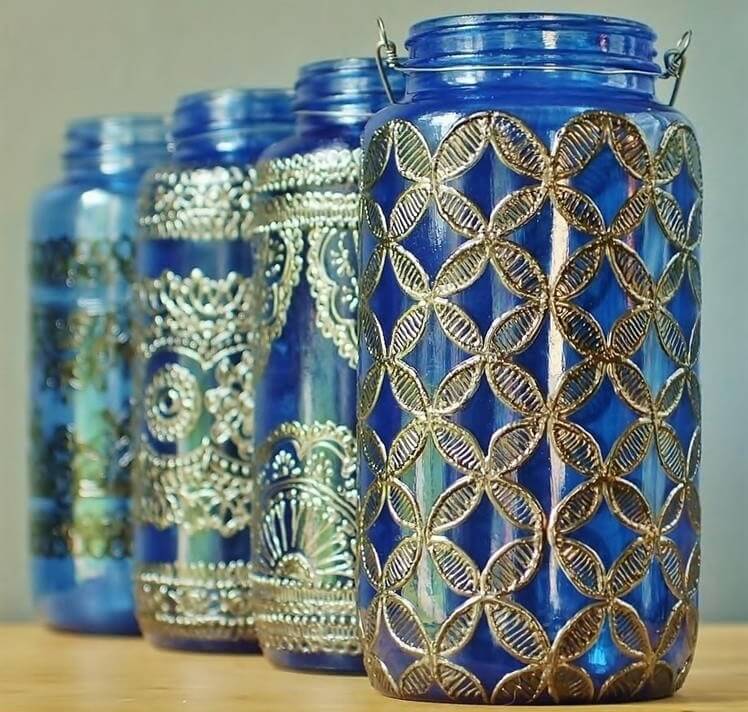
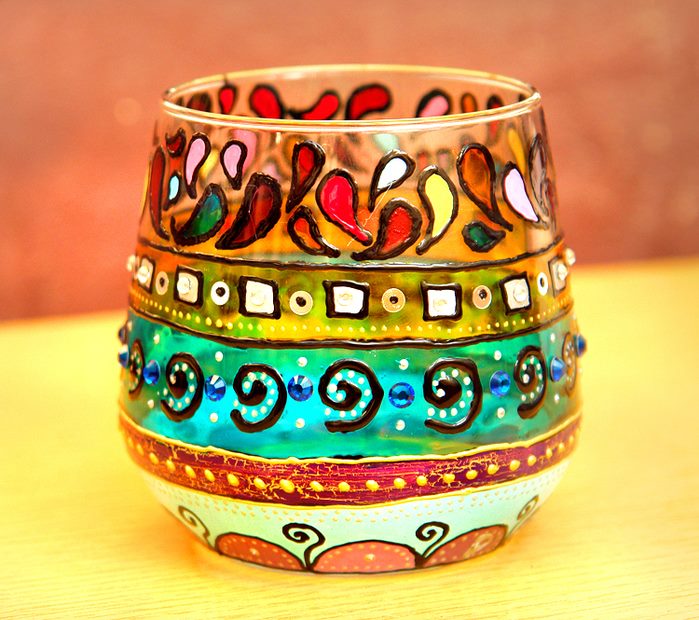
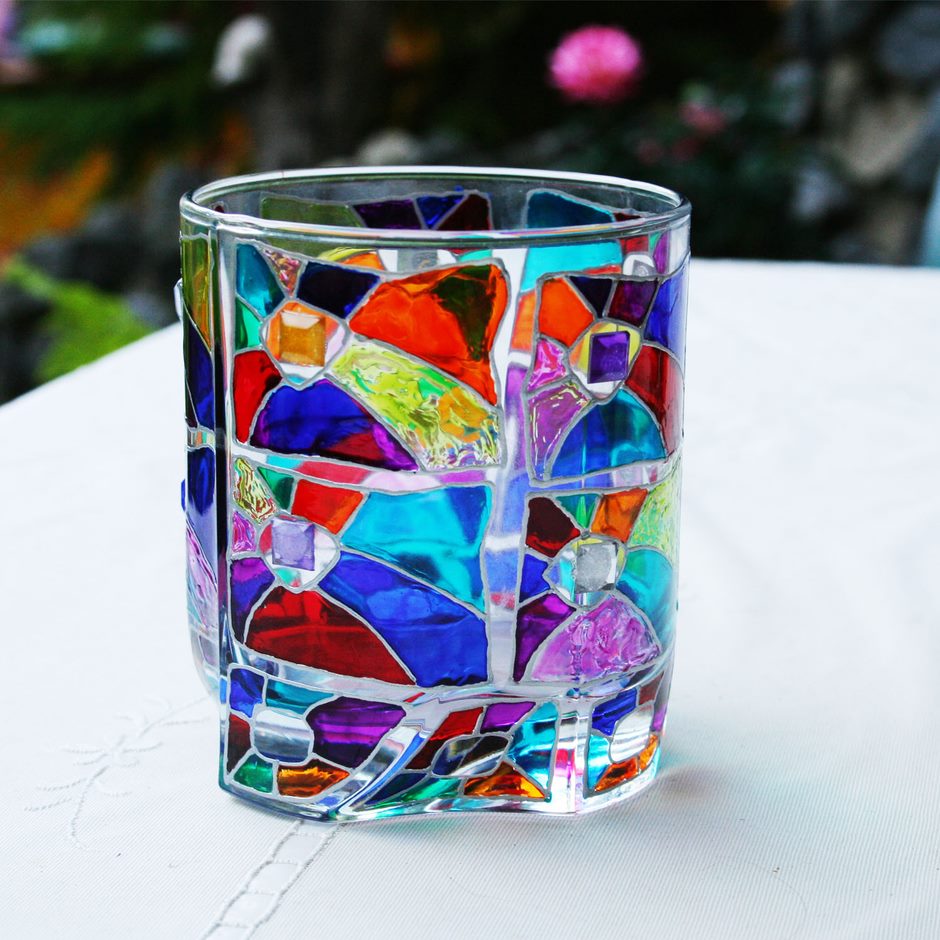
Painting cans with paints allows you to create original decorative objects
This material provides a ton of possibilities. It can be used even if you do not have special artistic skills.

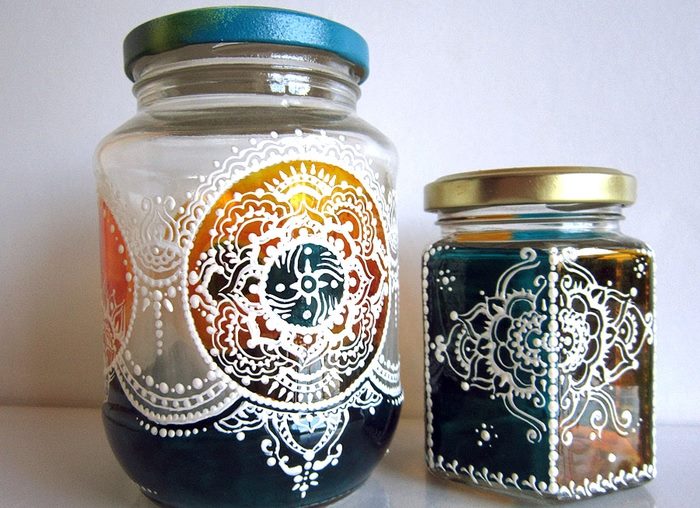
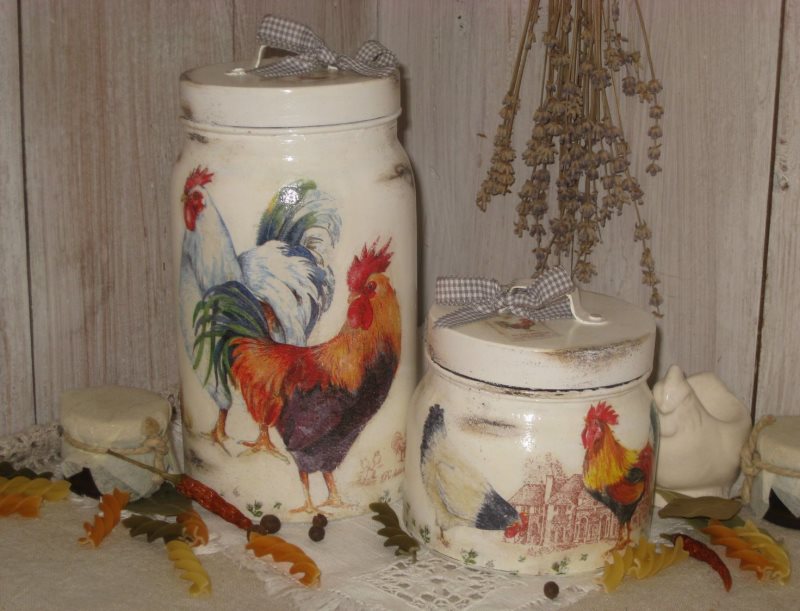
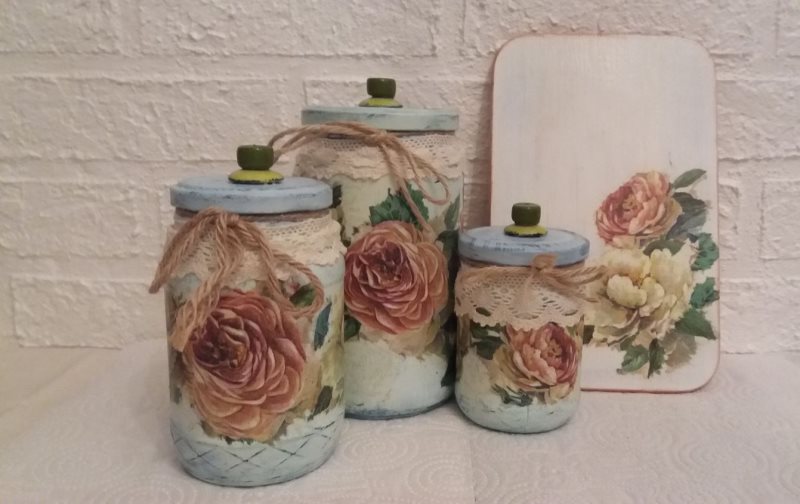
Artistic coffee cans
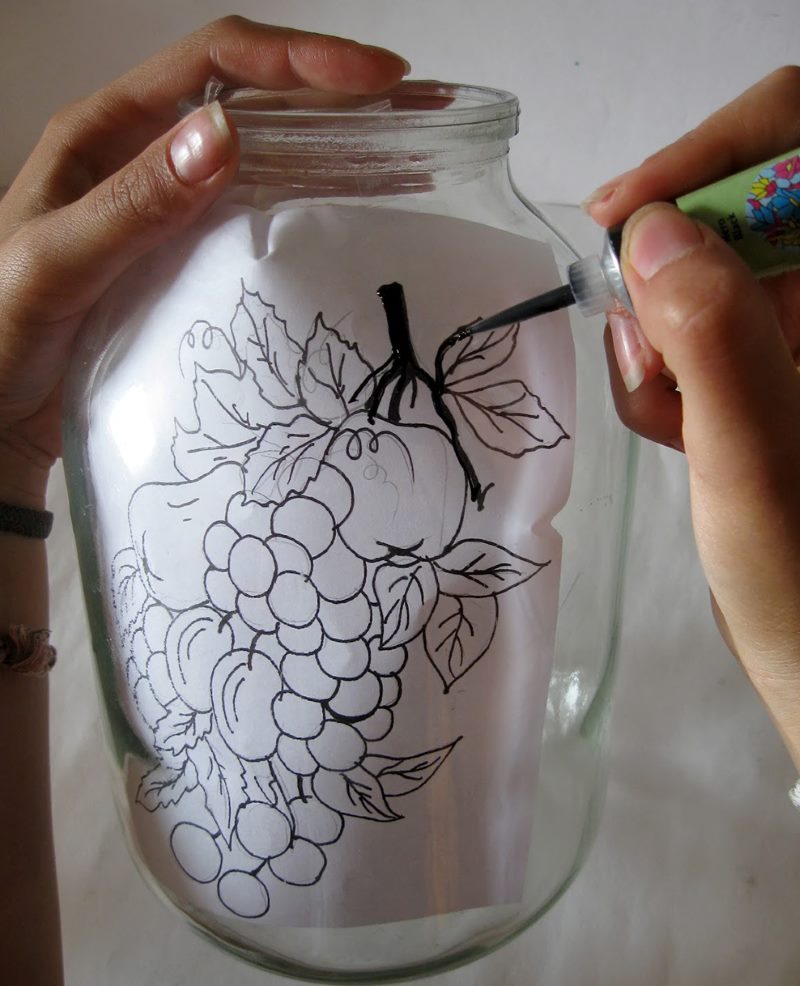
First, take a brush and waterproof paint.
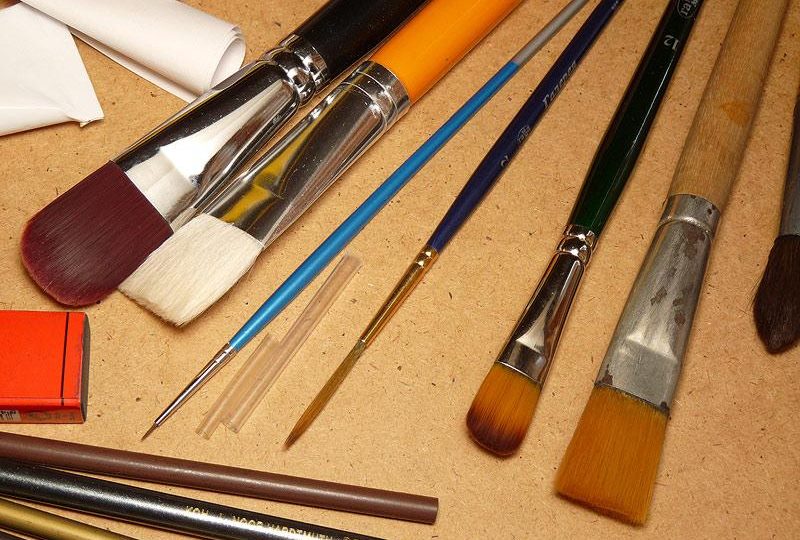
Any brushes are suitable, the main thing is that the villi hold tight
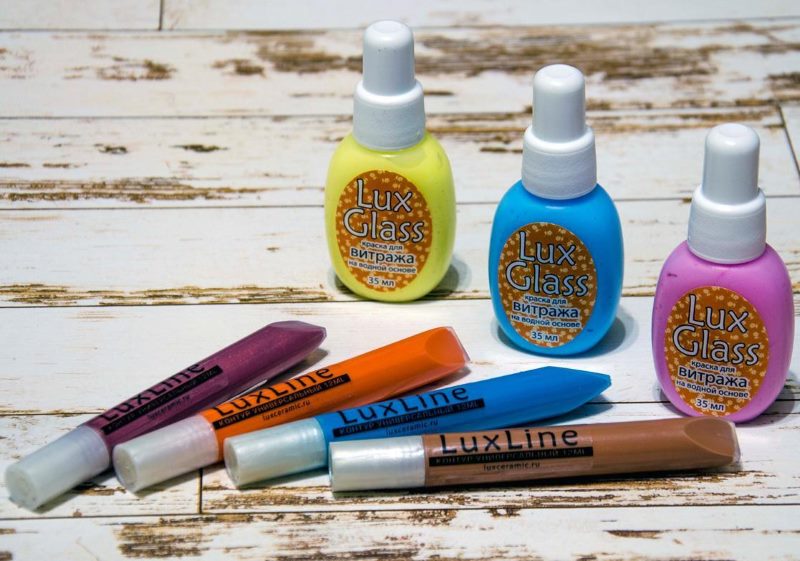
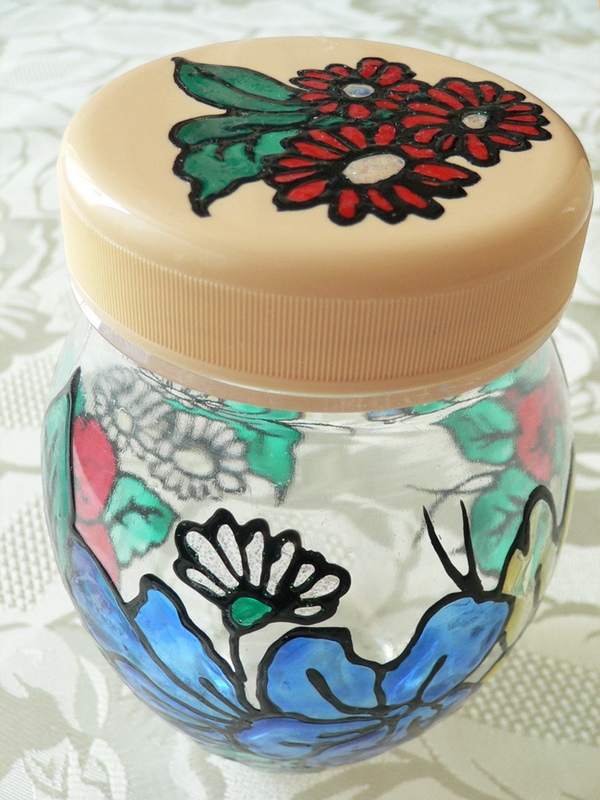
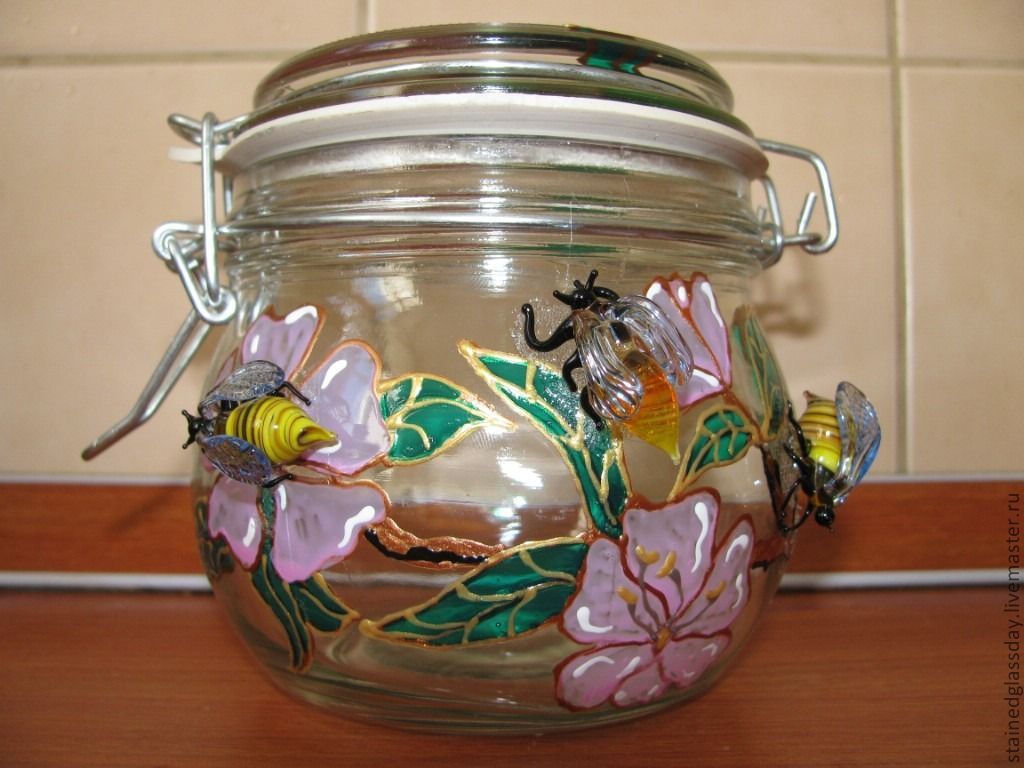
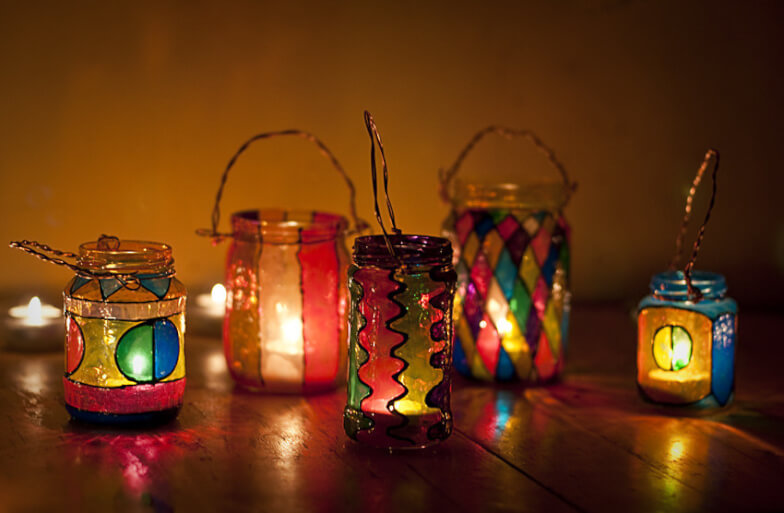
It is better to use stained-glass paints on a water or synthetic basis
Important! For drawing on a glass jar, it is better to use special paint.
Thin brush suitable for fine workmanship
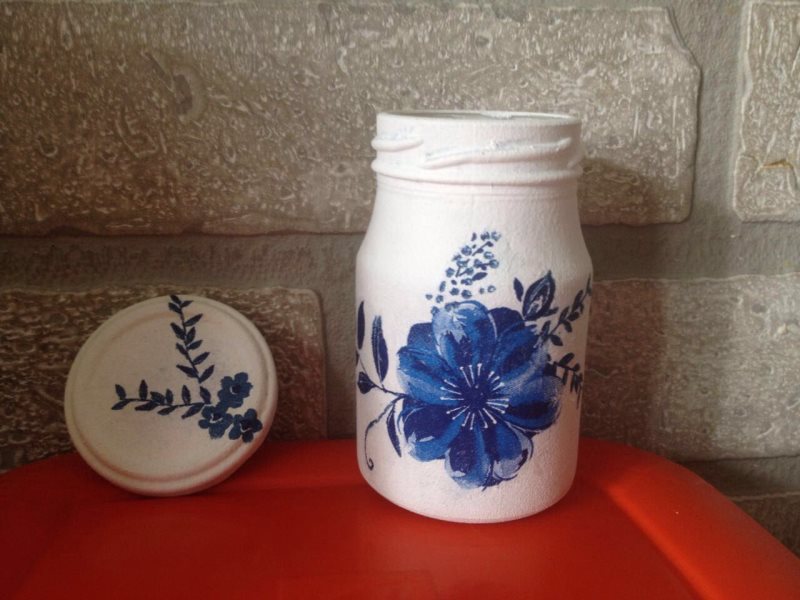
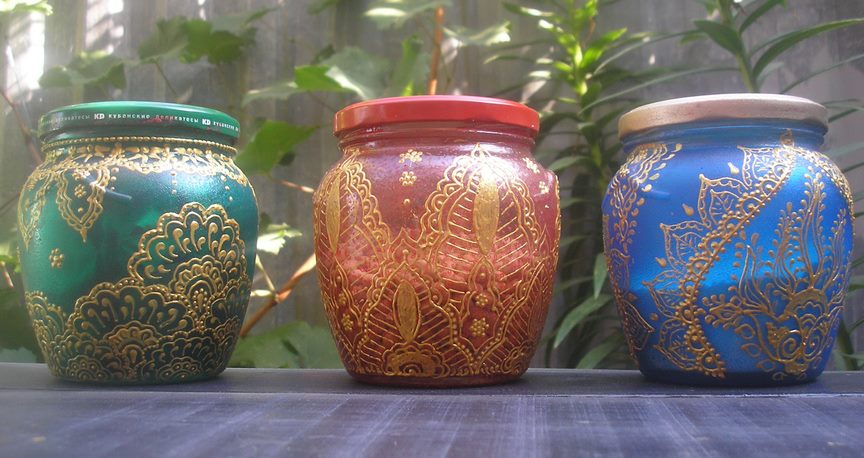
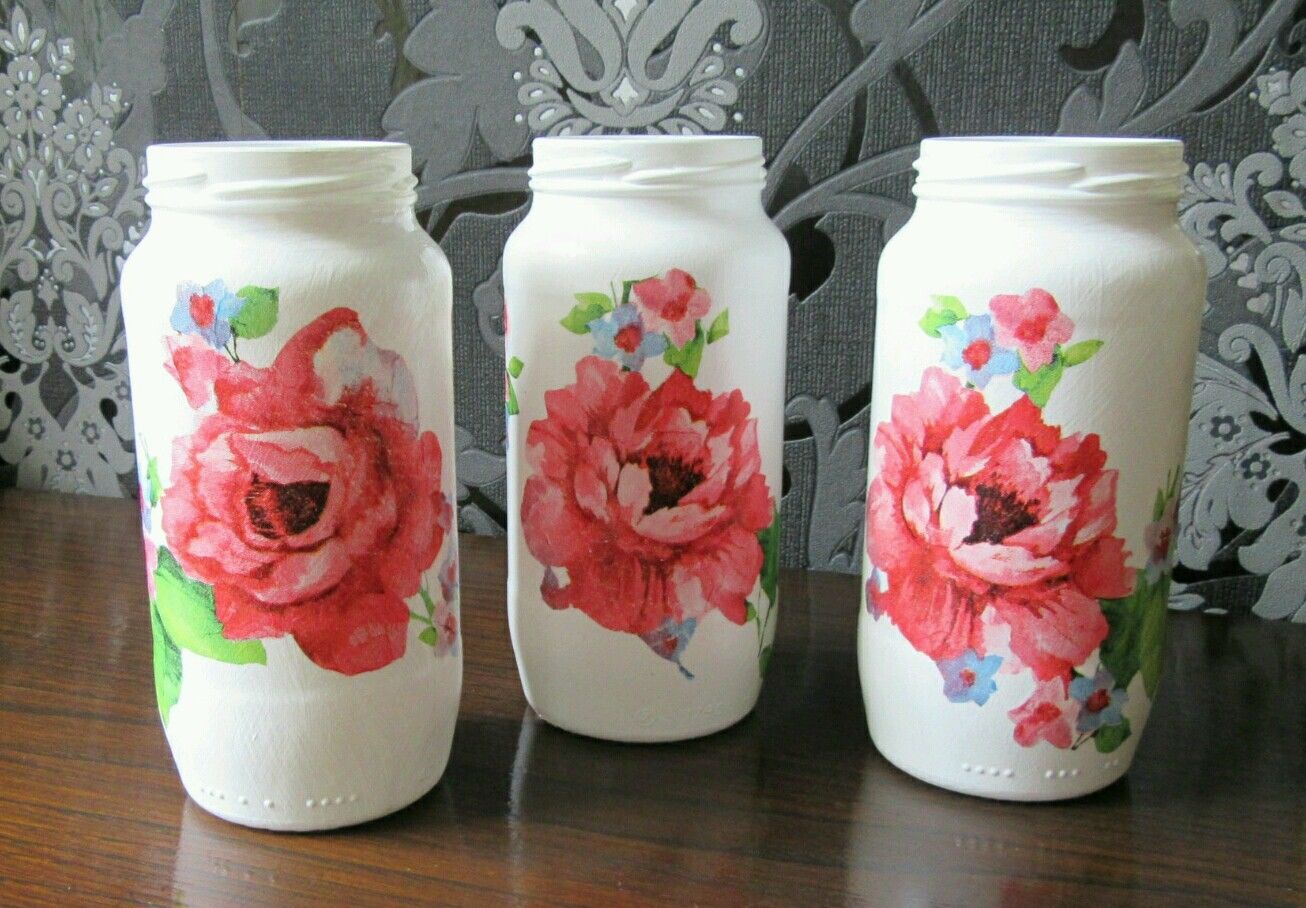
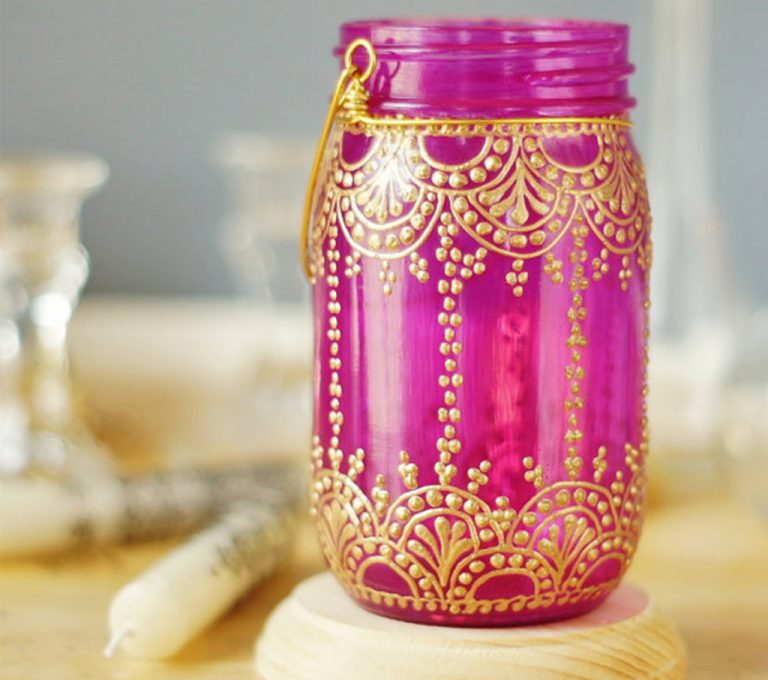
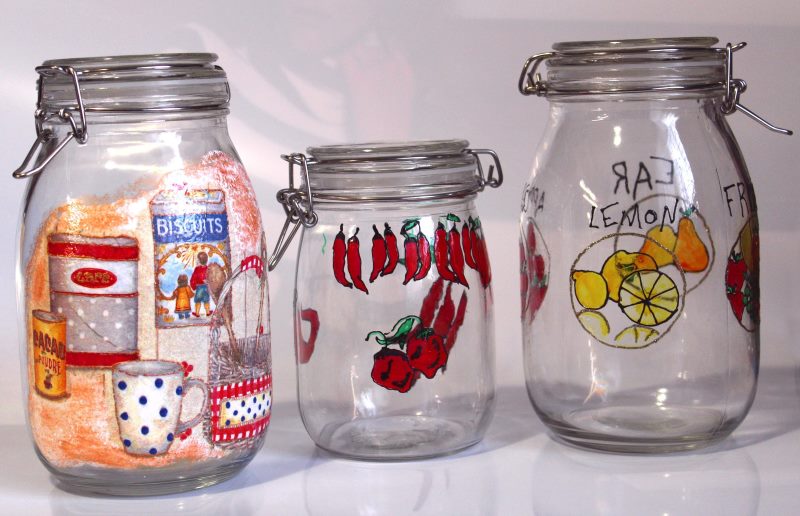
Using paint, you can create the simplest motifs: patterns, ruffles, flowers, geometric shapes - in general, everything that comes to mind. If your skills allow, come up with a more complex story, and connect it with the design theme.
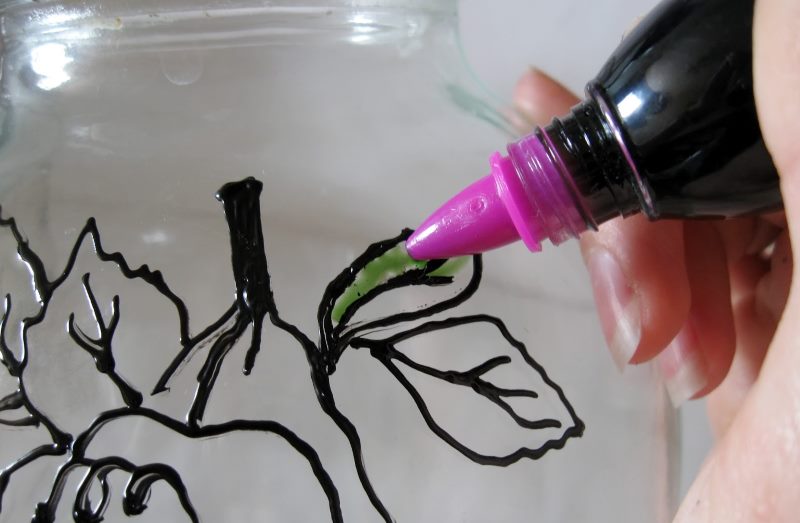
Coloring a drawing conveniently with a tube with a dispenser
It is worth noting that you can draw not only with special paints. If the can is not located in a bathroom or other room with high humidity, feel free to grab gouache or watercolor. The latter, of course, will not be so bright, and is less suitable for drawing on glass.
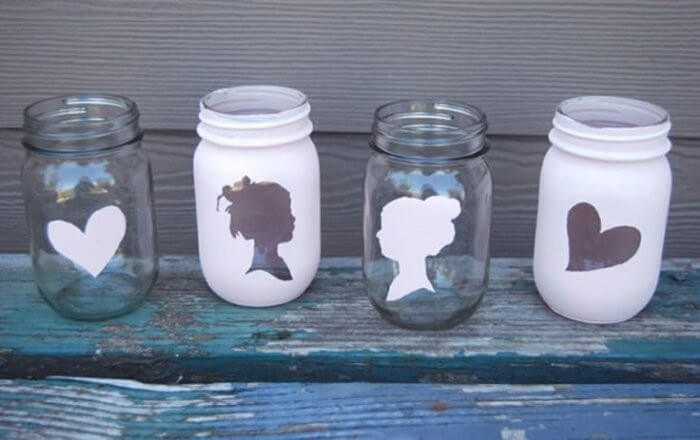
If you can't control free ideas, try stencils.Choose your favorite sketch on the Internet or cut it out from a magazine, then wet it and lean it against the bank (this way you will fix it on the surface). Now sketch the part that remains open and the drawing is ready. So you can create a variety of topics, from simple to complex. After drying, the paper will peel off from the can, then throw it away and enjoy the job.
With the help of a stencil, you can apply a drawing of any complexity, if the leaf with the ornament is fixed inside the can
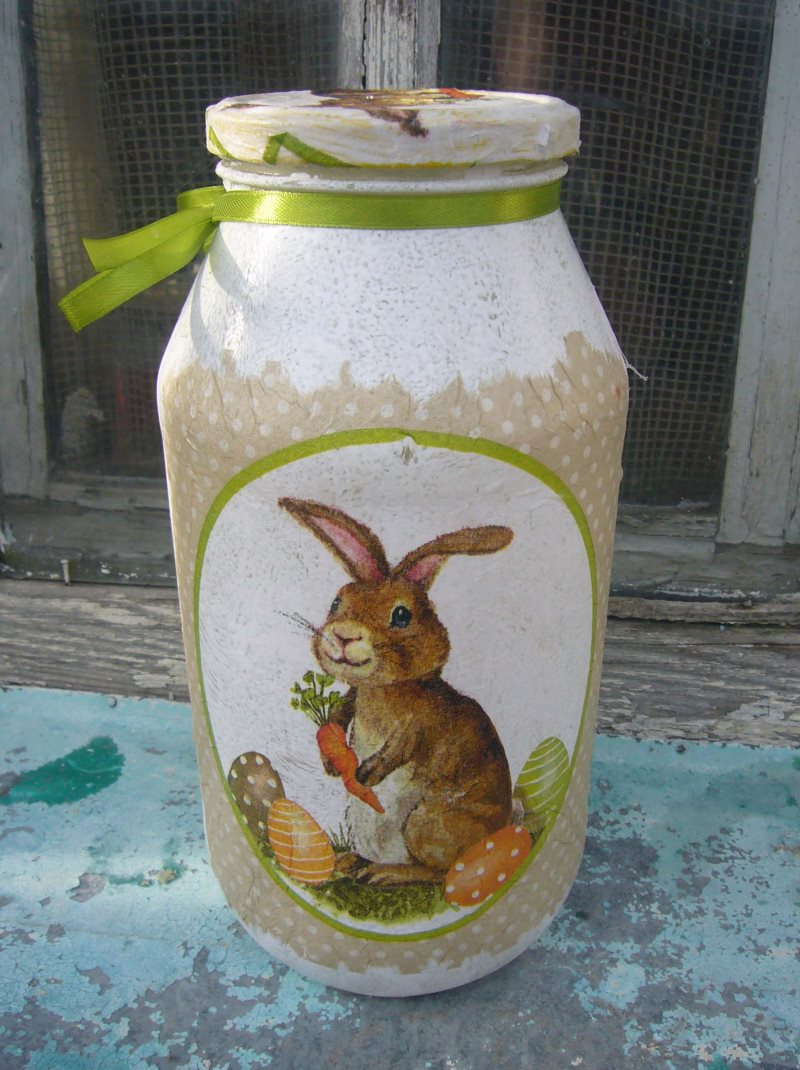
So you can make an unsightly jar fun and unusual
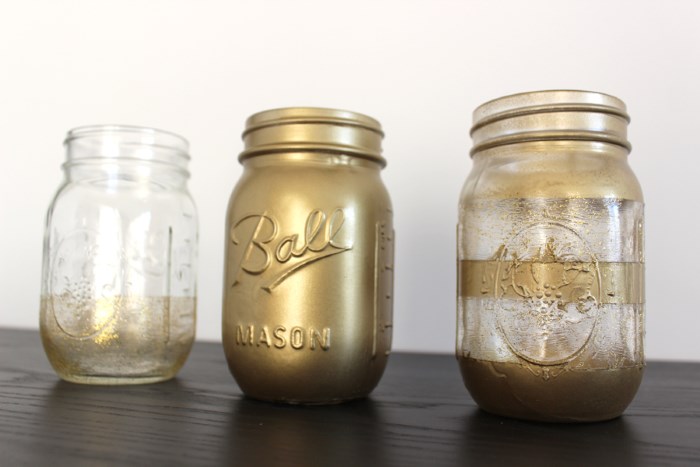
A suitable option is spray paint. It can be used both for full coloring in one color, and to create patterns, but in the second case, stencils need to be used.
The easiest technique is application. It can be used for joint creativity with children, or for self-creation of a masterpiece. For this you need colored paper. Both one-sided and two-sided are suitable.
Stock up on material, choose an idea for implementation, and get started. The most common options are flowers. The floral theme has a wide range of motifs and is easily translated into reality by various techniques.
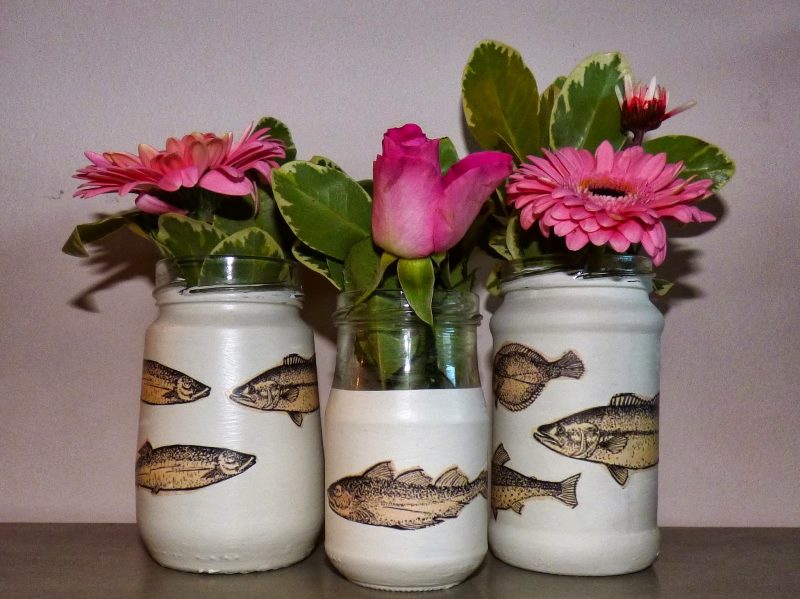
Flower Vases with Fish Patterns
With the help of the application you will be able to make a three-dimensional picture or flat. However, the first one looks more interesting and attractive.
Interesting idea - weaving newspaper tubes
Quilling
Here you will have to work hard and learn at least the basics of technology. Its essence consists in twisting paper strips with the help of a special stick, which can be replaced with a round pen or pencil. Then, by creating the necessary bends, the resulting element is given the desired shape. An integral picture is formed from these elements. This technique is interesting in its final form, as well as in the process. It can be considered as meditative, and immersed in complete relaxation with its help.
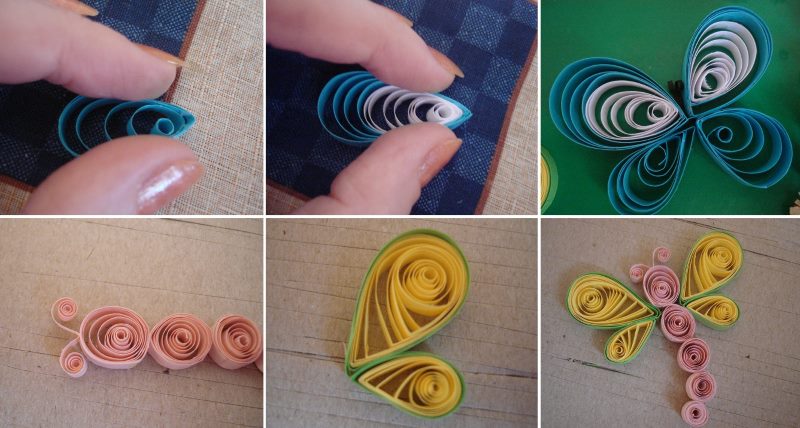
An example of creating a paper butterfly using the quilling technique
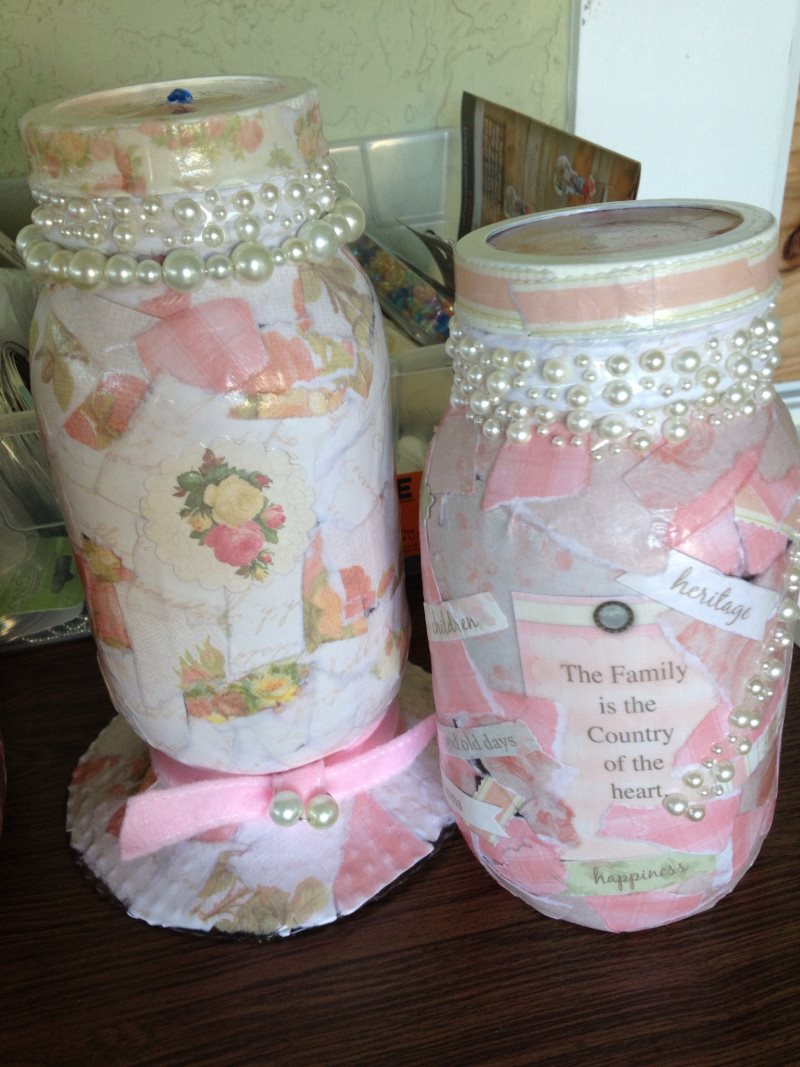
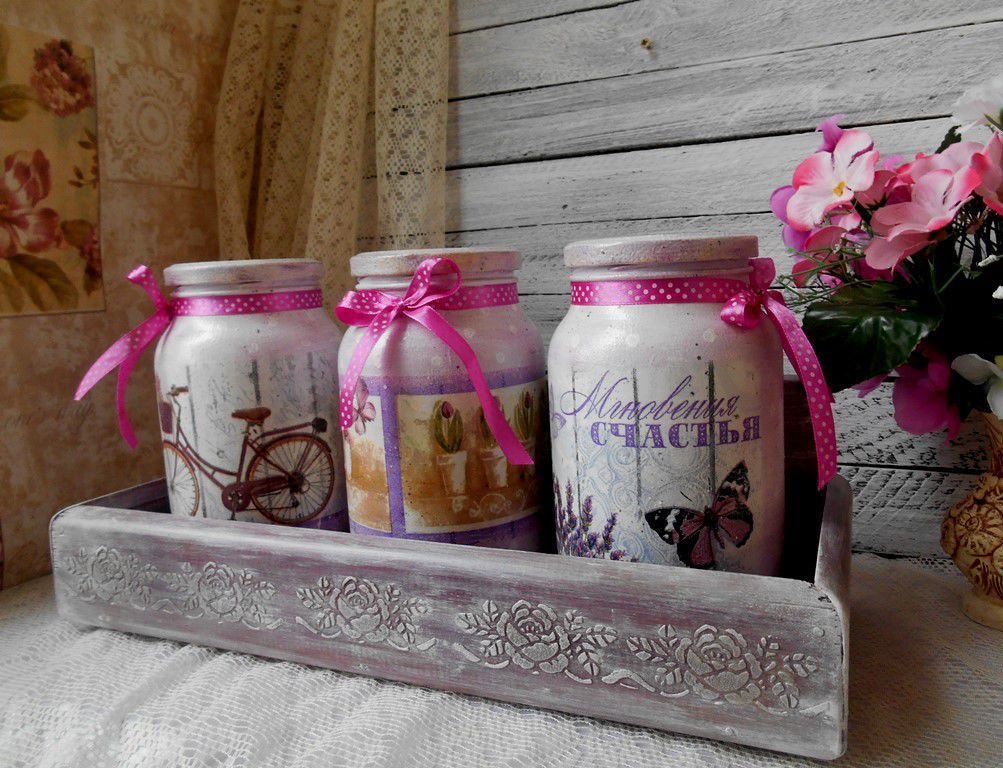
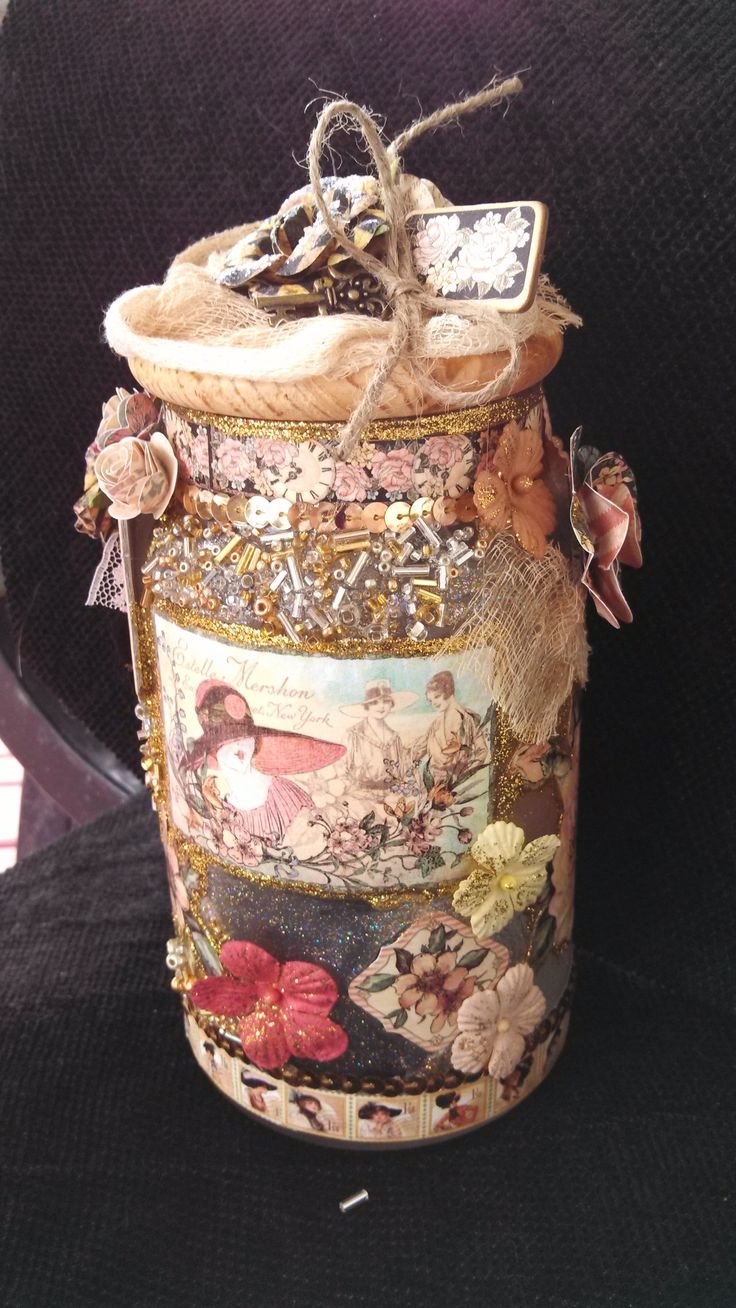
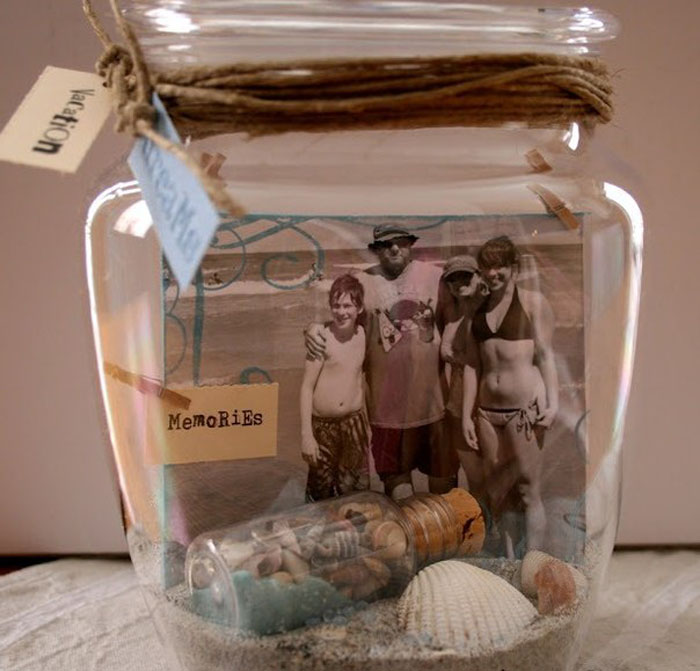
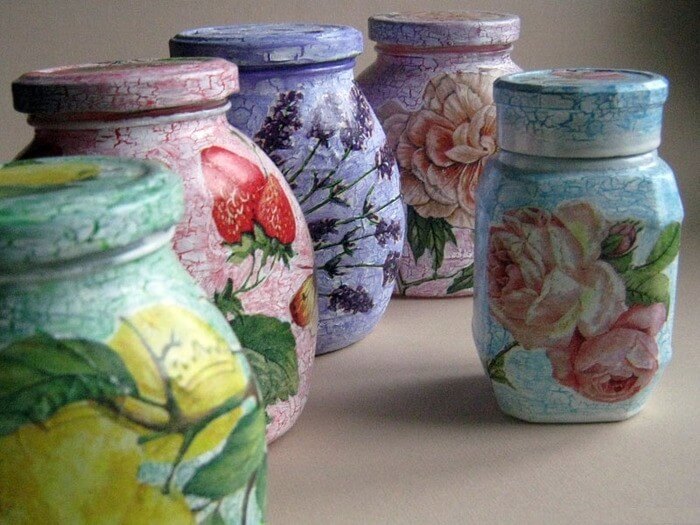
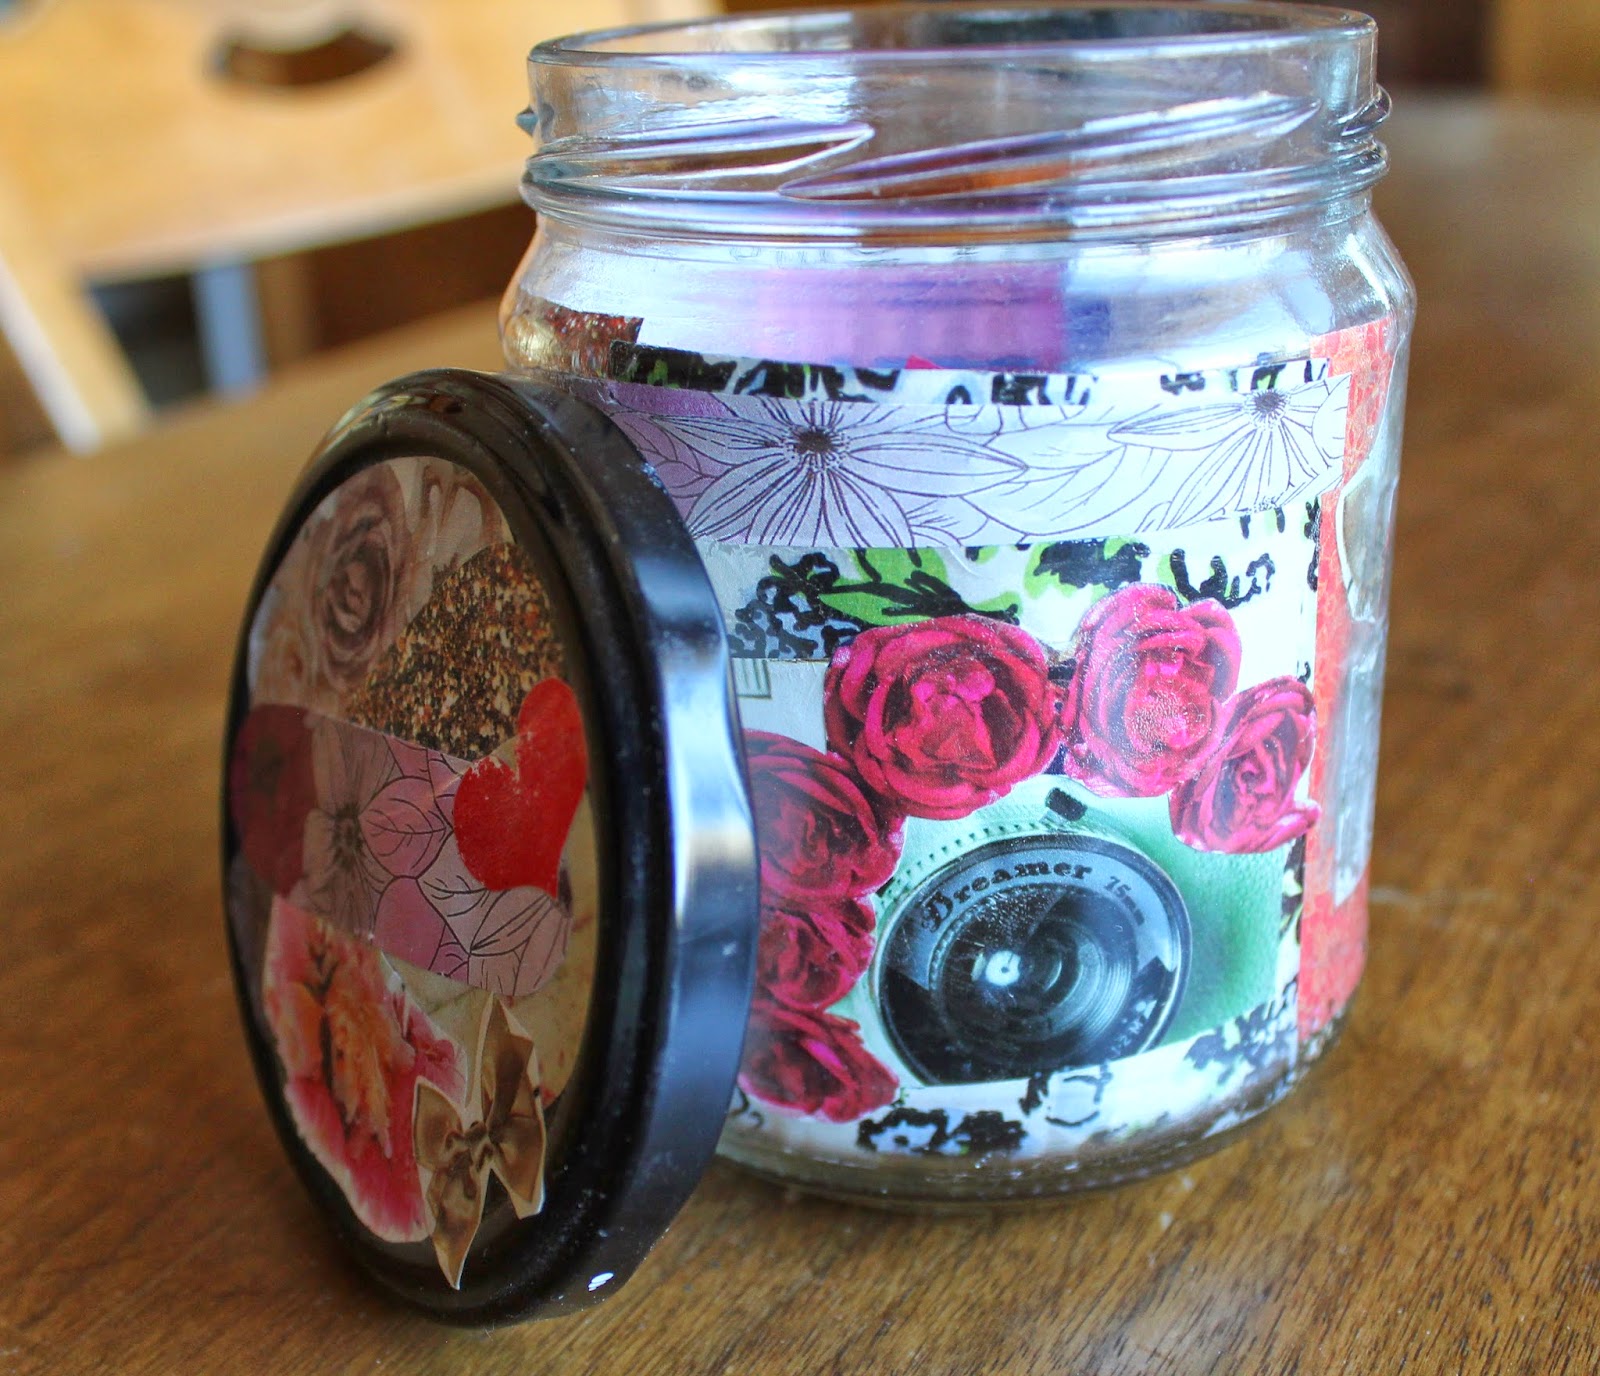
Collage
This technique allows you to create original and unforgettable stories. It is best to use your own photos, they allow you to make a memorable and symbolic design. Along with photos, glue color clippings, various stickers, or diversify the plot in another way.
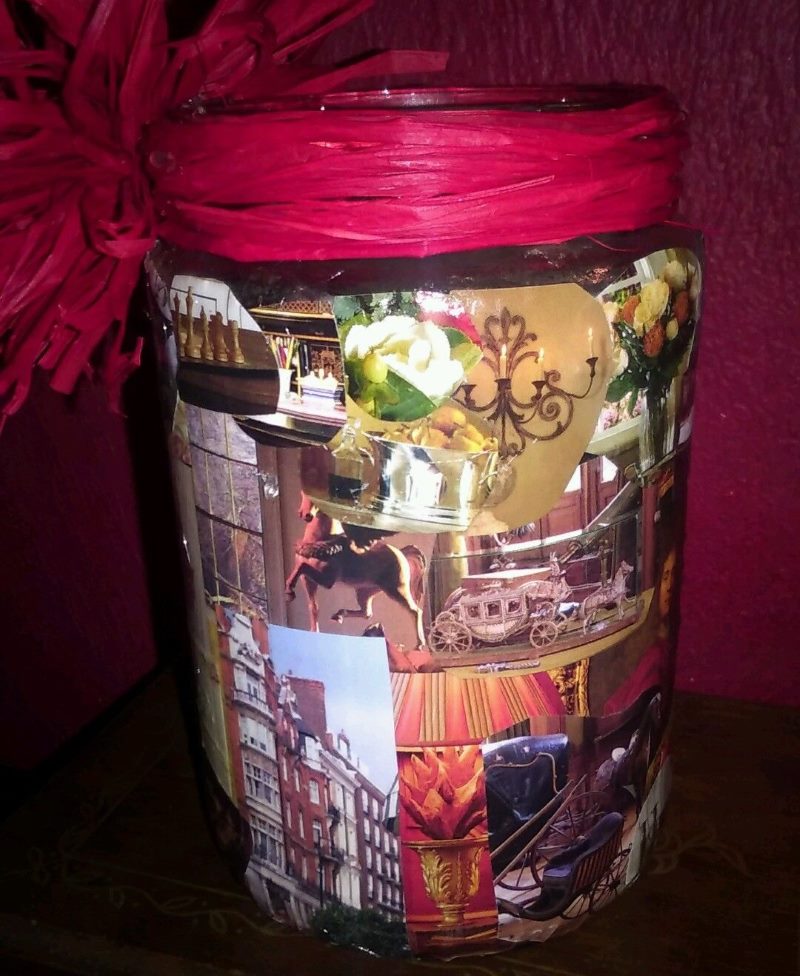
For collage you can use pictures from old magazines
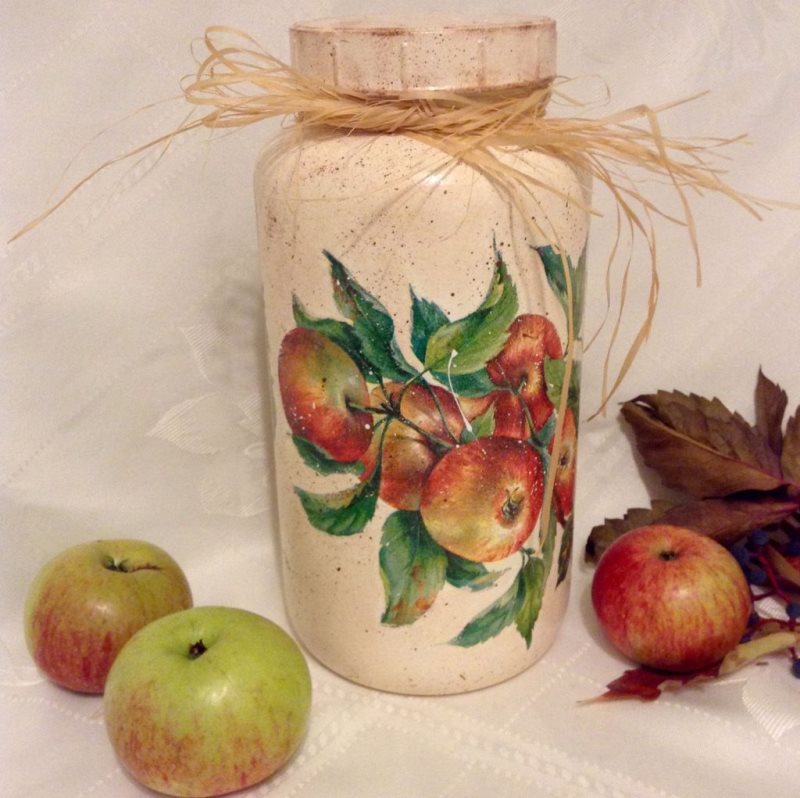
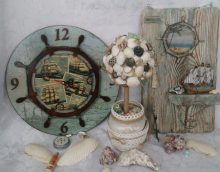
For eco-styles, a design made of natural materials is well suited. Here you can use any herbarium collected by you. To make a design with dried leaves or flowers, use scotch tape. With its help, it will be possible to attach natural materials to the bank. Just observe a few conditions:
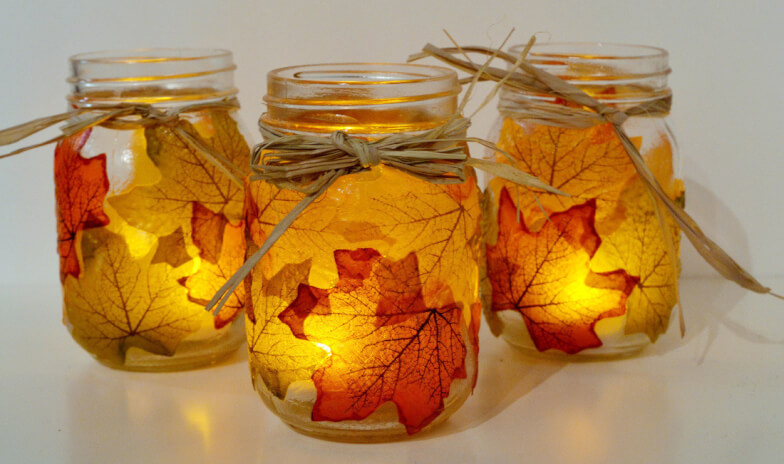
Unusual autumn decor
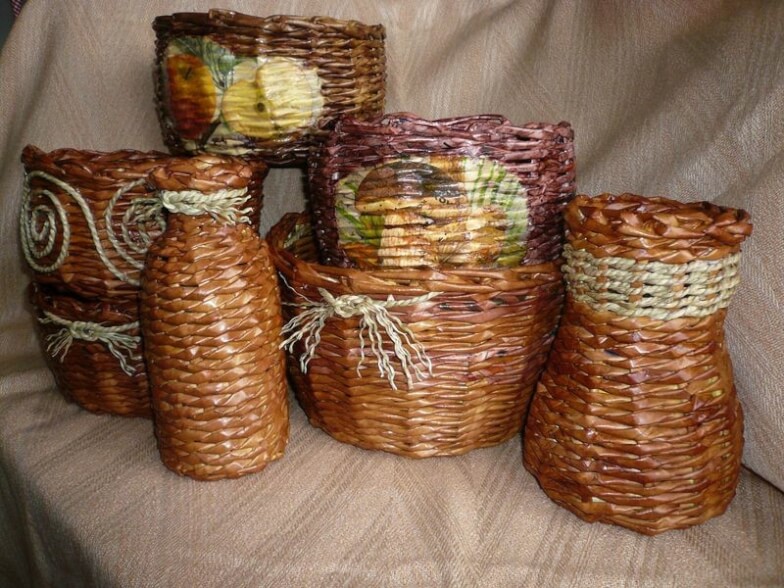
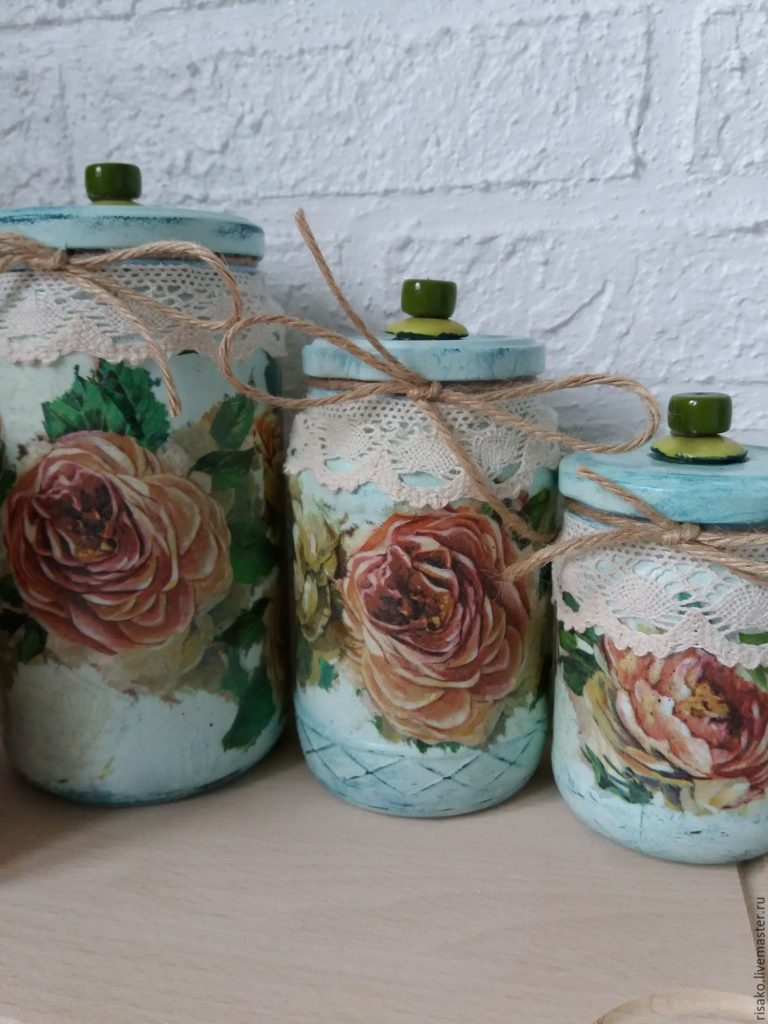
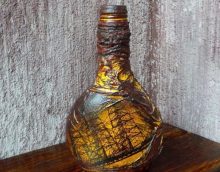
Great design will come out of the vine. Suitable green or brown, depending on the chosen style. With a vine, you can simply wrap the jar, creating a kind of cover. It is possible to combine this method with others and create interesting designs.
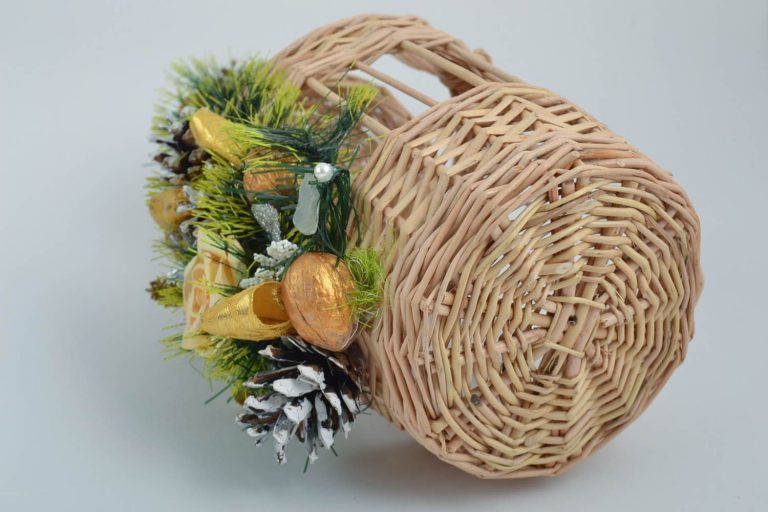
In addition to aesthetic value, the vine protects the cans from mechanical stress.
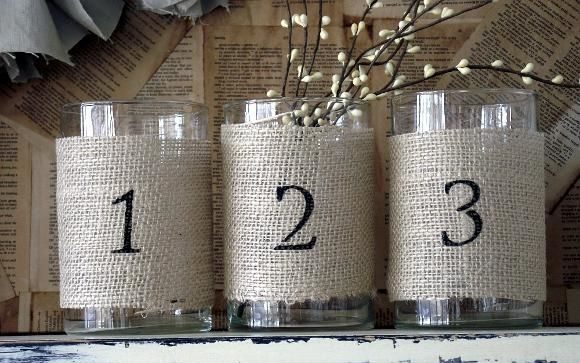
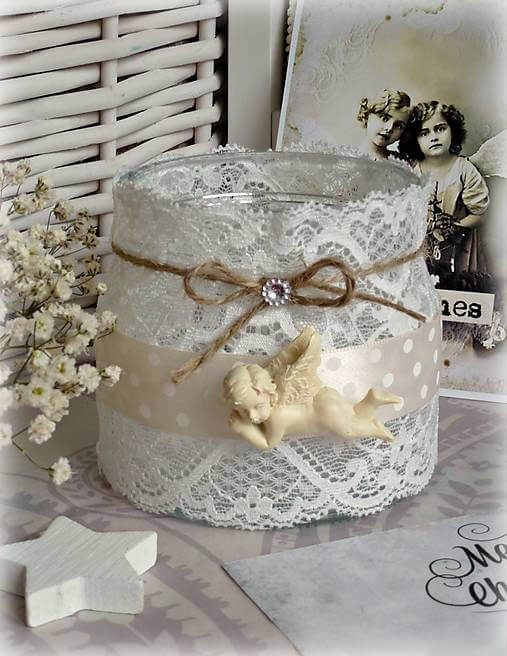
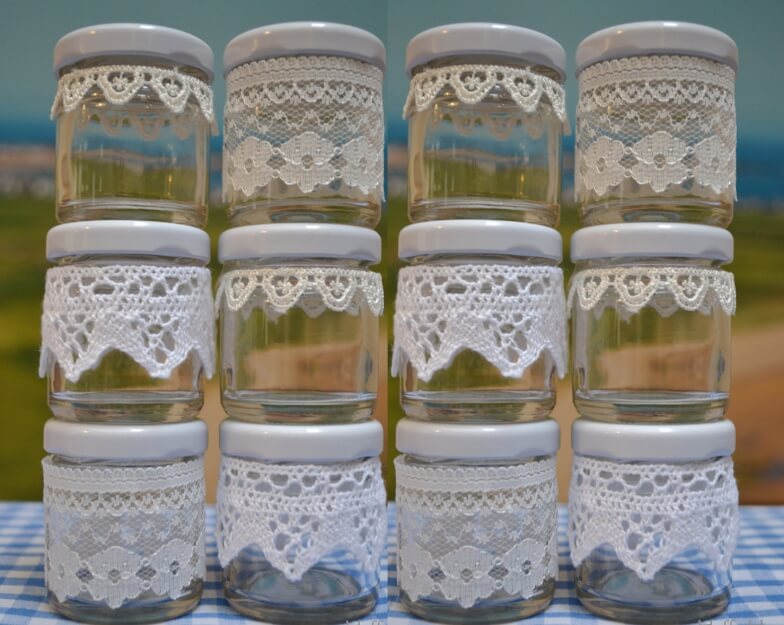
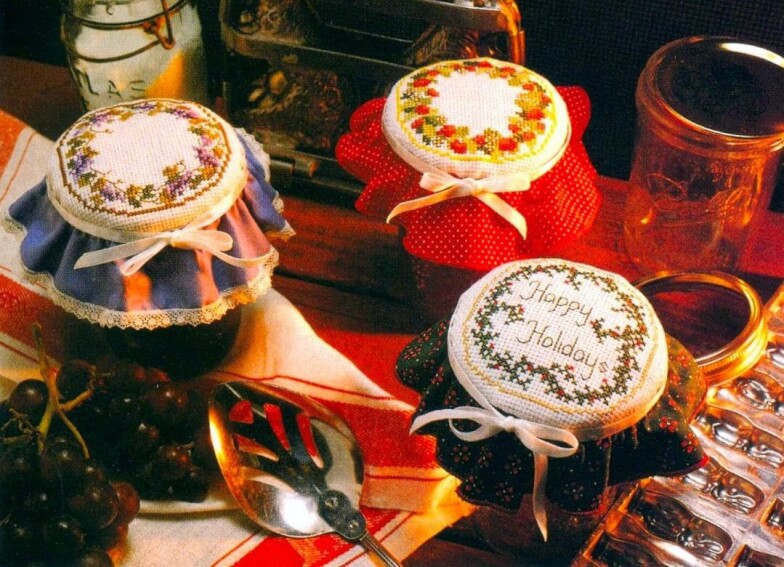
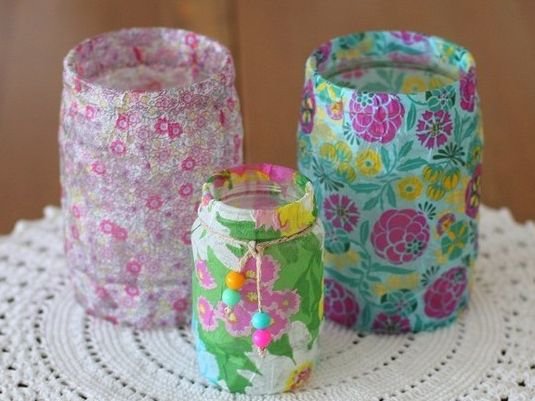
Fabric materials are also suitable for decorating a glass jar. The most common are felt, wool and twine.

A can, a piece of cloth, a rope and a ribbon - all that is needed to create an original decoration
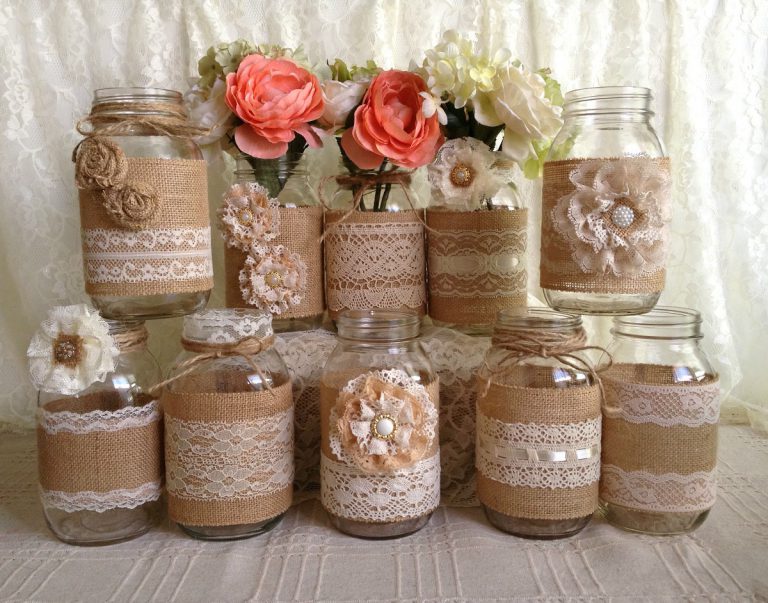
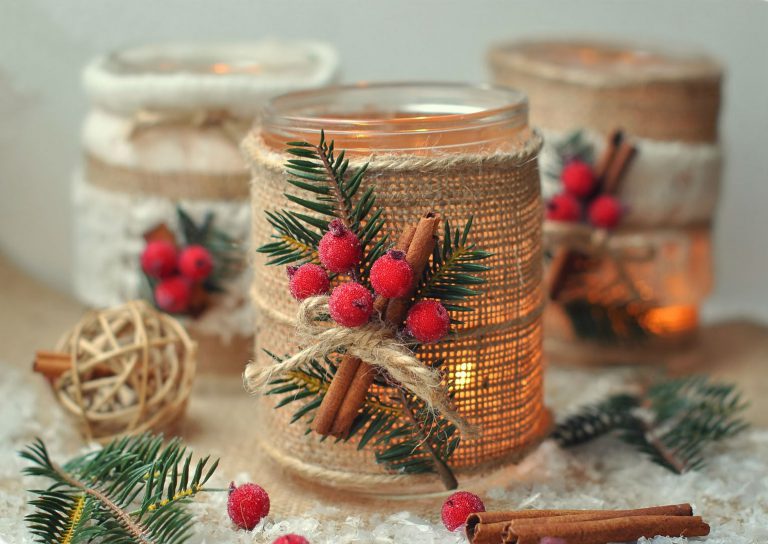
Burlap is often used for decoration.
Felt is suitable for creating flat figures decorating a jar. They are easily attached to the glass with glue or double-sided tape. Think up various plots, cut heroes from felt, and create interesting designs. This method is great for working with children.
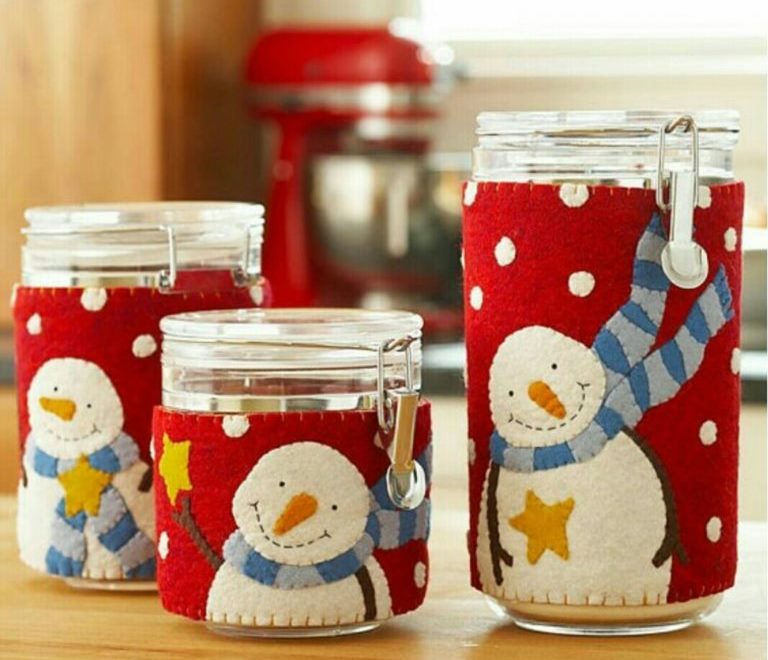
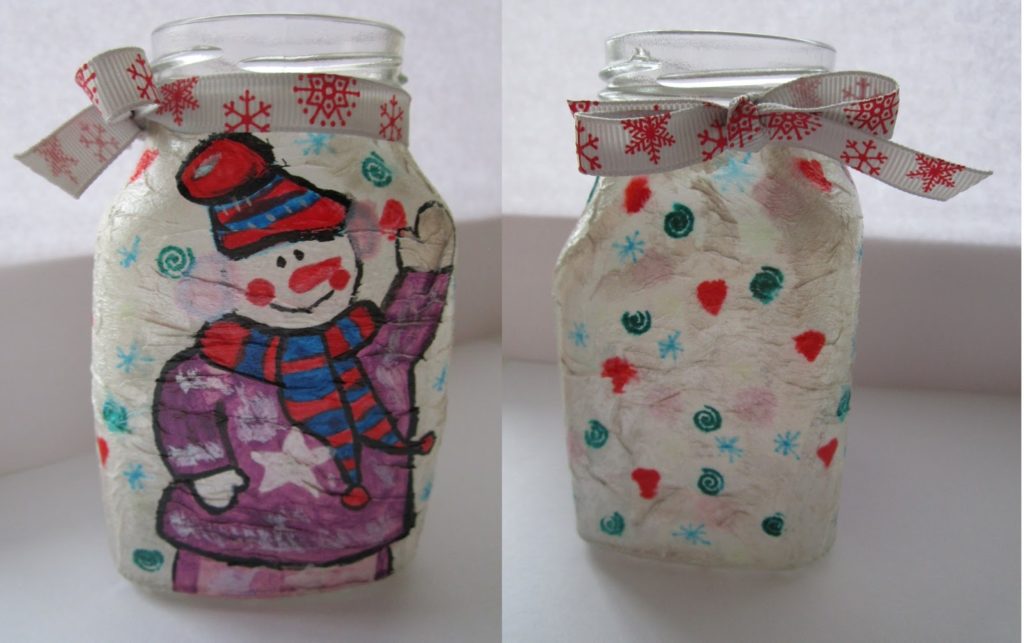
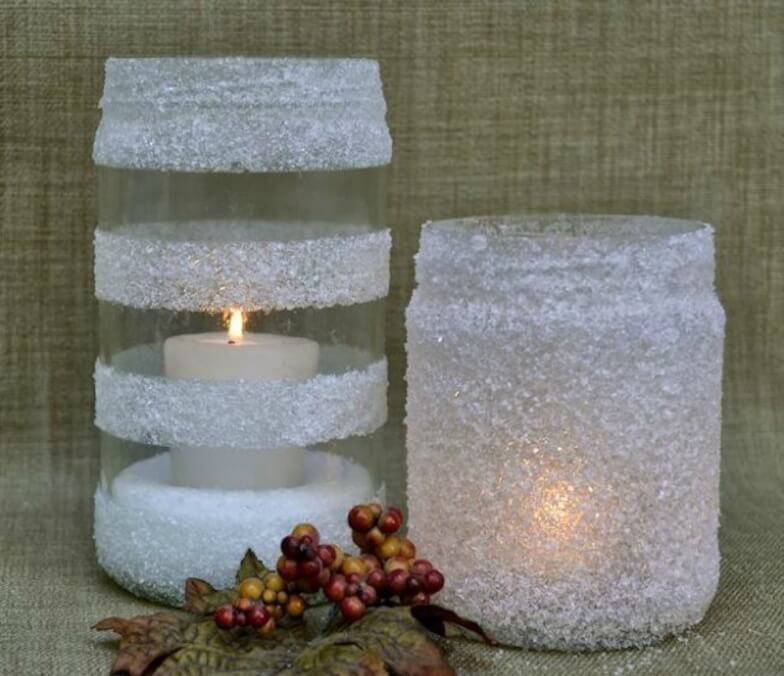
Winter decoration of cans with shreds of multi-colored felt
From wool you can knock down various figures or (if skills do not allow) small geometric figures. Wool can be used instead of corrugated paper using the “trimming” technique.
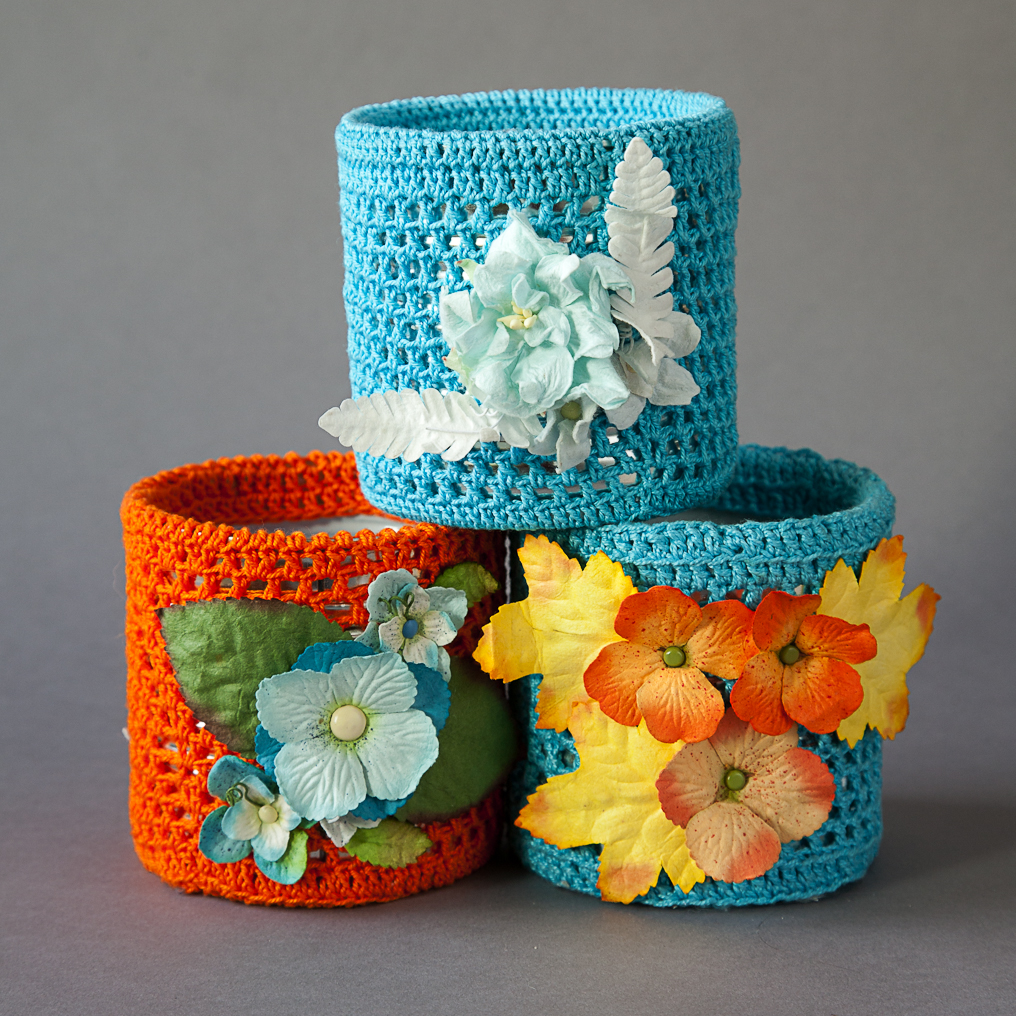
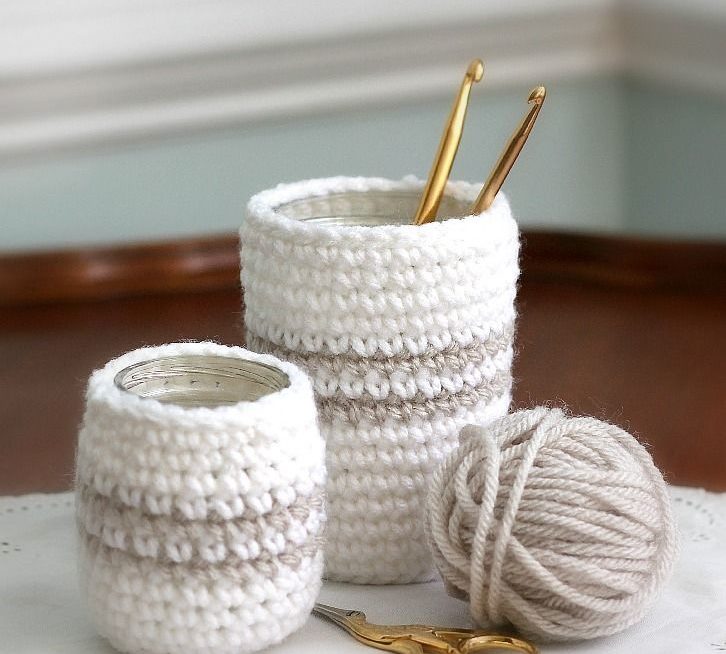
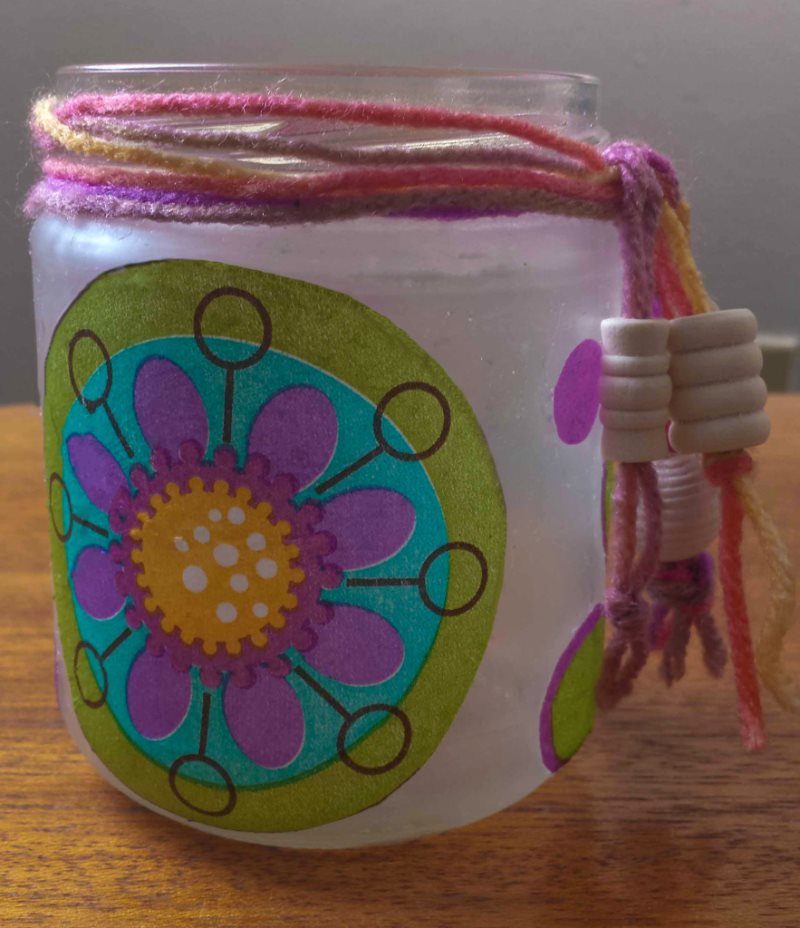
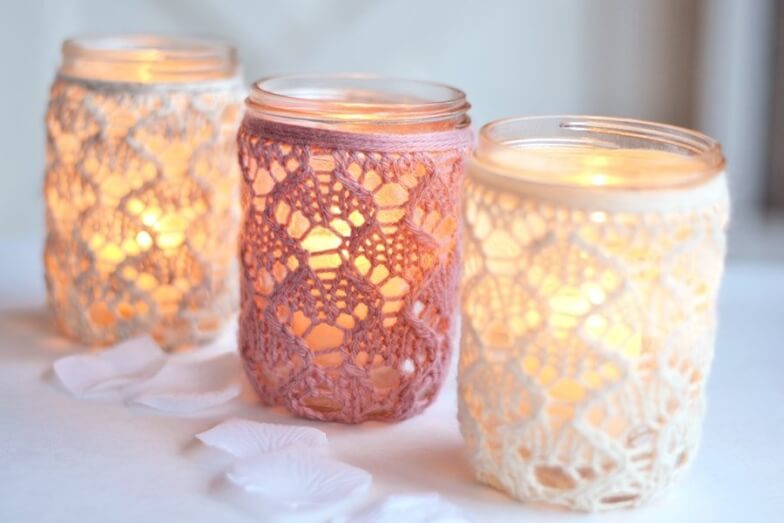
Another good way to use wool is the yarnbombing technique. It consists in tying various things with knitted bright covers. You can use an old sock or other piece of clothing for this. And also you can knit an unusual cover from wool.
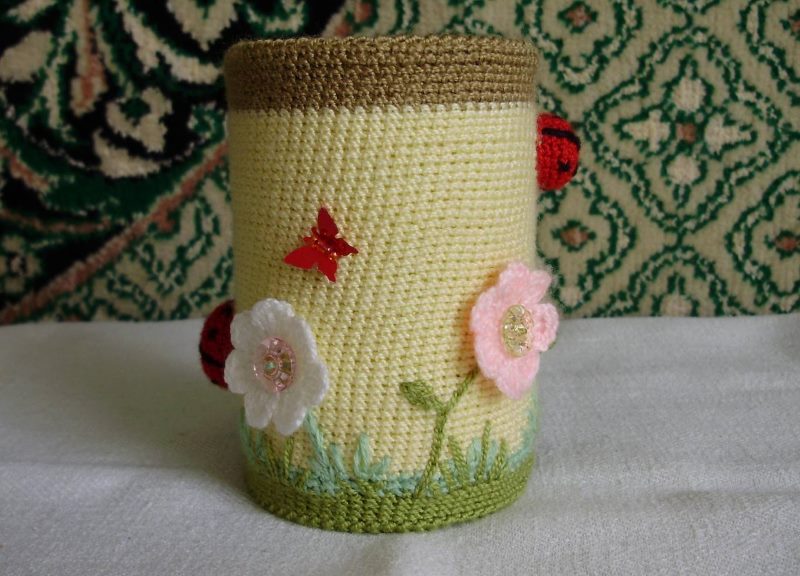
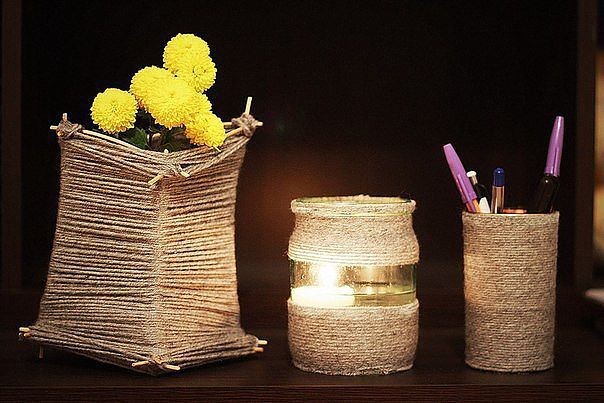
A jar tied with woolen threads can be used as a pencil box
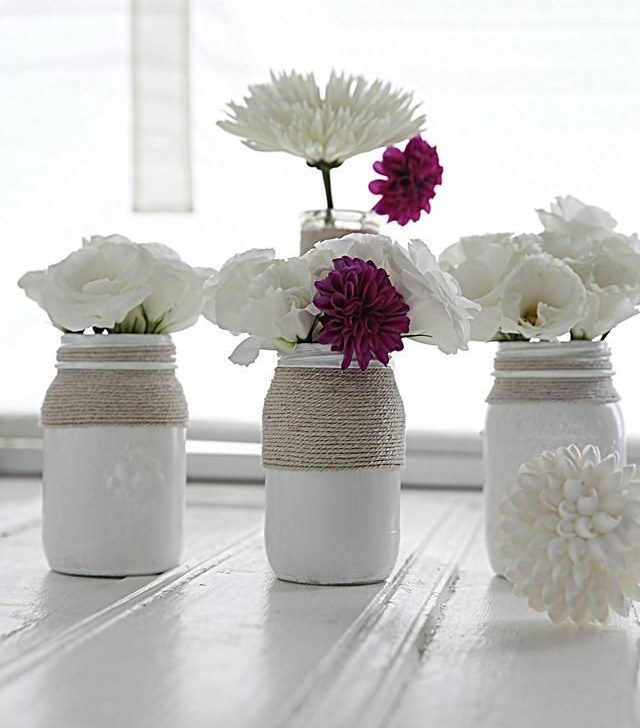
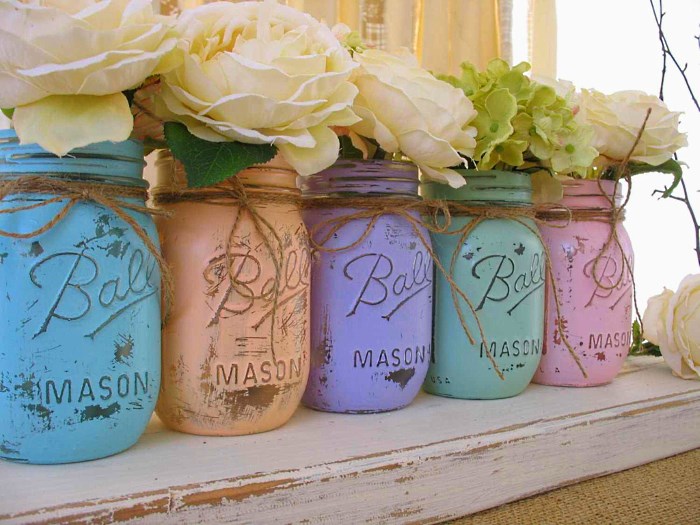
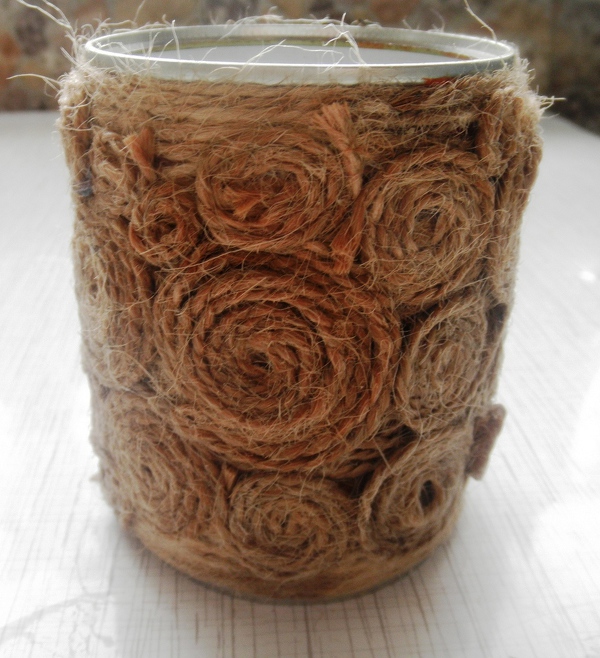
Twine is suitable for creating various patterns on the surface of a can, a kind of cover or frame. This material is similar to a vine, and is used for the same purpose.
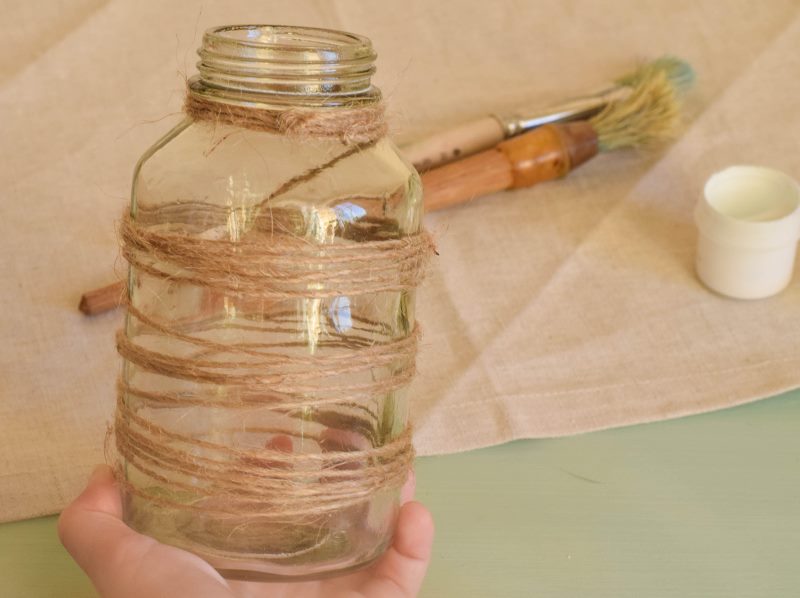
First, wrap the jar tightly with twine, rope or thick thread
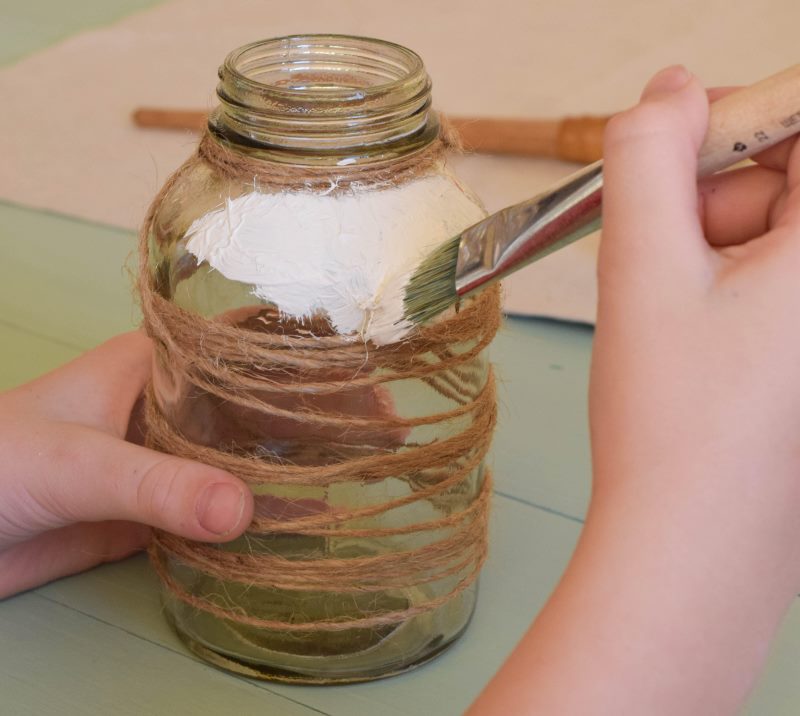
Then apply acrylic paint to the entire surface of the can
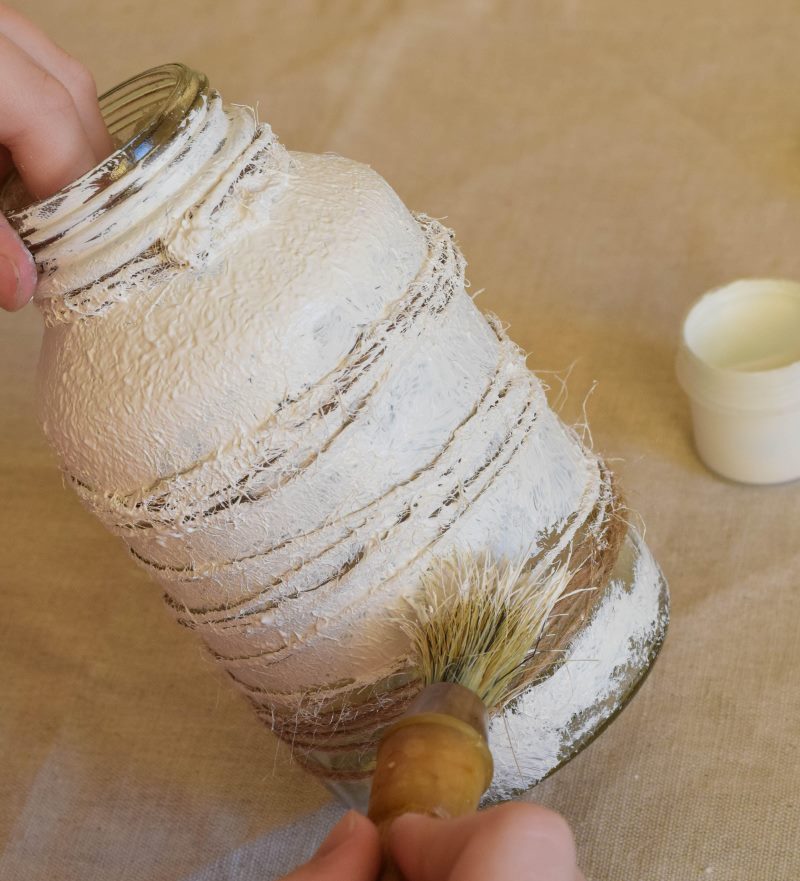
We wait for the paint to dry completely
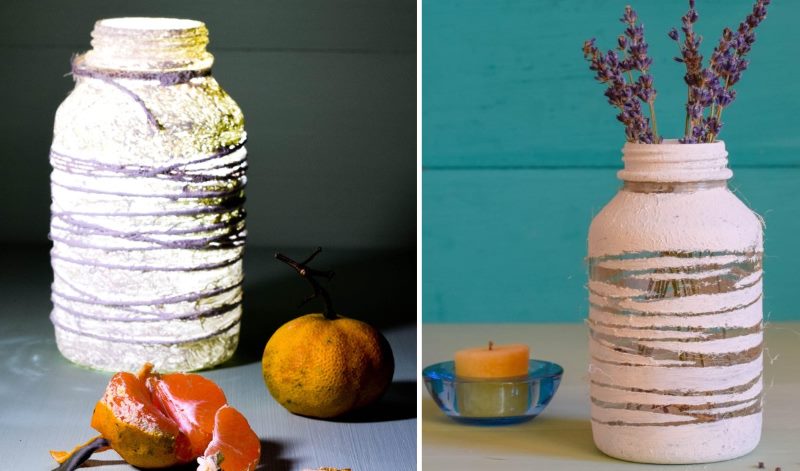
You can leave or remove twine from a can as you like more
We see that you can decorate a glass jar with your own hands in various ways, and this is not at all difficult. The main thing is to give free rein to fantasy!
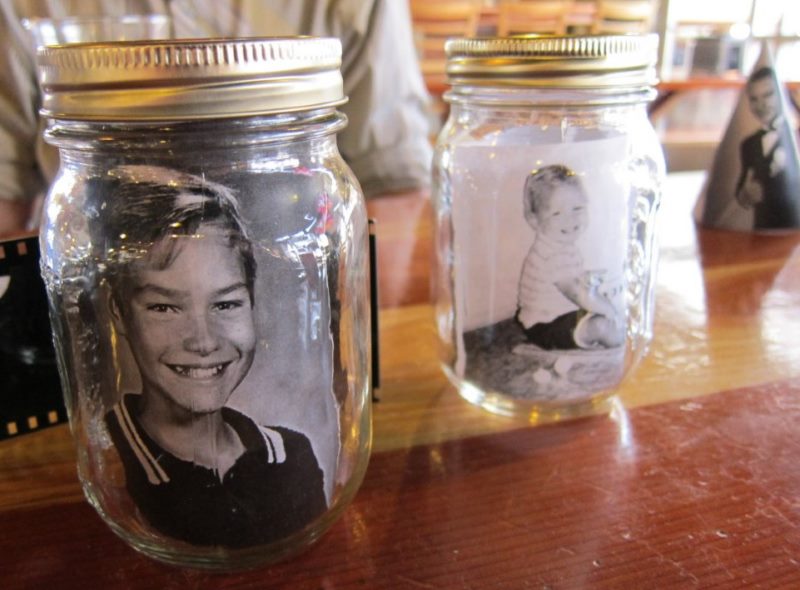
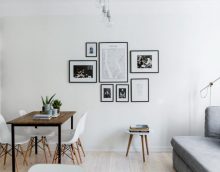
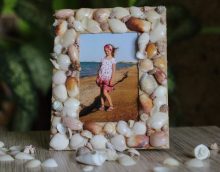
The unusual idea of using cans as a photo frame


Thank!
In the near future we will publish information.