64 photos
Beautiful blinds can decorate the room. But, it is not necessary to buy them and pay for the installation. It’s quite ...
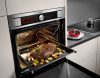
The apartment does not have a more functional room than the kitchen. Here they cook, receive guests, meet in the morning with a cup of coffee and make tea before going to bed. It doesn’t always turn out to make this room stylish and cozy, because it requires large amounts of money. A wonderful and inexpensive decoration can be a panel with your own hands - for the kitchen, this is it.
Content
Panel - a picture made by paints or volumetric elements. It has a special use for the kitchen - you can hide the repair error behind it. The best hostess can not always save her workplace from cracks, greasy stains, drips. If your goal is to hide some kind of problem, then the panel size is selected based on the scale of the problem.
14
If the task is simply to decorate the room, then the choice already depends on the size of the kitchen. A huge picture on the entire wall will not fit miniature rooms, and one small application will be lost against the background of a large space. Choose something in between.
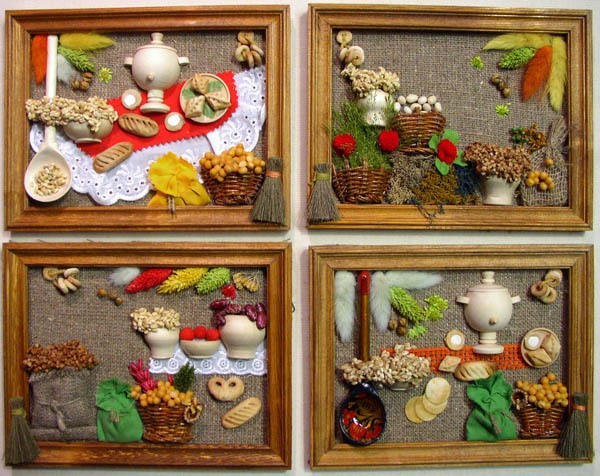
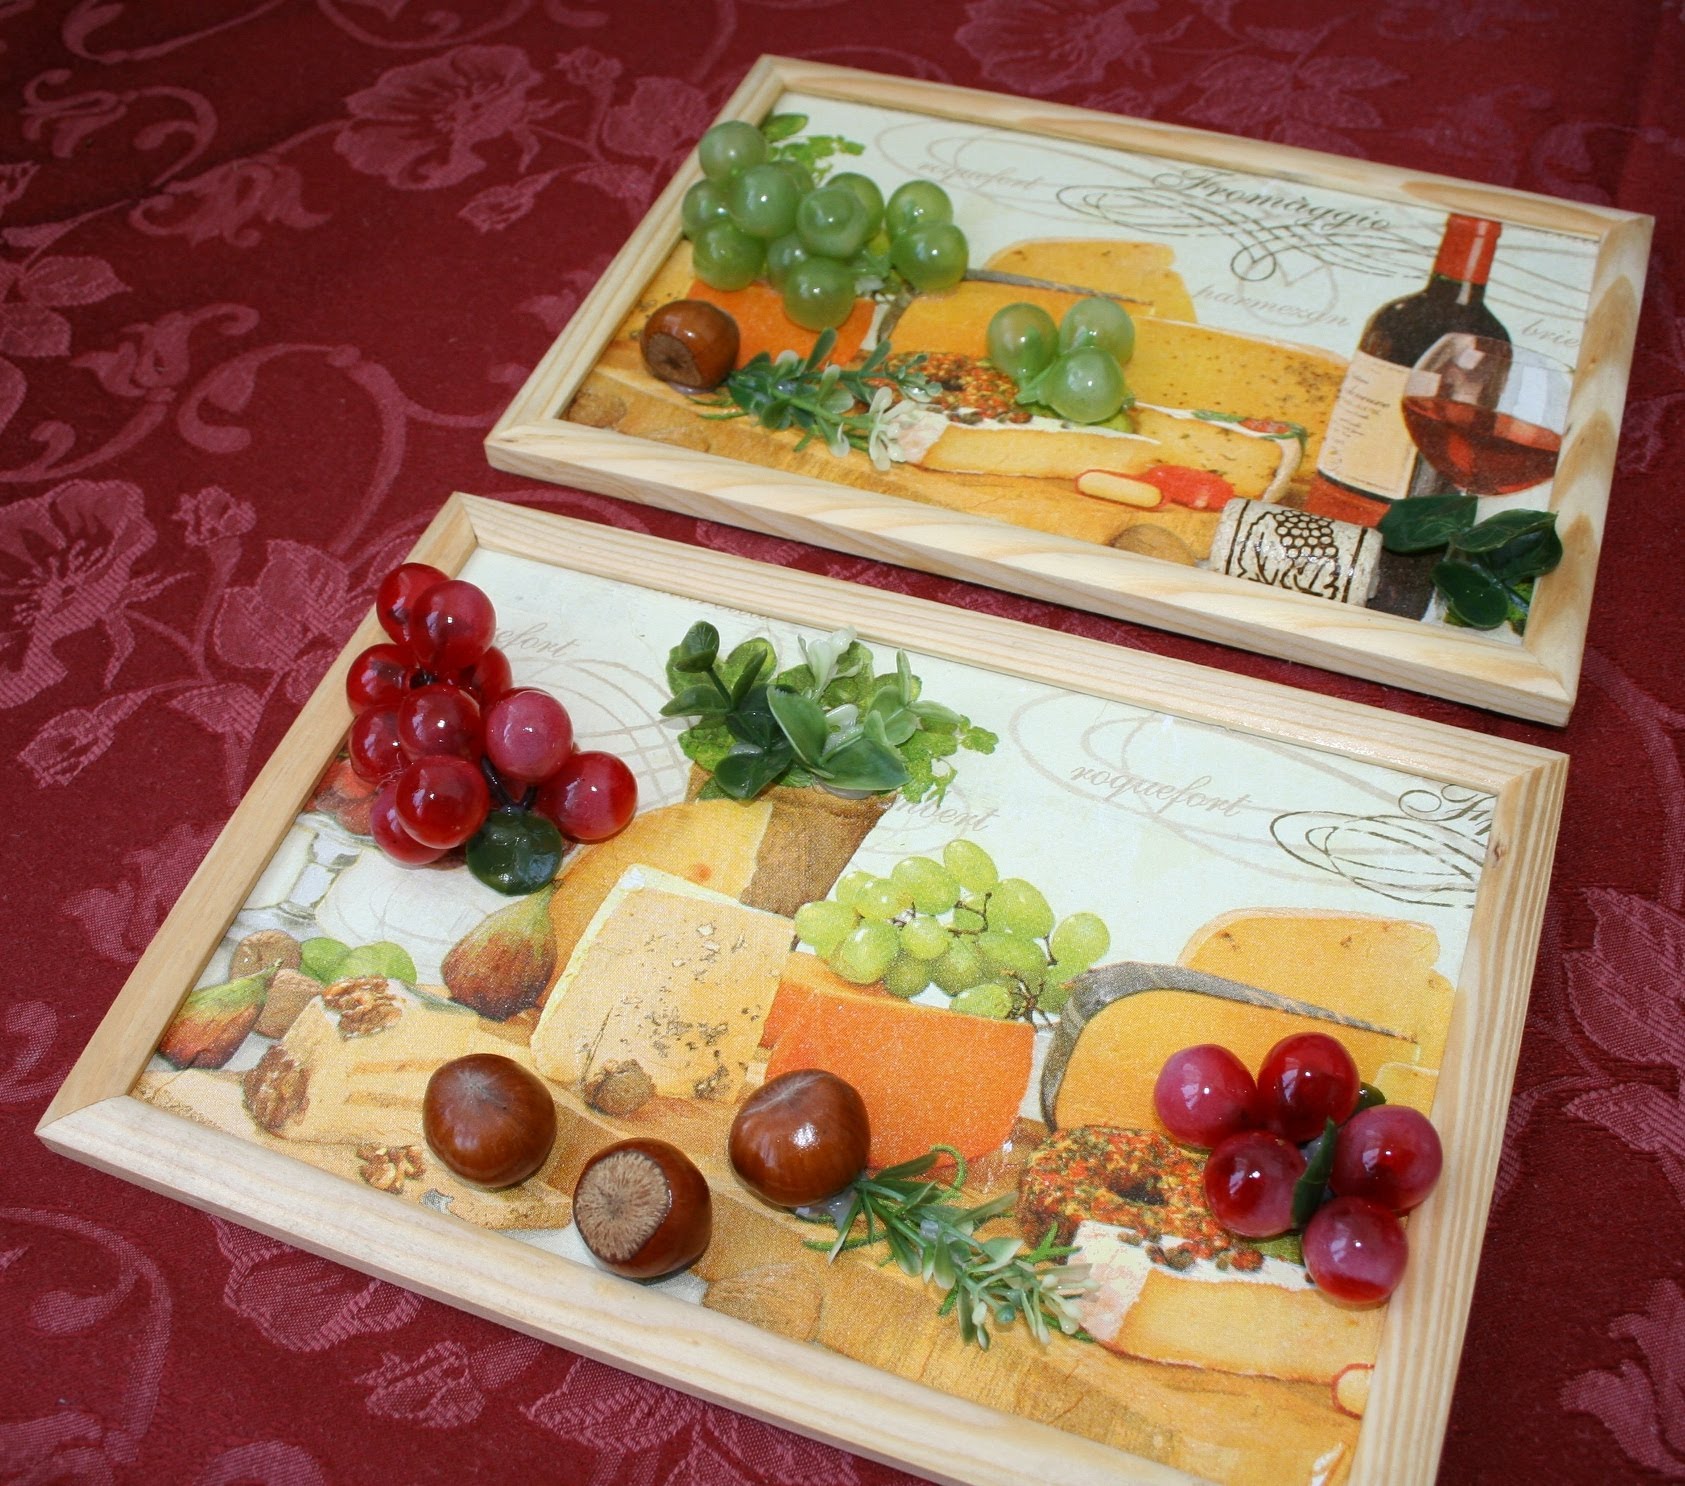
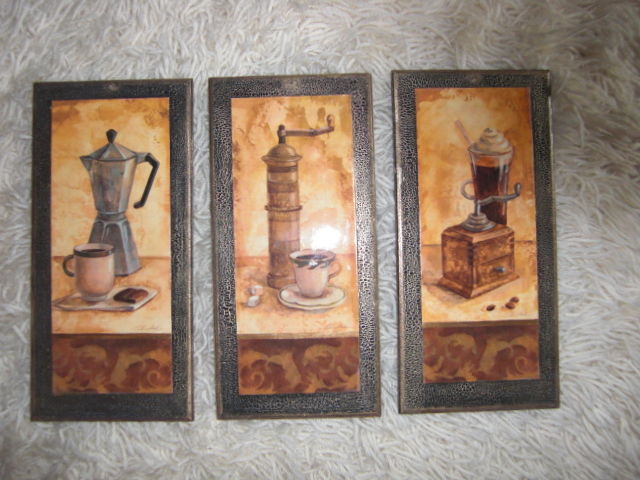
A universal option - small paired panels. Moreover, there may be more than two, but always one topic. The kitchen is decorated with triptychs - three paintings that continue each other.
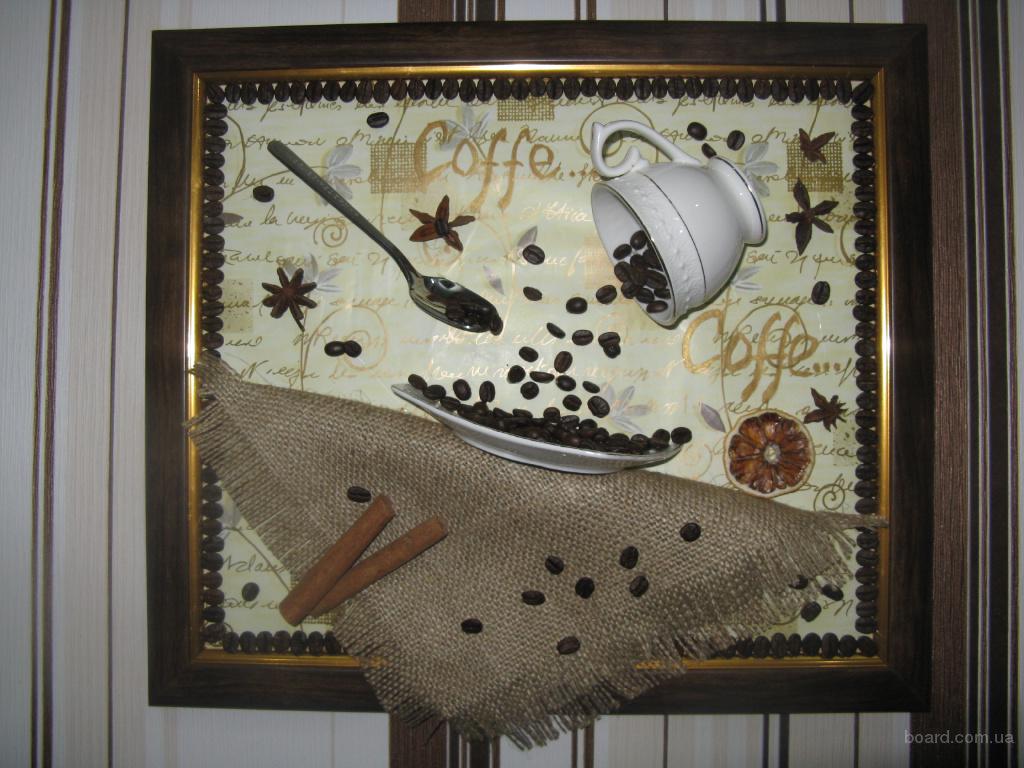
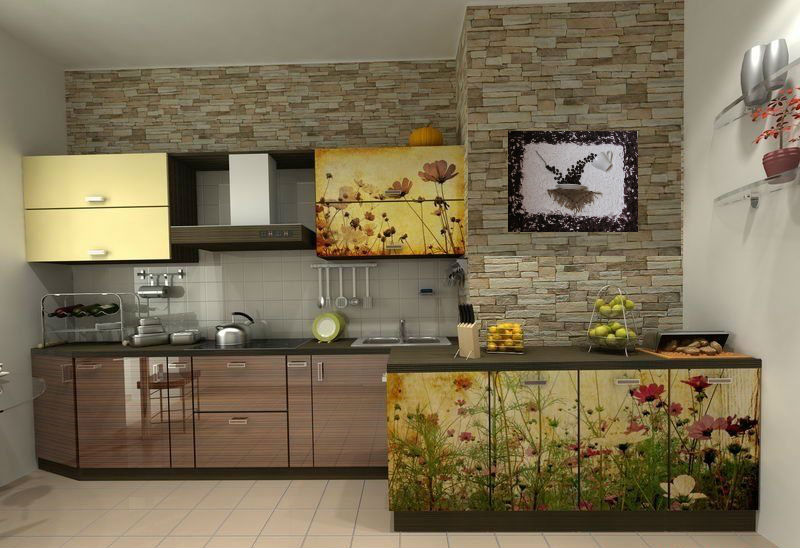
Interesting: the panel can not only decorate the kitchen, but also divide it into functional zones. Above the coffee table are images and photos with mugs, and near the work surfaces there are various fruits and vegetables.
Theme selection
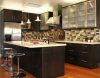
In the kitchen, it is important that the details are combined with the design concept. The panel should decorate, stand out, match the color scheme, style and functionality of the room.
13
12
Do not worry if the kitchen does not have a specific theme or style: then you can "set the tone" using decorative elements.
In fact, panels create from anything! The main thing to consider is the relevance of the plot and not overload the image. You must also remember that many materials absorb odors, so the compositions of them are not placed near the plates.
11
Any kitchen utensils (spoons, plates, cups), spices, magazines, photos, scraps of fabric, threads, bottle caps, paper and other little things can be suitable for creating a kitchen panel with your own hands. The main thing is inspiration and evening for creating a masterpiece.
Even a child can create this image, and your creation will look just fine.
Will need:
Everything is done simply: pour the paint into a plate, cut the fruit into halves, dip it into paints and make a stamp on a previously painted and degreased surface. Color can be matched to the color scheme of the room.
10
You can make prints anywhere on the canvas, but symmetrical images look better.
If at home wine corks or cork are littered, then create a small board on which you can cling notes, recipes or photos.
To create a panel of traffic jams you need:

9
Corks cut lengthwise, stick the halves on the base. If you want to use the cork on the other side, it is important to cut it into equal parts.
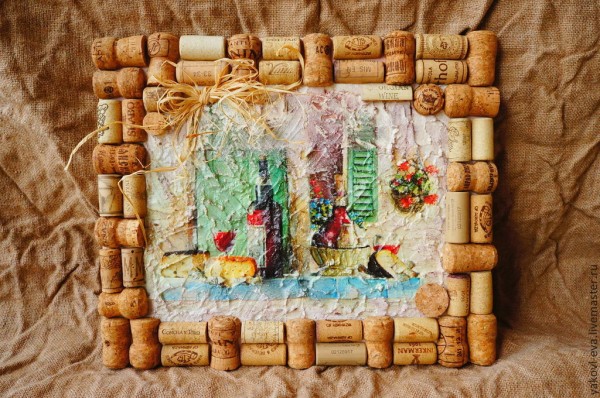
Horizontally, vertically, with a pattern - you can lay it out as you like, the main thing is to cover the entire base. The panel can be put in a frame, or it can be hung on a wall without a frame. On it you can attach notes, photos, recipes, pictures and little things with the help of push pins.
Do-it-yourself kitchen panels can even be made out of unnecessary forks, spoons, scoops and pans. The idea can easily be realized with cutlery, a base, paints and glue. If you are not sure that the composition will hold well on the glue, then use small nails.
8
The base for the panel can be any, but it is important that it bears the weight of all the parts that you want to attach to it.
For a long time, designers have been actively using the String Art technique. It does not require special skills, but with threads you can create a design panel in the evening.
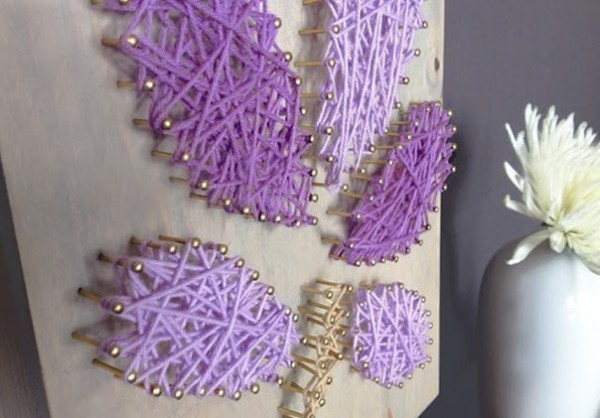
Required:

7
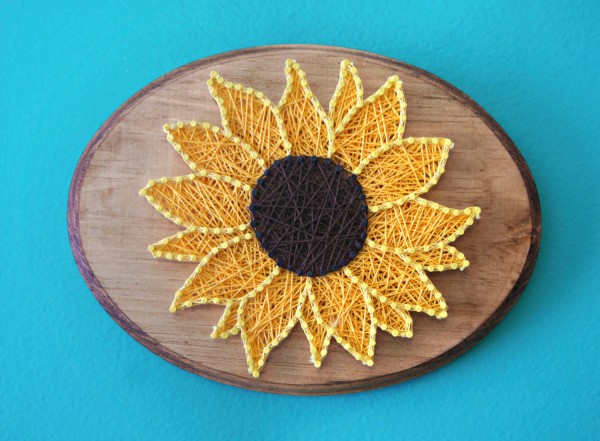
In the beginning, a drawing is applied to the base. You can choose any, but for the kitchen, ideal options are inscriptions, mugs, cups, fruits. You need to select an image with clear external lines.
After the drawing is transferred to the base, it is necessary to hammer nails along the line at a distance of 0.5 - 2 cm from each other. For convenience, and so that all nails are on the same level, it is better to keep them with pliers.
6
When the nails are clogged, you need to take a skein of thread, and tie the end to one of them. The thread is caught in all places in a certain sequence or in random order. If the picture is round - it is better to move from one edge to another. Do not pull the thread too much - it may break.
Tip: if you don’t like the color of the base, then apply a coat of paint. You should not do more than 2-3 layers: when you hammer in nails, cracks will appear.
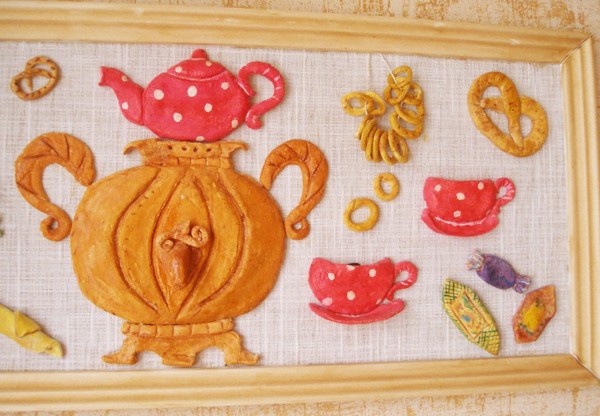
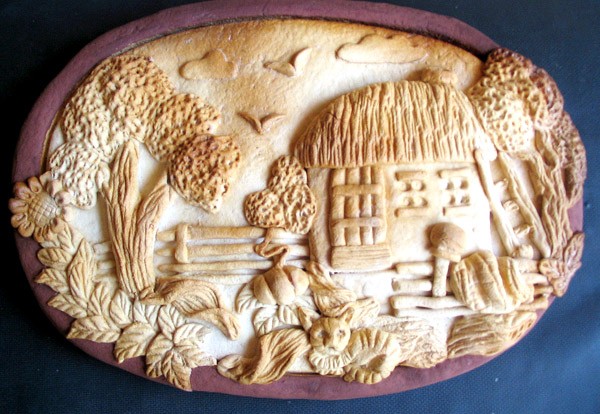
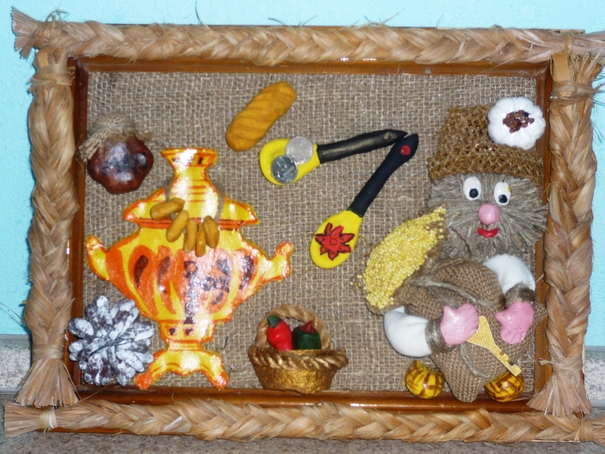
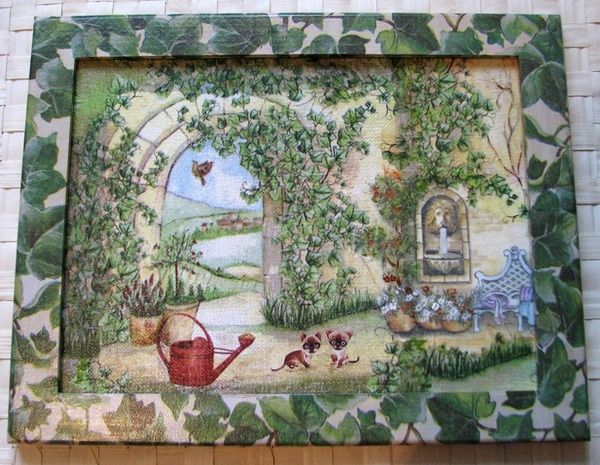
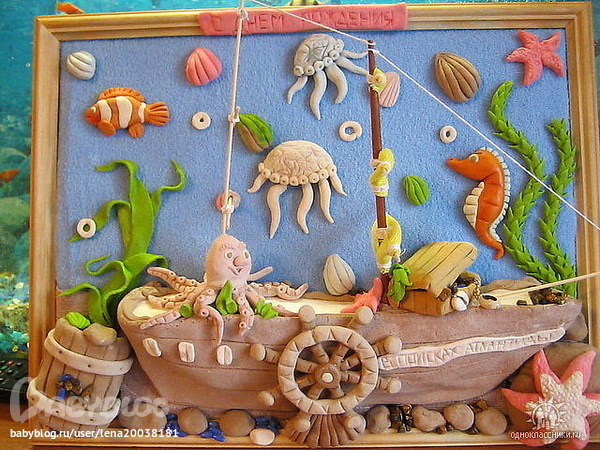
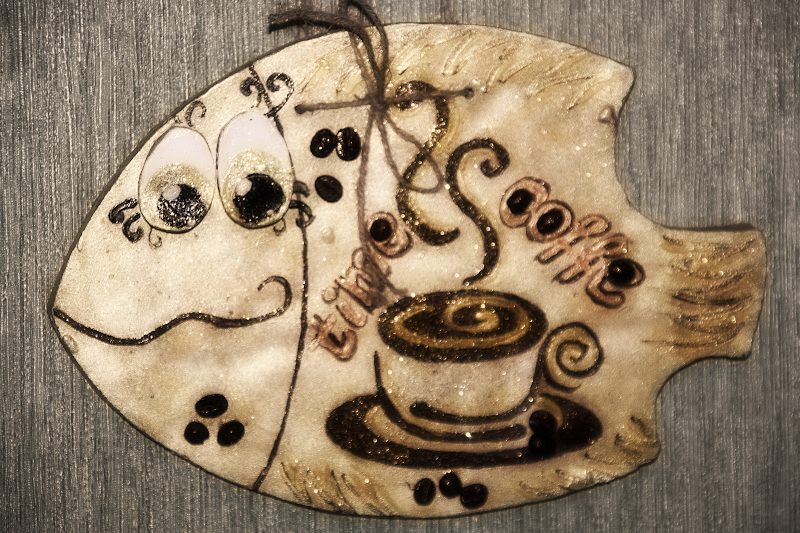
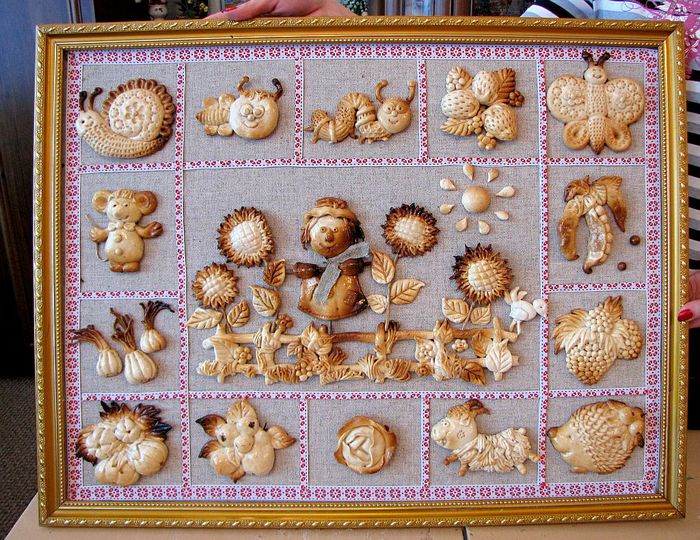
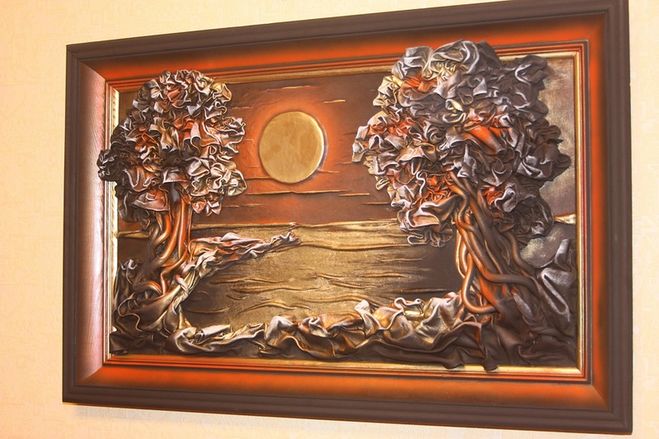
Beautiful and voluminous pictures are created from salt dough. It is easy to prepare, dries quickly, paint lays well on it and most importantly - anything is created from it. It is better to cover the finished product with colorless varnish so that it remains for a long time. It is important to think in advance how you will attach the panel to the wall - make a hole or insert a hook.
5
For salt dough you need:
Mix everything, add water for the desired consistency. During the manufacture of panels to keep the dough in a closed bag, store for up to two days.
The finished mixture replaces regular clay. The product is dried in the oven, or at room temperature. You can color the finished panel or the dough itself with dye.
4
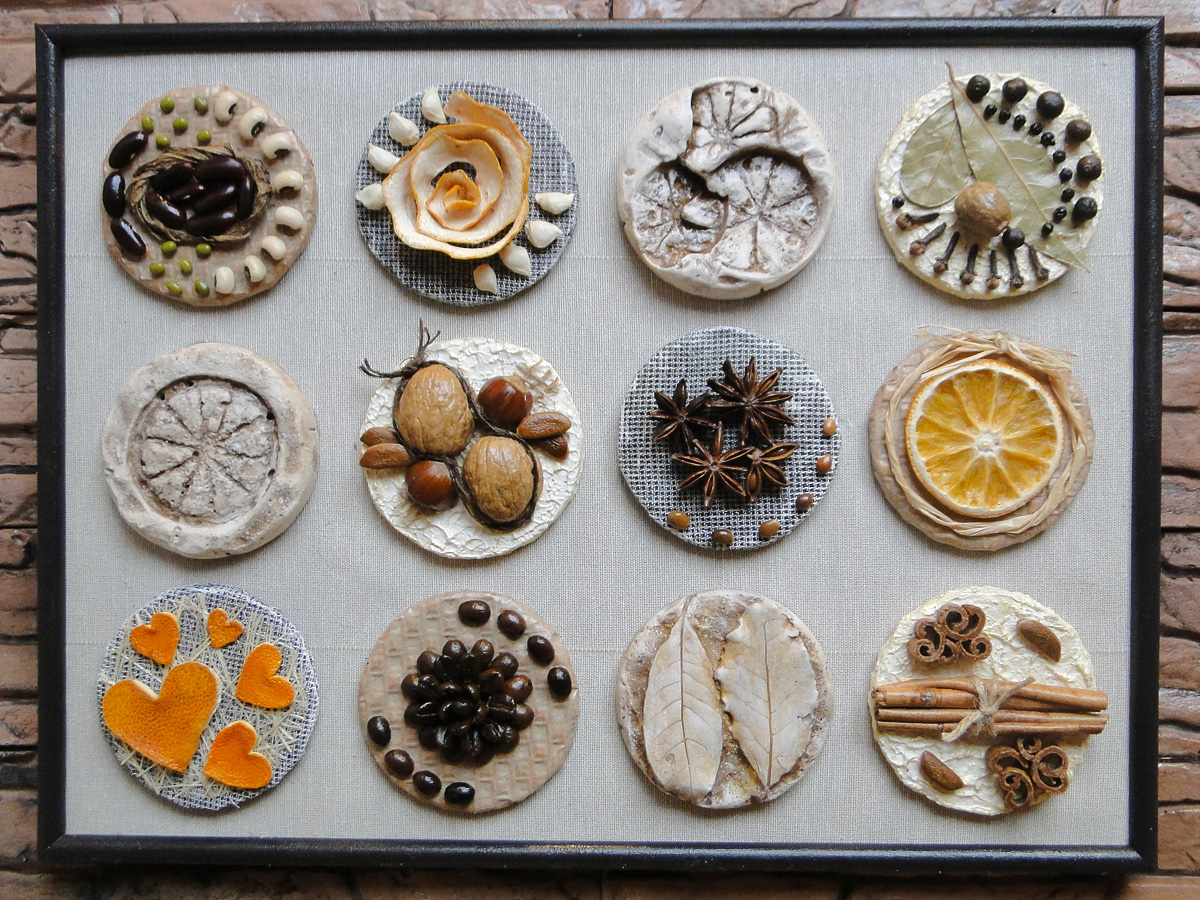
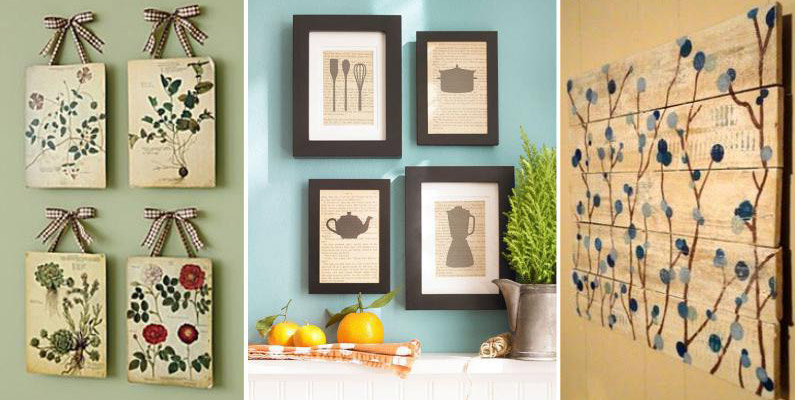
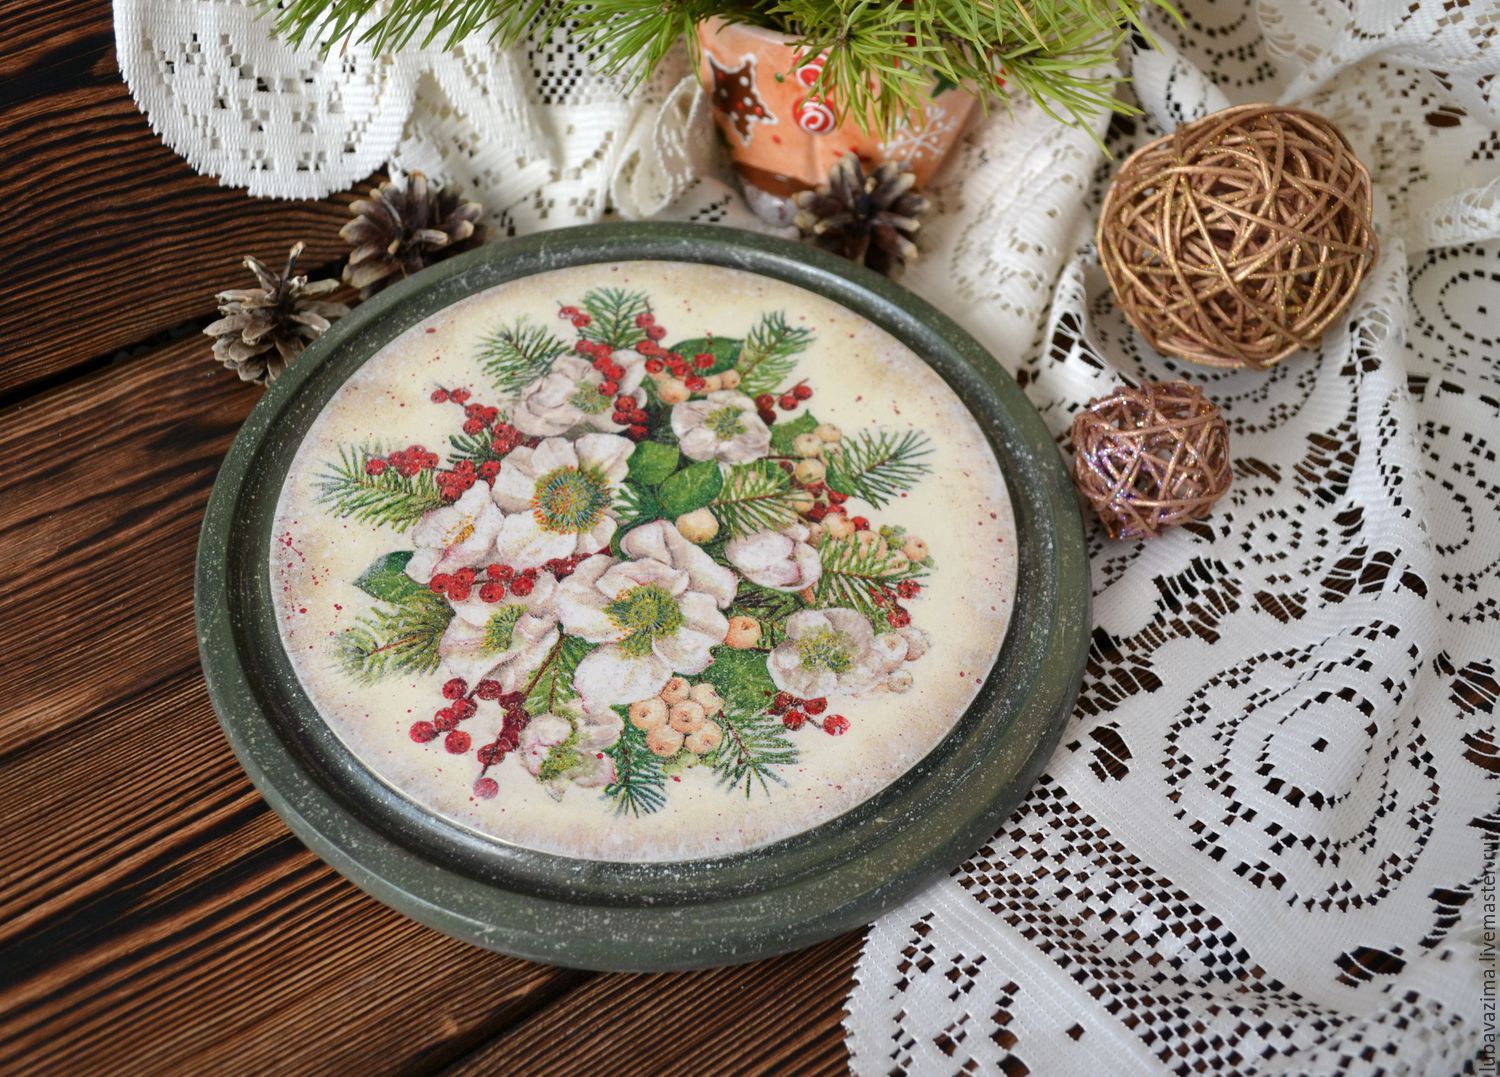
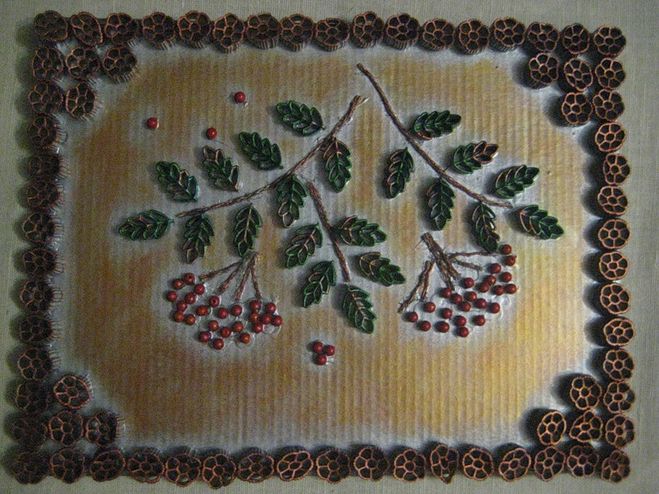
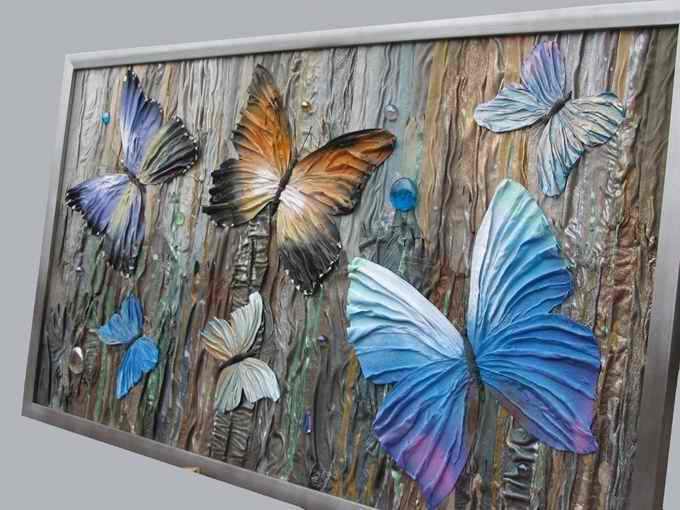
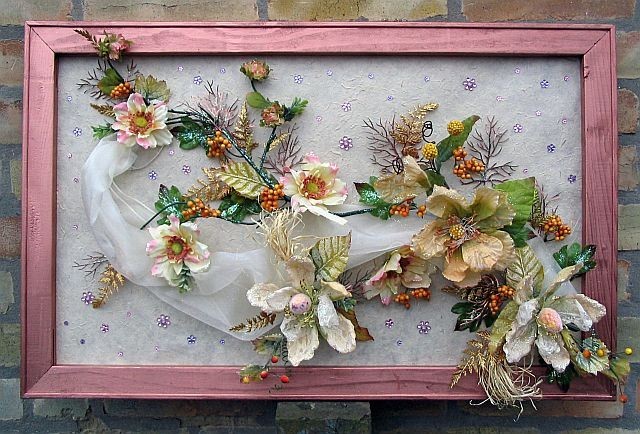
Volumetric still lifes, different flowers, fruits are suitable for the kitchen. They are glued to the base or made of them ready-made plates as in the photo.
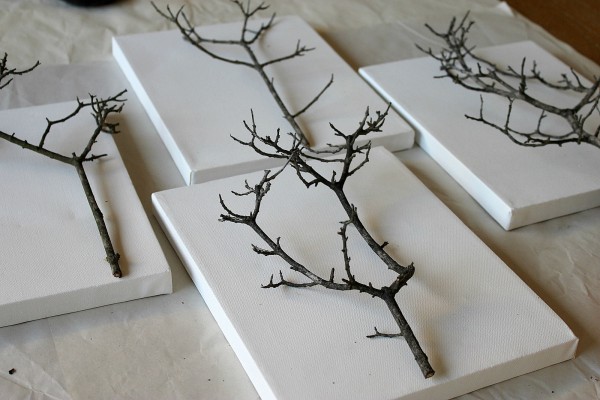
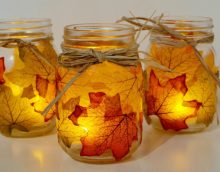
If modeling is not your thing, then create small panels with prints of plants. If desired, they are decorated, decorated with ribbons and threads.
Glue + base
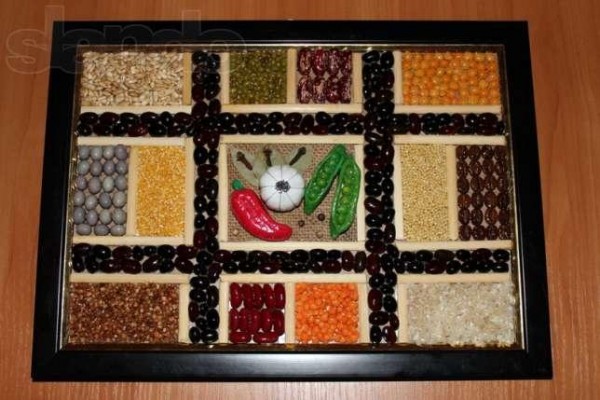
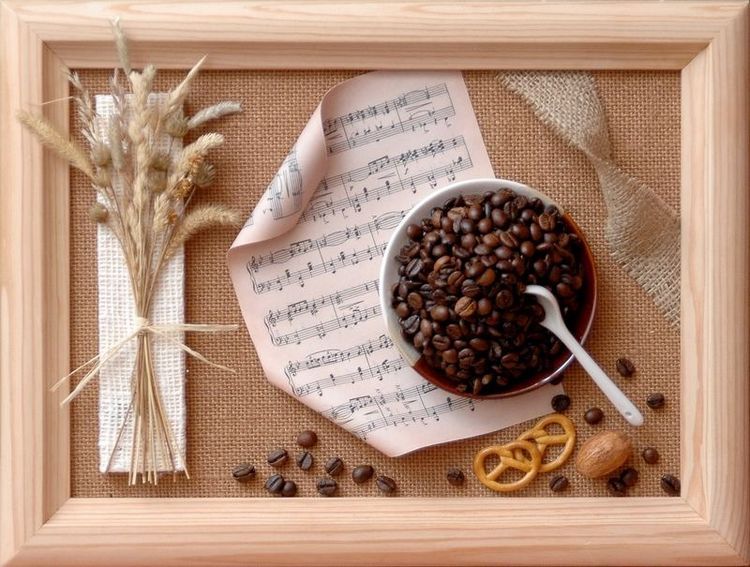
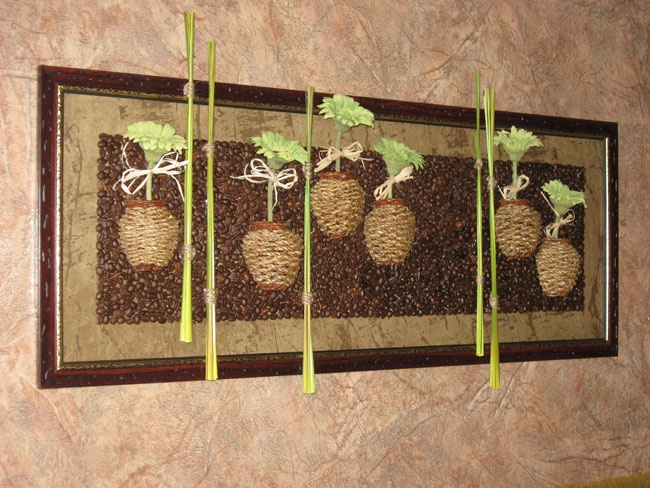
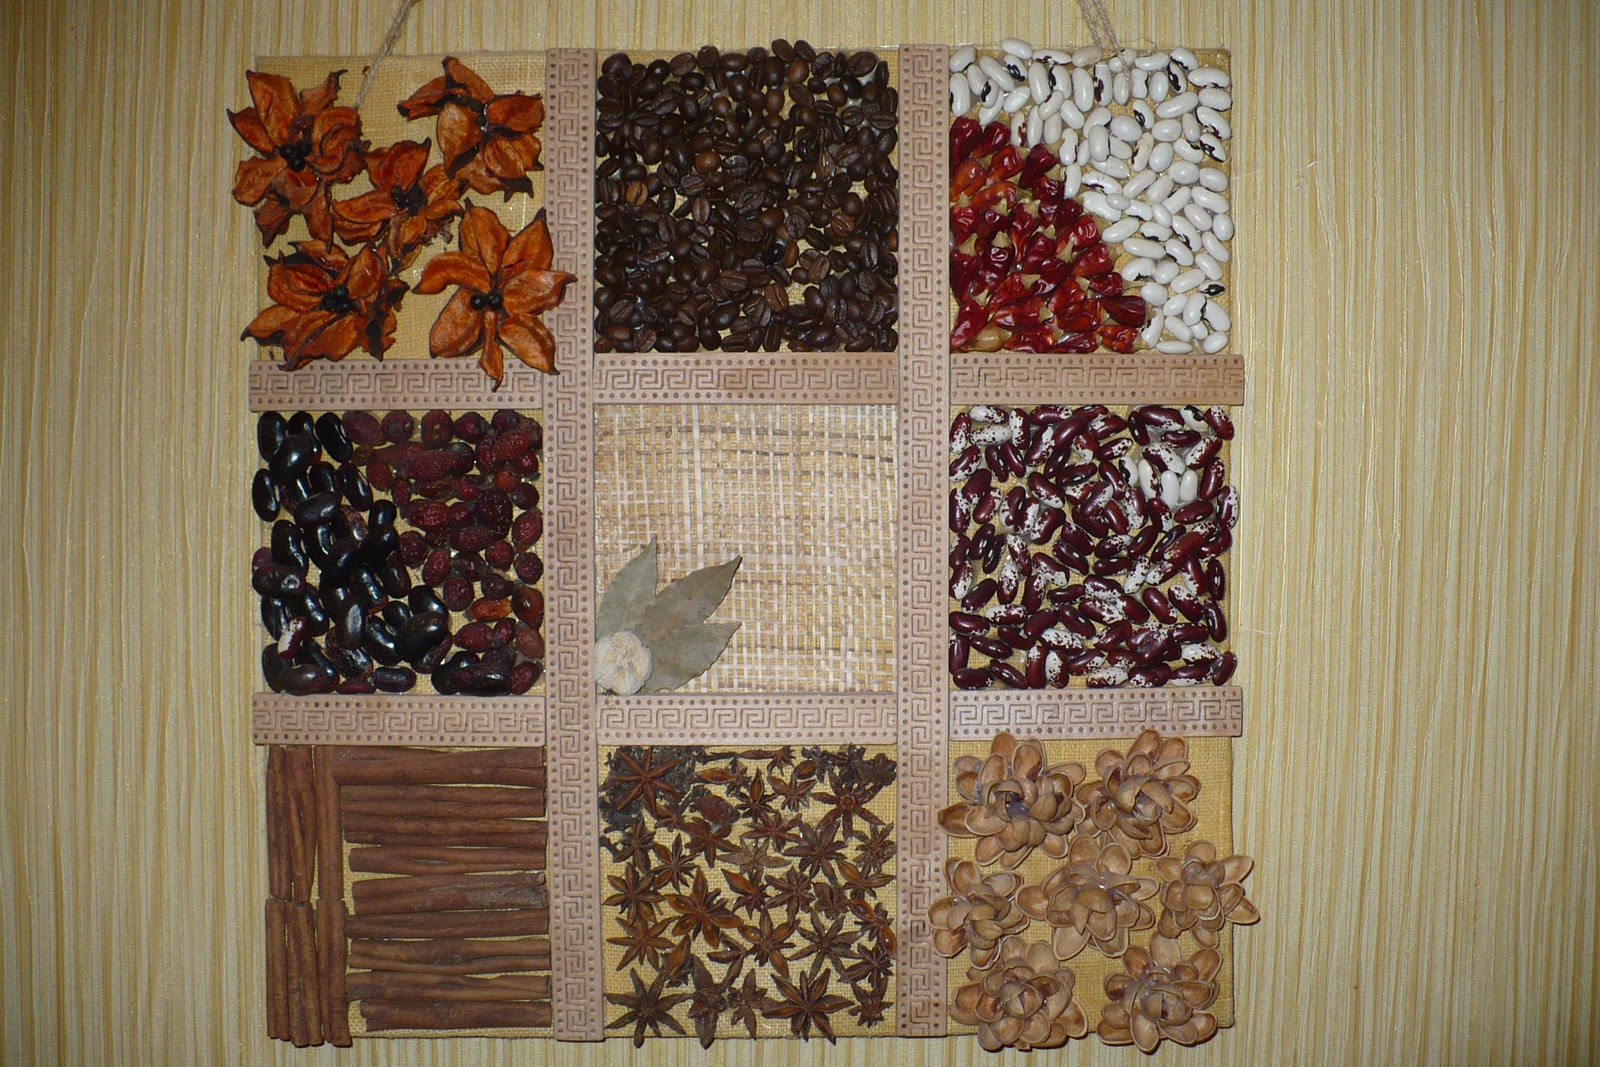
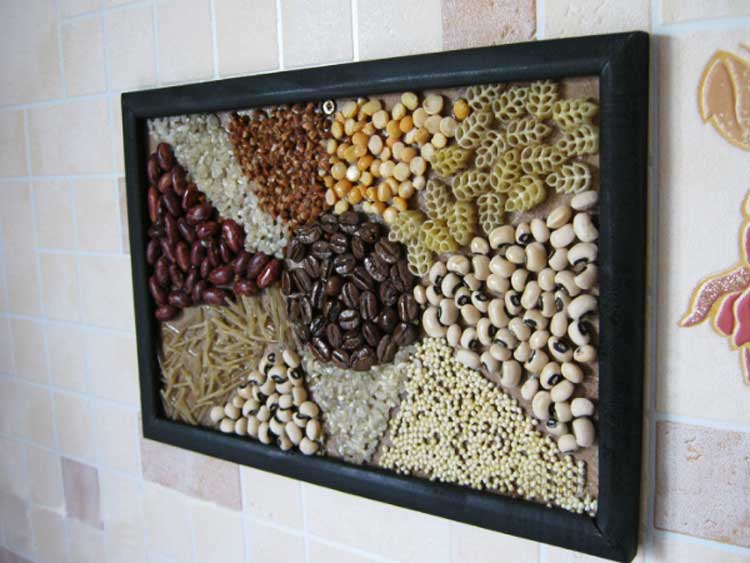
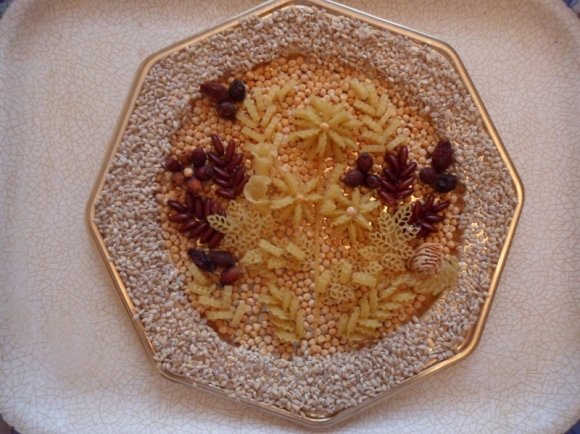
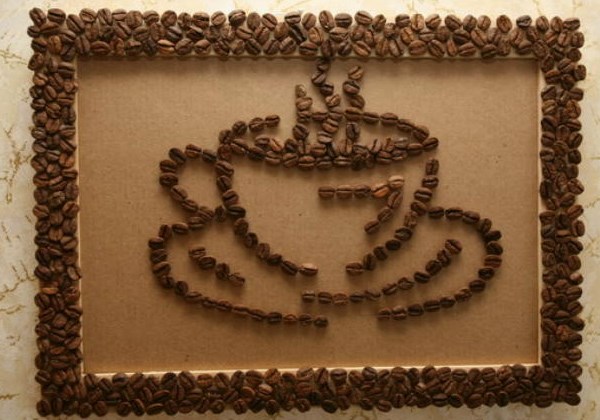
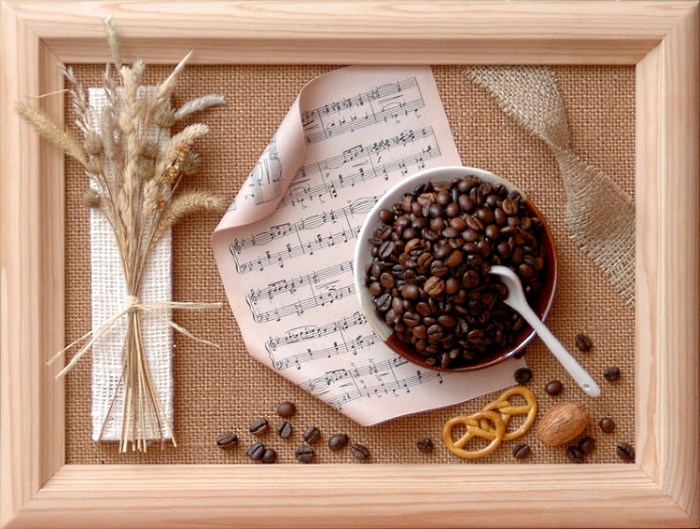
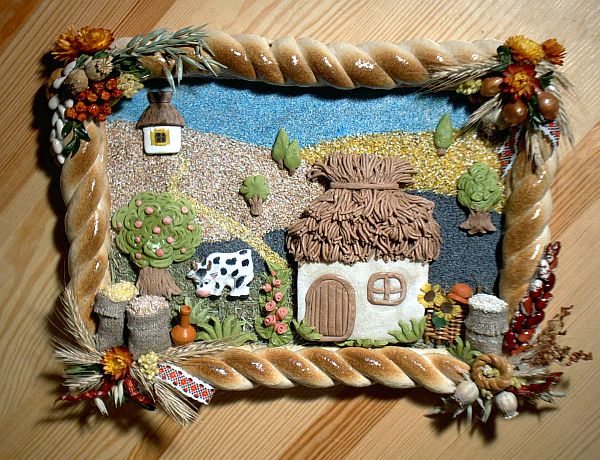
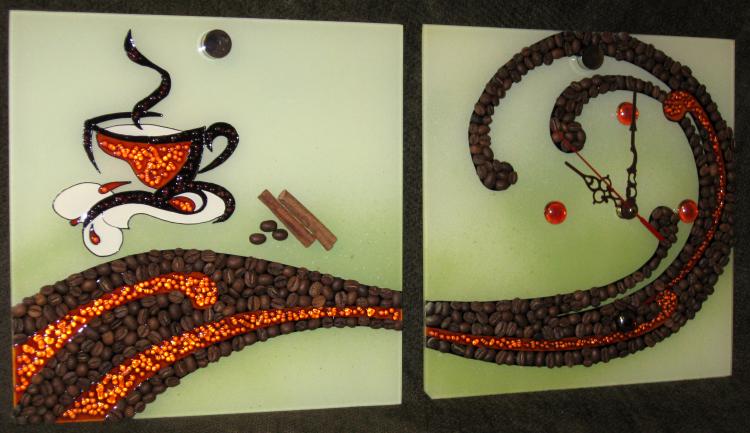
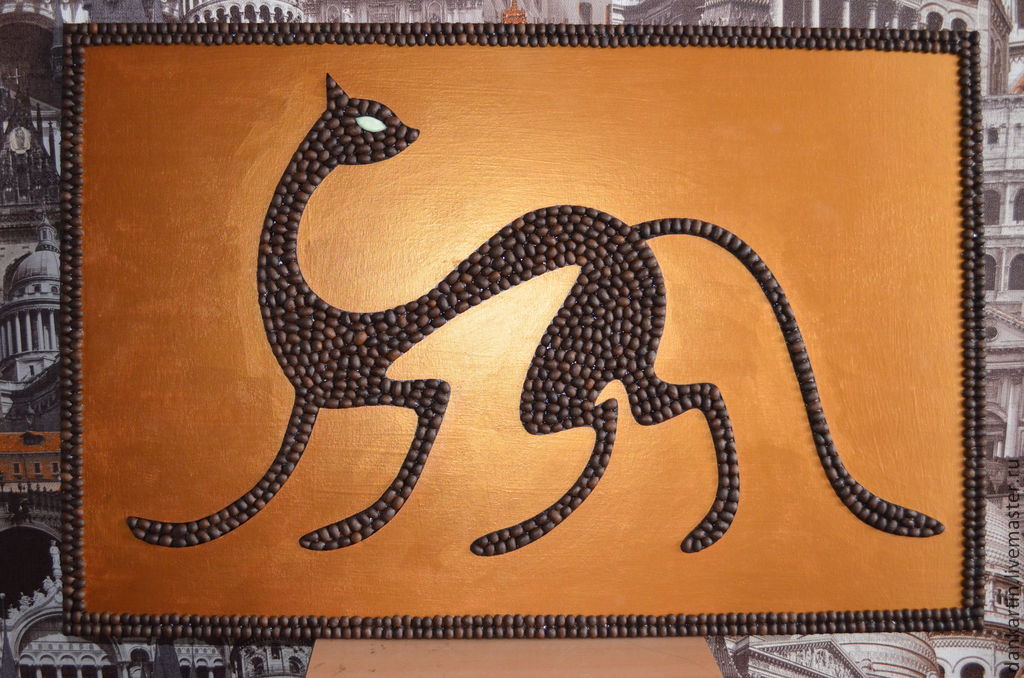
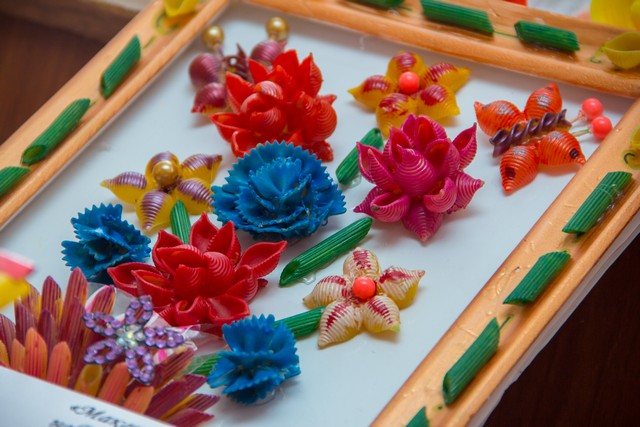
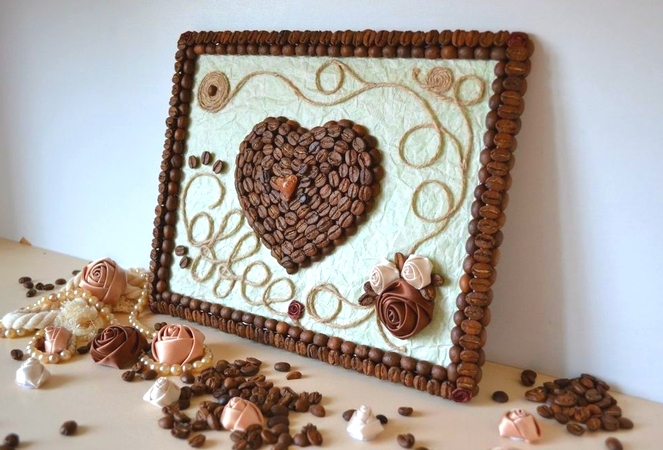
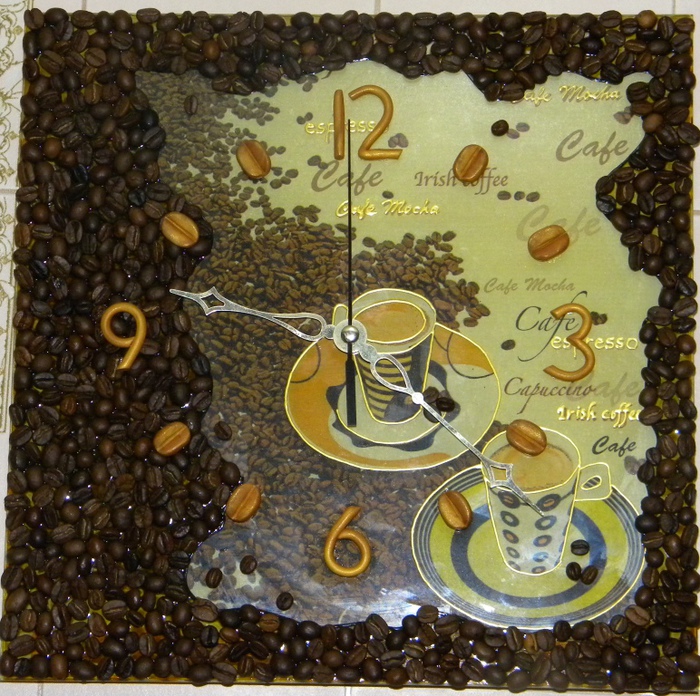
Traditionally, in the kitchen coffee, pasta and cereals are used to create panels. It is not always cheap and far from original.
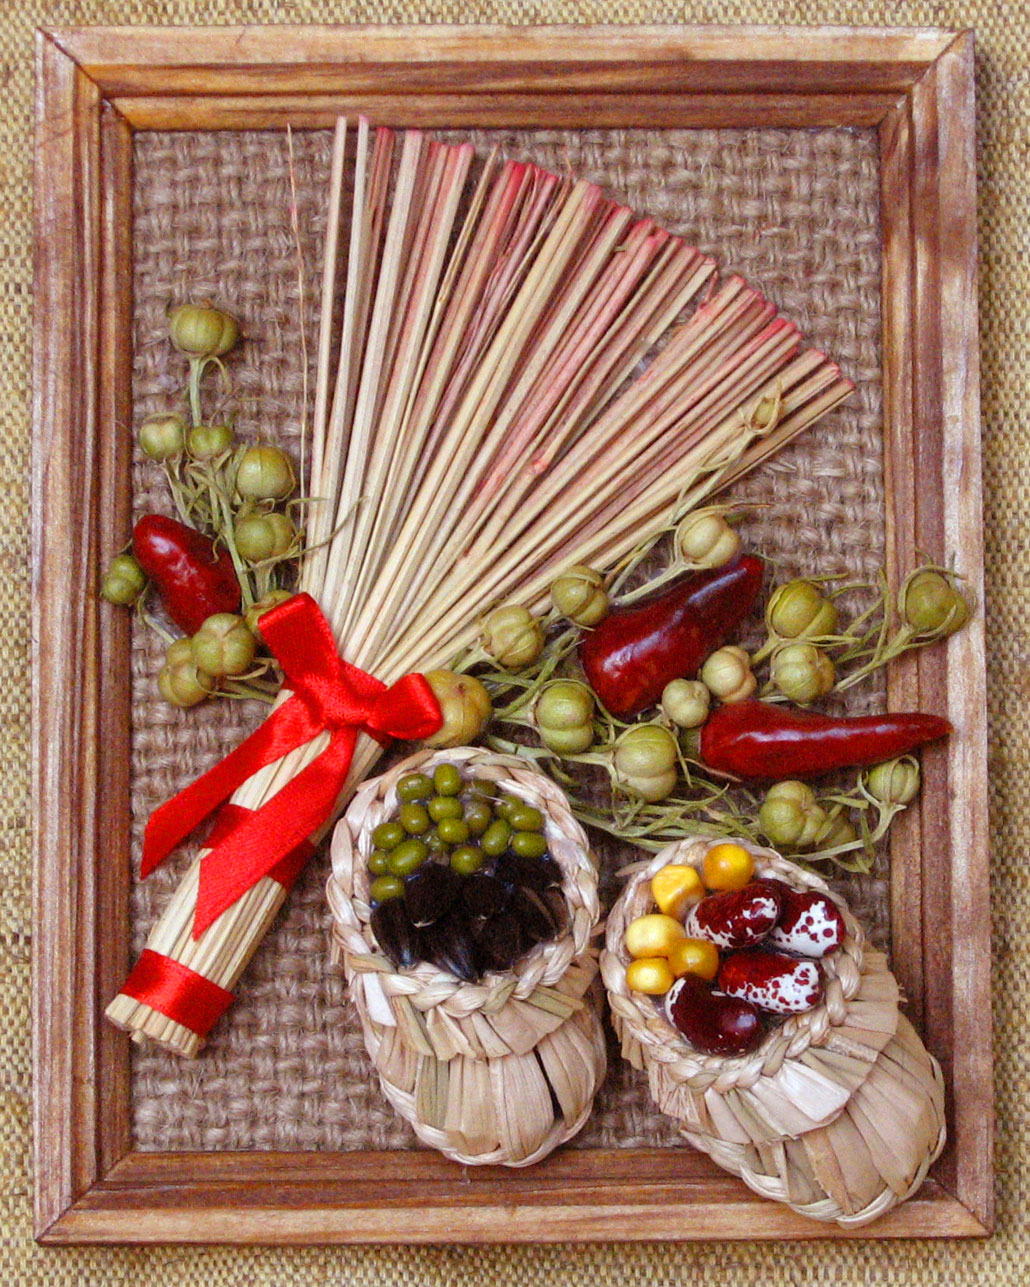
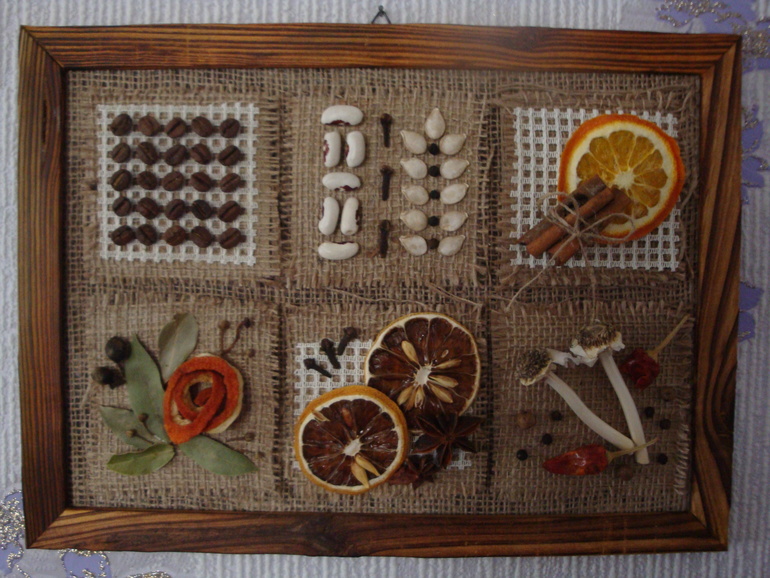
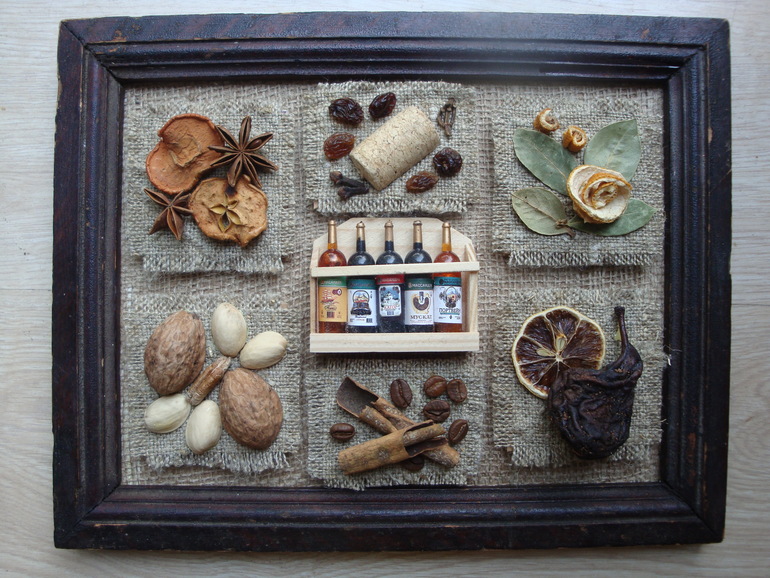
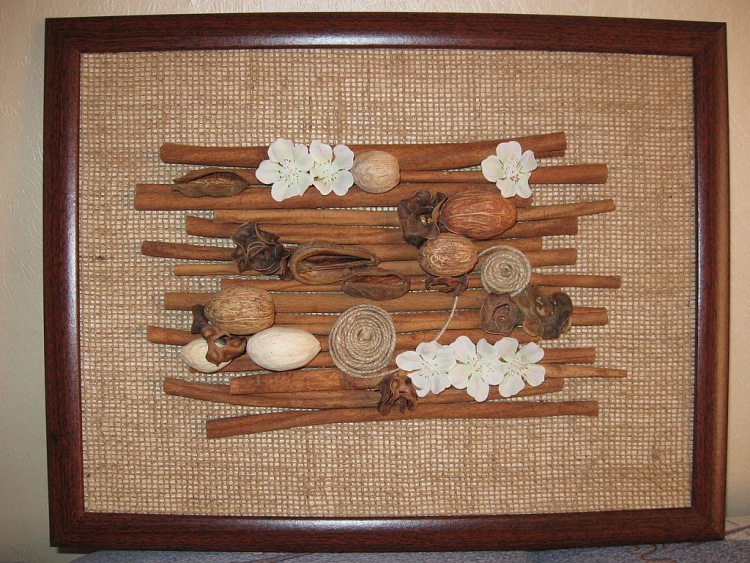
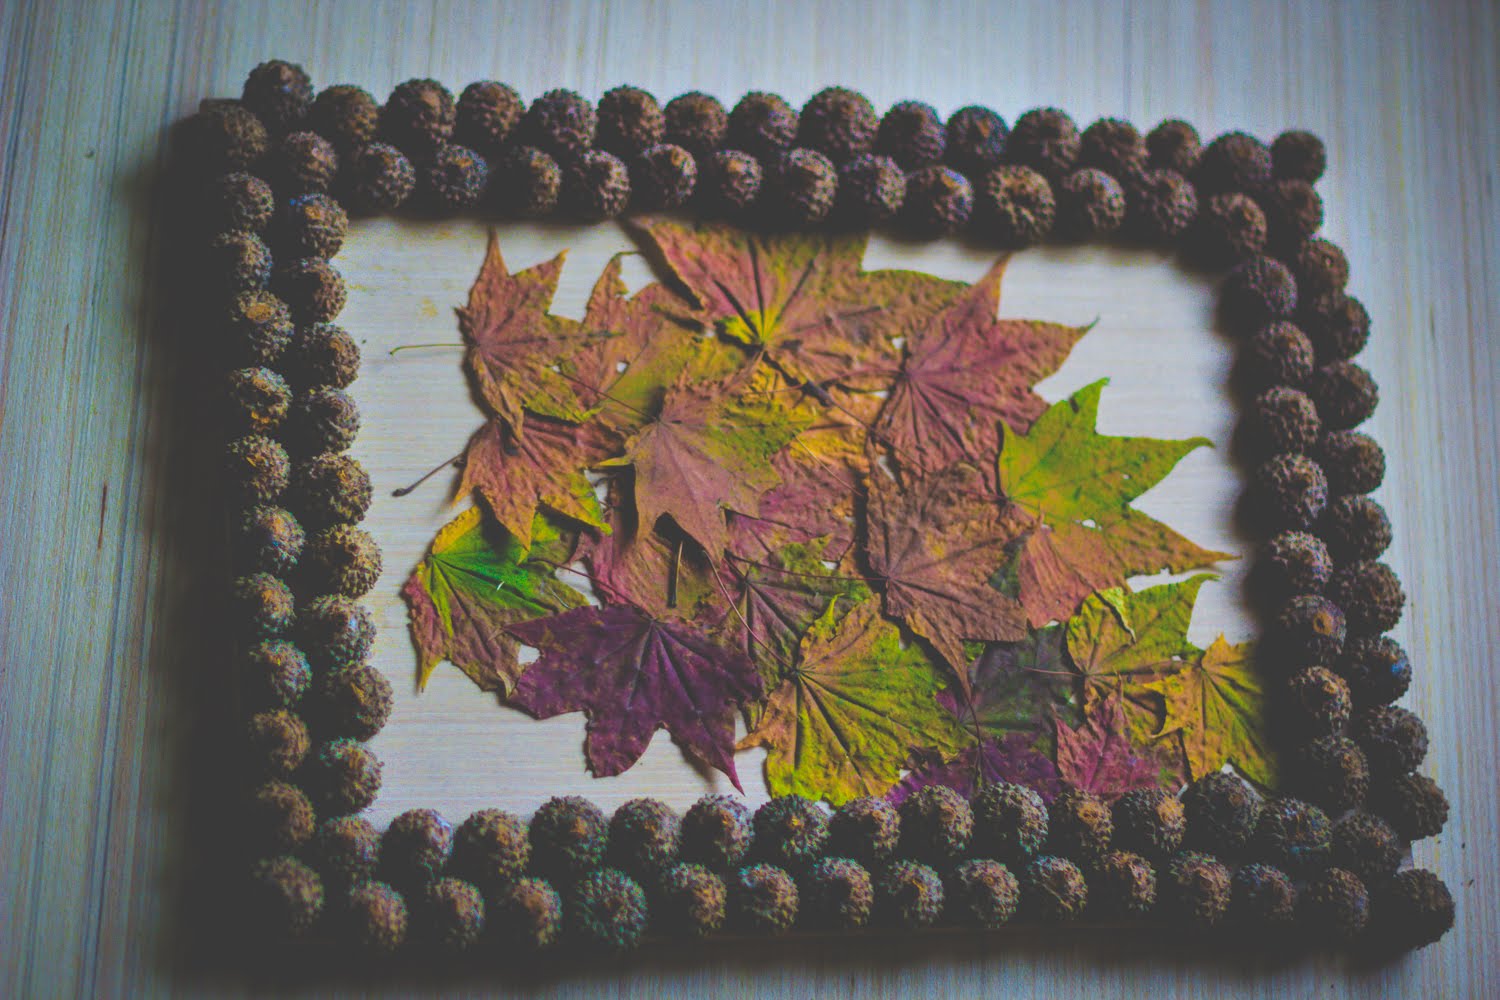
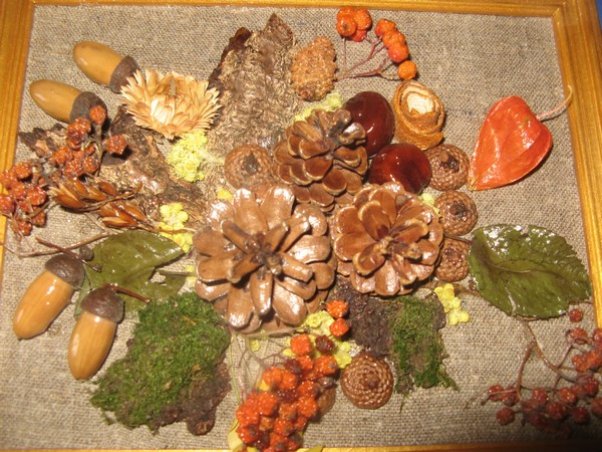
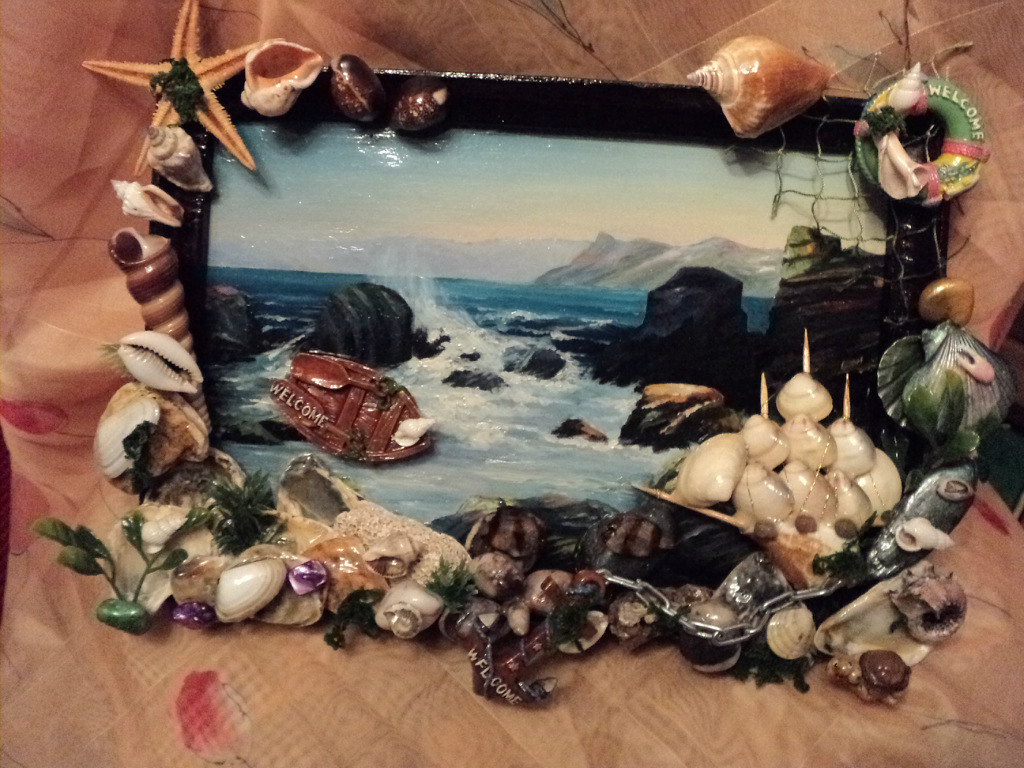
If you want to create an unusual panel, and not just a picture of pasta, then use other materials: dried fruits, spices, nuts, buttons, broken dishes, bottle caps. They are laid out in random order or adhering to the selected pattern / pattern.
3
The main thing is that the material used is solid and durable, the base is strong, and the glue is quick-drying and reliable.
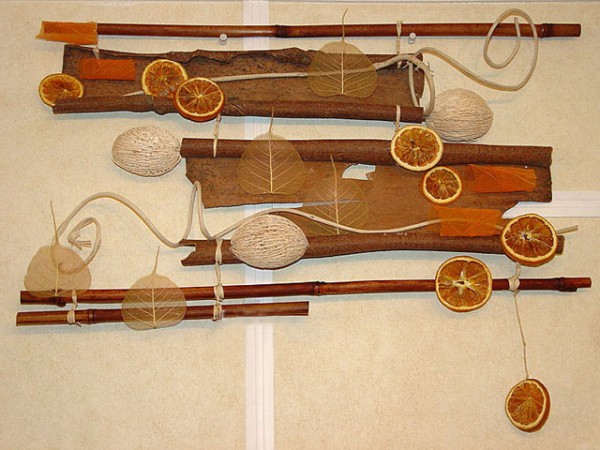
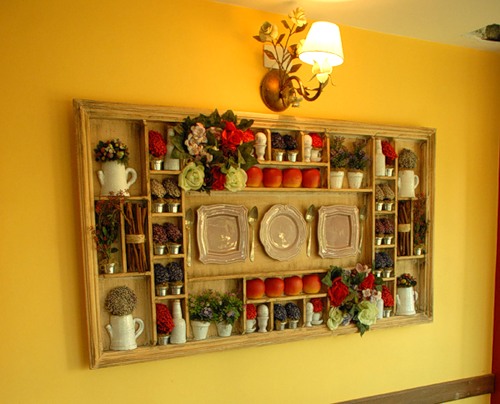
Today, pallets are a popular material for needlework. Many are made of them: furniture, shelves, walls, arbors.For kitchen decor, they are also suitable.
Important: before decorating pallets, the surface is carefully sanded with a special machine or sandpaper, all elements are degreased and dried.
2
Original small shelves for plates or photos are made from pallets. They successfully fit into the Provence interior; they are suitable for apartments and summer summer kitchens.
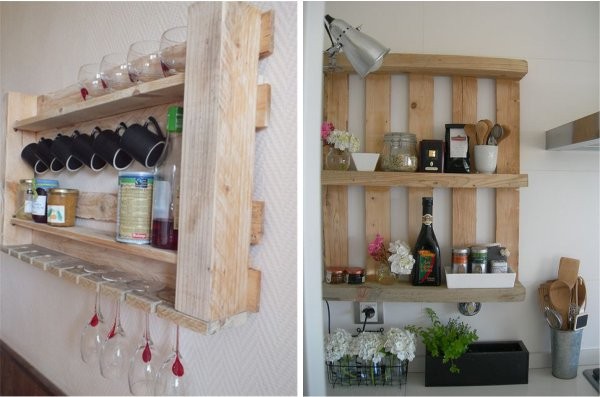
If you insert pots of plants into them, then a hanging flower stand will come out. Ideal look plants that hang from the structure.
Pallets are also used as a canvas for drawings - for example, as in this photo.
Soft parts
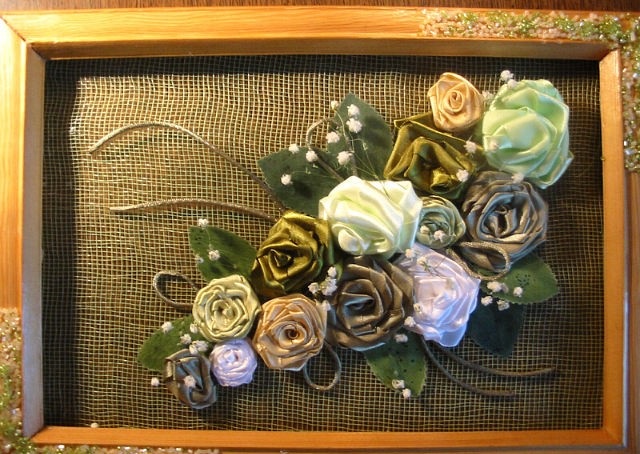
The kitchen is associated with comfort and warmth, therefore, panels from fabric will become an decoration for such a room.
1
Moreover, even small pieces of material will do. The cuts are cut into equal pieces and stitched using the patchwork technique. The finished product is pulled onto the canvas or made on top of the loop and hang the finished panel on a wooden stick or miniature cornice.
So they sew and textile mugs, attach to the wall individually or together on the same surface.
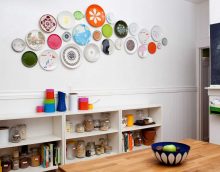
If at home unneeded plates are littered with, then they are suitable for creating an original panel for the kitchen with your own hands.
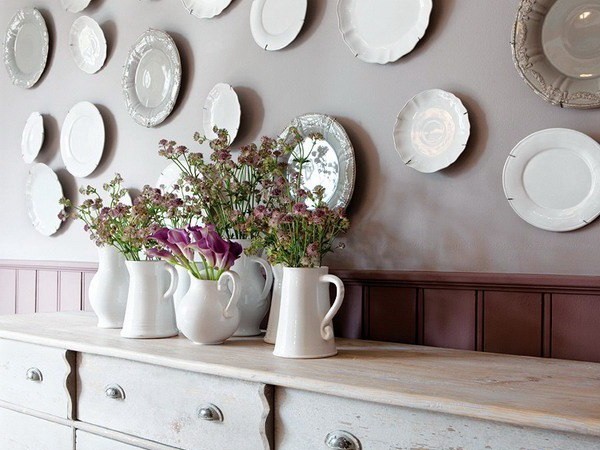
You will need:
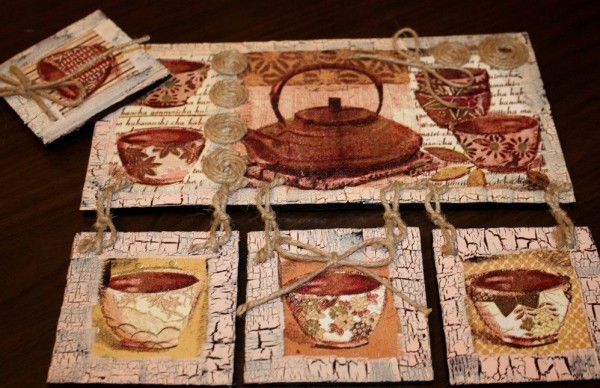
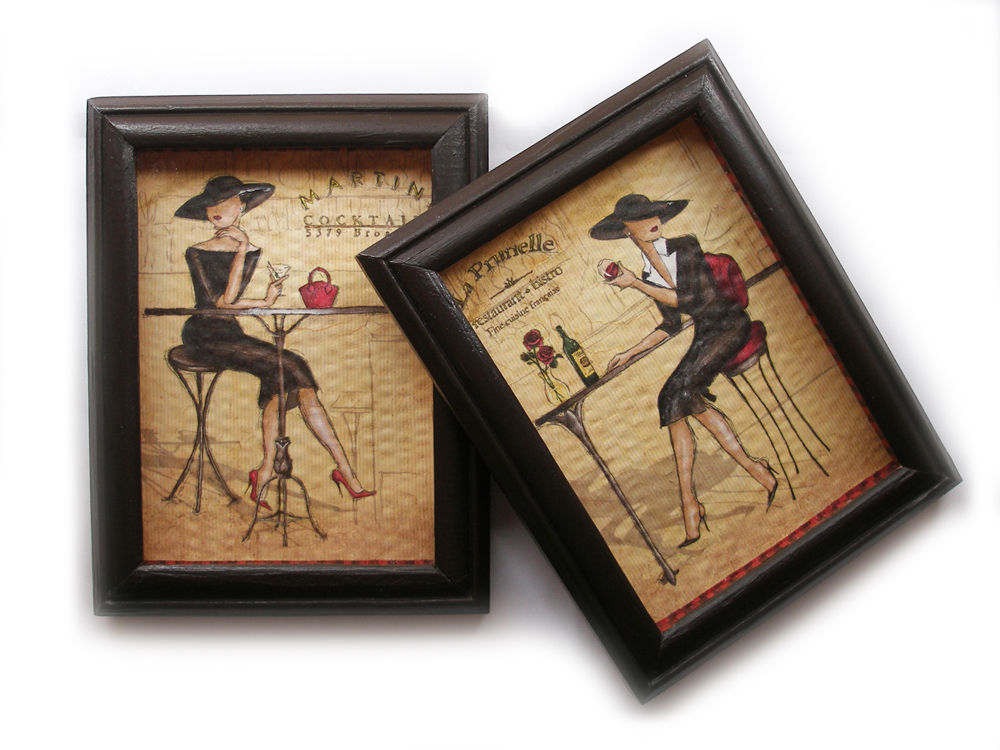
On several plates a common pattern is created. It is located according to the type of triptych paintings, where together the canvases create one picture, or 3-4 separate drawings of the same subject.
The image is applied manually or using the decoupage technique. For the latter, you must pre-print the image on loose paper or buy special sheets for decoupage. Lay out the image on pre-fat and dry plates. Apply PVA glue to the dishes with a thick layer, and tightly attach the printed drawing on top. Then apply another thin layer of glue on top of the paper.
When everything is dry, cut off the excess, cover the plates with varnish.
Tip: to facilitate the construction of ceramic dishes together, use paper disposable.
The panel can be made from anything, but for the kitchen it is important that the materials are easy to wash and not absorb odors. This must be taken into account when choosing jewelry that will be placed near work surfaces and slabs.
What exactly you want to hang in the kitchen depends on your personal preferences, design features and desires.


Thank!
In the near future we will publish information.